Make your artwork look like they're from an alternate universe. These Cyberpunk presets work with Photoshop (via the Camera Raw filter) and Lightroom. Download all 788 presets for 90% off.
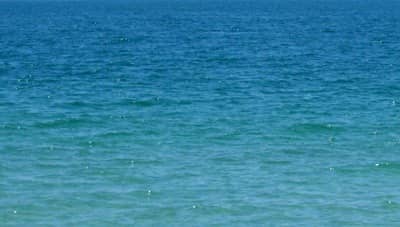
Import the image of the waves we just pulled off the internet and paste it over the layer we have for the ocean. Make sure the texture image covers all of the water in our main image. Now if you look at the top of the little window on the right hand side of the screen that shows all of the layers, you’ll see adjustments for blending mode and master opacity. Let’s set the blending mode for the texture layer to Screen and the opacity to 50%.

We have our ocean!

Alrighty, we’re almost done! All that’s left are the clouds, the sun, rays of light, and a couple of starfish on the shore. For the clouds, let’s choose a large brush and set the opacity and flow both at 50%. Then, take the brush using the color white and draw circles to form the shape of clouds. Because the opacity is not 100%, we can layer the color more in places we want the clouds to be thicker, and less where we want the clouds to be translucent and wispy.


Let’s make the brush even larger and blot a sun in the top left of the image where we had previously decided would be the direction of the light source.
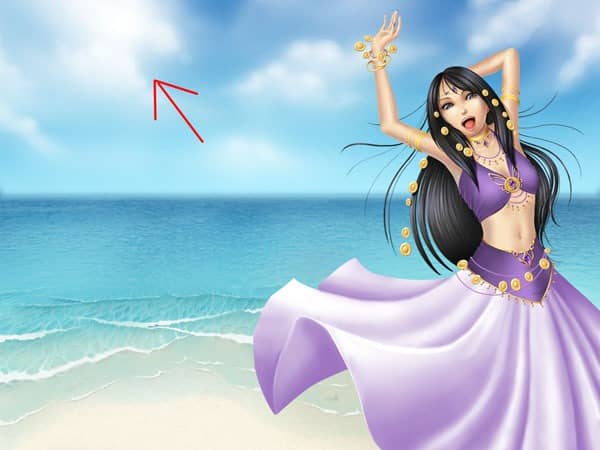
Now let’s draw in rays from the sun. I personally love this technique and have used it for quite a few of my images. It’s a really good touch to any image where the sun is out. In the two color palettes to on the left of the workspace, choose white for one and gray for another. Then go to Filter -> Render -> Clouds and we should get something like this.
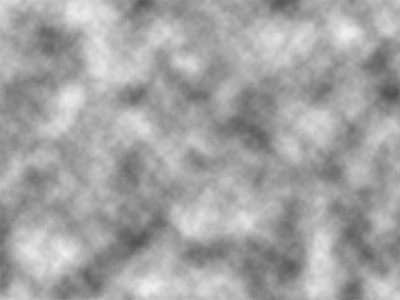
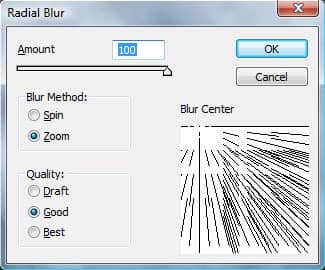
Then, go to Filter -> Blur -> Radial Blur. Set the Amount to its 100 maximum and the Blur Method to Zoom. Then adjust the direction of the blur so that it’s epicentre comes from the location of the sun that we dotted and press OK.
And we get a motion like this.
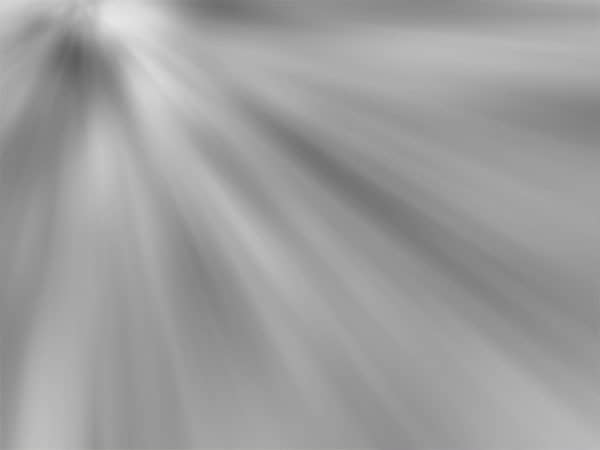
Now set the layer blending to Overlay and all of the black in the image will disappear, leaving us with rays of sunlight!

Last Step!
Although the image could be considered finished right now, let’s add in some starfish on the shore for some more color and detail. Again, let’s go online and find a random image of a starfish. Import, duplicate, resize, and voila! We have a beach of starfish!

