
At the end add some texture to the eggshell (but a little, really, small touch).
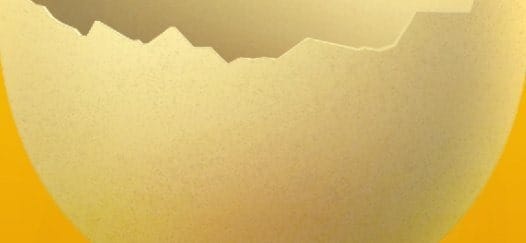
This could be some noised image. Actually I used a brush here with very small opacity. Layer on 15% Multiply. Just made some bigger and smaller round-brush paints (pretty a lot of them but in the sphere of good taste).
Step 17
This is the last step of creating egg. We had to make an edge on the inner eggshell layer. So, make a selection from inner eggshell ([ctrl.jpg”> + [click.jpg”> on a thumbnail) and go to Edit > Transform >> Warp. I won’t show you the steps of movement, just try to figure them out by yourselves. You have seen previous workouts. Here is a final transformation:
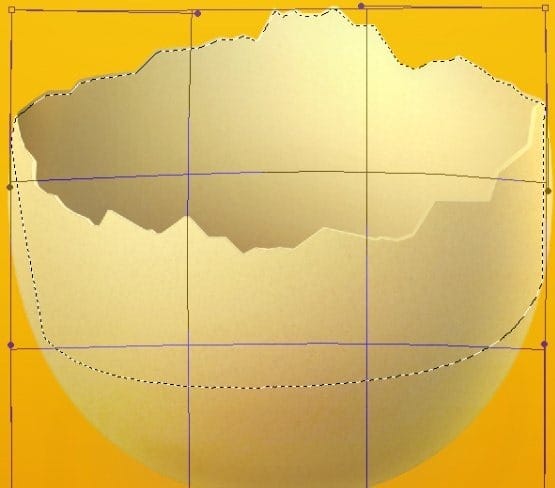
Now create new clipping mask layer to the inner eggshell. Then go to Select > Inverse. Pick hard round brush with very light color (almost white like #faf5fc) and paint an edge.

You can check how this layer will looks on Overlay blending mode.
Step 18
And here we go with yolk. Pick an Ellipse tool and create new layer between eggshell and inner eggshell.

Then make some ellipse.
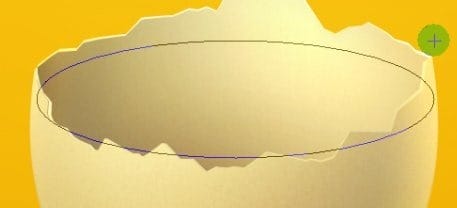
Choose direct selection tool and modify a bit our ellipse. Click on a shape’s square so you will be able to modify the Beziers lines (you can also just click and move the lines).
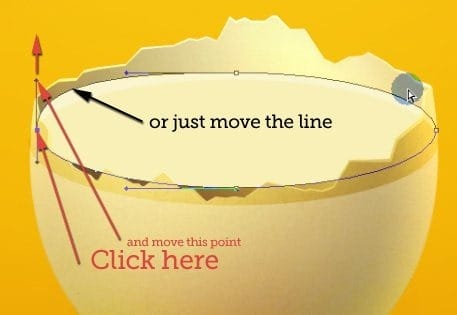
Do the same on the opposite side.
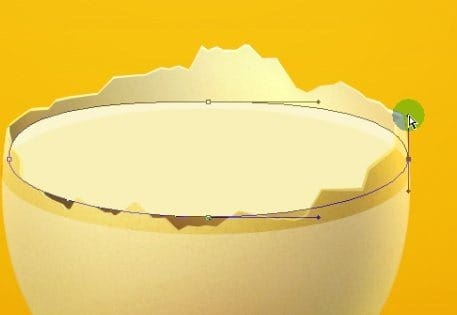
I made the shape with white color for you to see it clearly, but you should at this point use some orange color like #fe9205. Place it along the old yolk mock-up. Then rasterize the layer (Right click on the layer in layer’s window and choose Rasterize layer). If you will have some holes, paint them up.
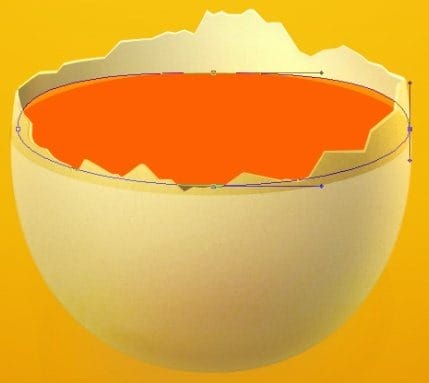
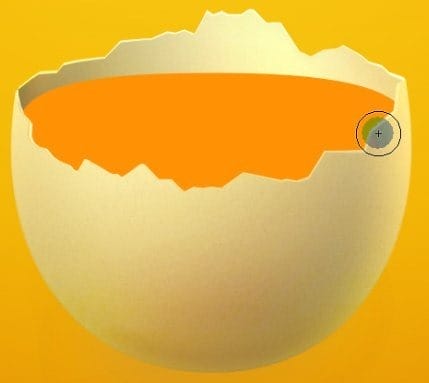
Step 19
The good think is to organize your lights on the surface.

All the lights and shadows on the yolk will be in clipping masks. You already know how to make them. In this case you don’t have to make additional selections and masks.
Grab some more reddish color like #913000 and use gradient tool (could be linear with 30% opacity) to make some shadows around the shape.

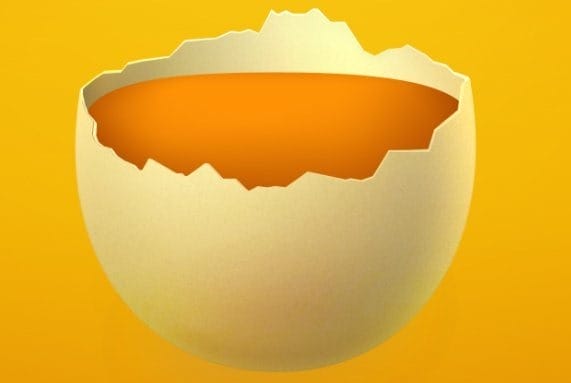
Duplicate this gradient layer and respectively set the blending mode of the bottom one to Overlay and the upper copy to Linear Burn with 60% opacity.
One response to “Create an Amazing Broken Egg and Yolk Drawing in Photoshop”
-
Nice Tuts


Leave a Reply