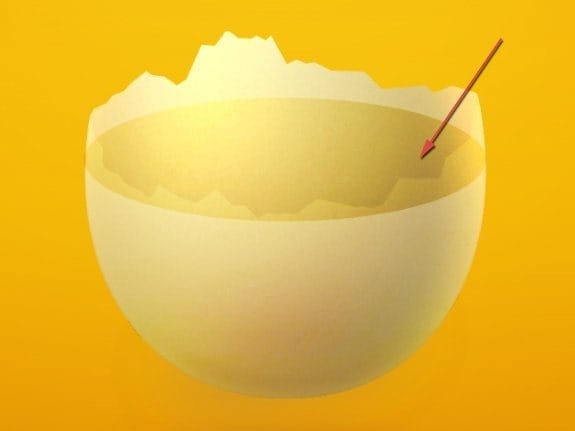
Freshly at this point we will do the flip (Edit > Transform >> Flip horizontal).
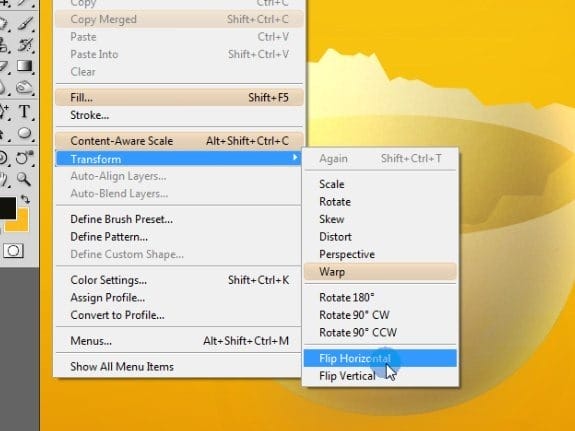
Now we don’t have only to make a nice edge shape. We also have to make it fit to the first part of eggshell.
Step 13
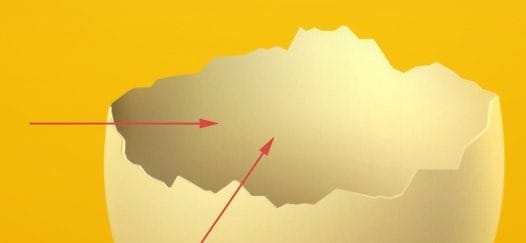
While you have inner eggshell layer selected, go to Edit > Transform >> Warp. Again, the beginning of the arrow is a handling point and the direction indicates the direction itself. Don’t look on the width of each arrow.
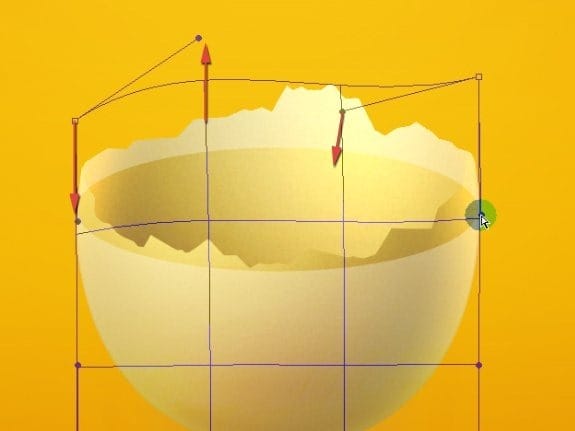
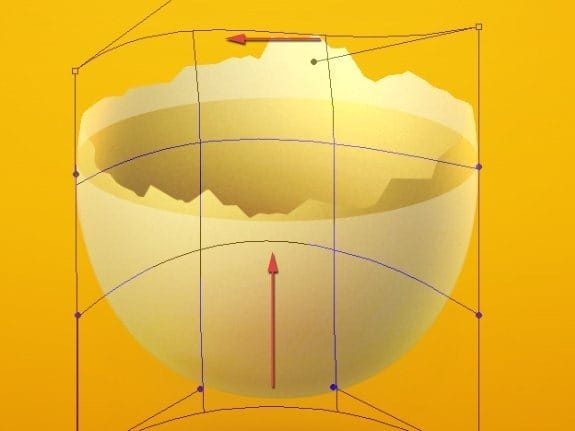
See what we wanted to achieve? The flow of the shape and its fitness on borders.

Step 14
Create new clipping layer to the inner eggshell.
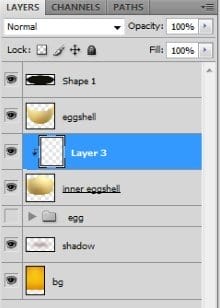
Pick gradient tool (we still have same dark color and same gradient settings) and make two linear gradients. Actually you can make even more gradients. Just watch out for the shadows pervasion. I made one more gradient and changed the layer’s opacity to 30-50% with blending mode of Multiply.
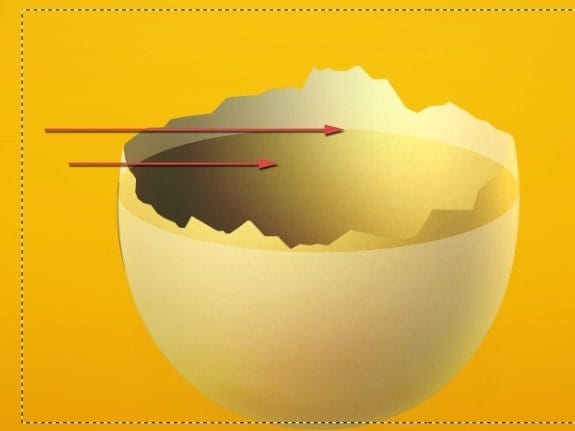
You should also make some small gradients as below to complete the 3D look. But don’t get over with a darkest parts.
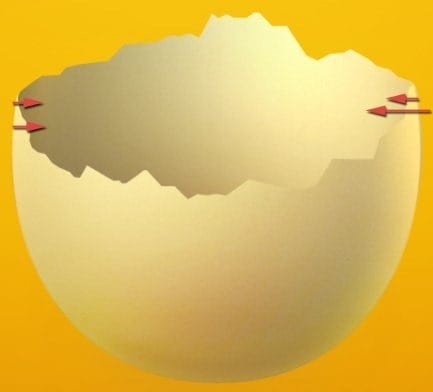
You can also make some really soft gradients one the same layer from the top so the edge (that we will create in the future) will be more visible.
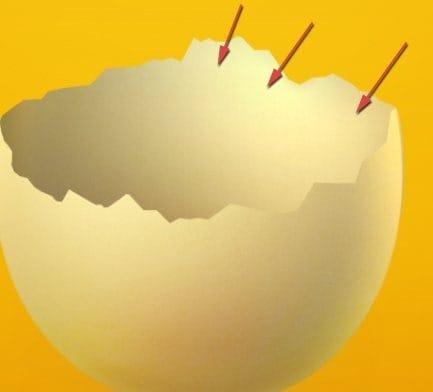
At the end I’ve duplicated the gradient’s layer and on the copy changed the opacity to 30% and blending mode to Overlay.
You can try to play with gradients even more by adding some more of them. Try to achieve a deep/sphere effect.
Step 15
Now duplicate the eggshell layer:
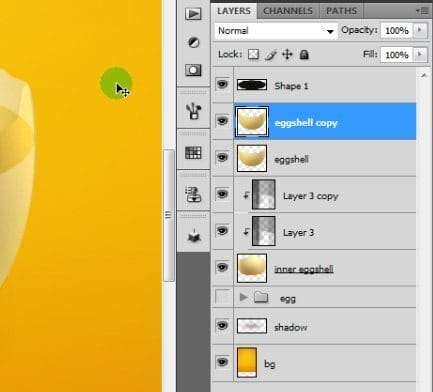
Move the copy few pixels upward. Then go to Image > Adjustments >> brightness/Contrast and type 30 in the brightness input.
Go to Edit > Transform >> Warp and try to achieve some 3d look of the edge.

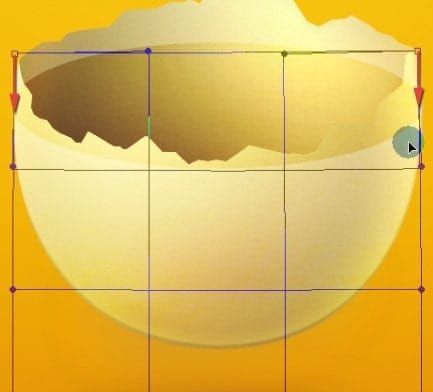

We are done. Now you can hide the brighten layer under the original one in layer’s order or just make a selection (as I did) of an original layer and hit [Delete.jpg”>.

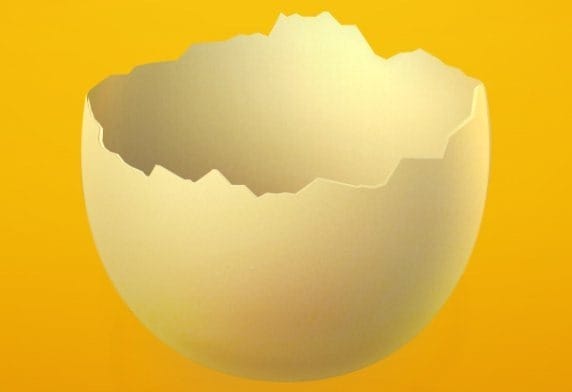
That’s how the egg looks for now:
Step 16
Some of the edges needs little fixes. Zoom in your image and look for details to repair, like one below:
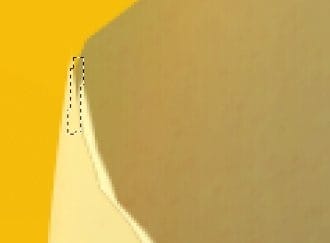
Just make a selection and fill it out with light color.
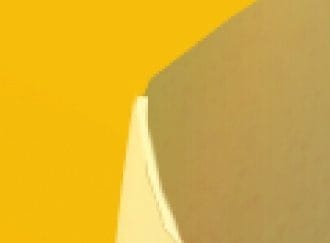
The previous deletion causes to destroy whole bottom edge (it is semi transparent), but I won’t repair this for it is more useful for us than unhelpful. In this case it makes a contrast transition.
One response to “Create an Amazing Broken Egg and Yolk Drawing in Photoshop”
-
Nice Tuts


Leave a Reply