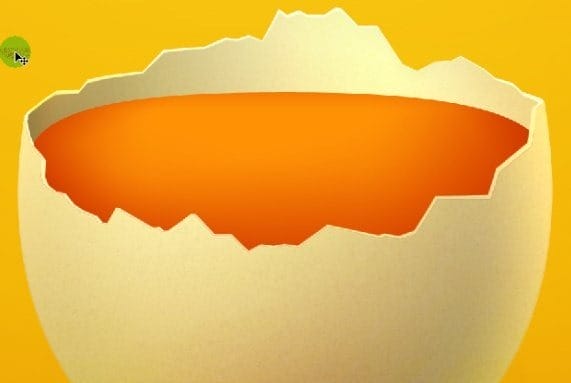
Step 20
Get Elliptical marquee tool and make some selection in the sphere of yolk (remember about new layer into clipping mask).
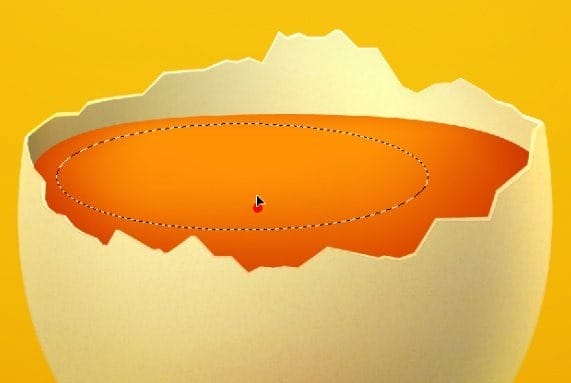
Now pick some lighter color- #fbcb23 is good- and with the gradient tool try to achieve something like this:
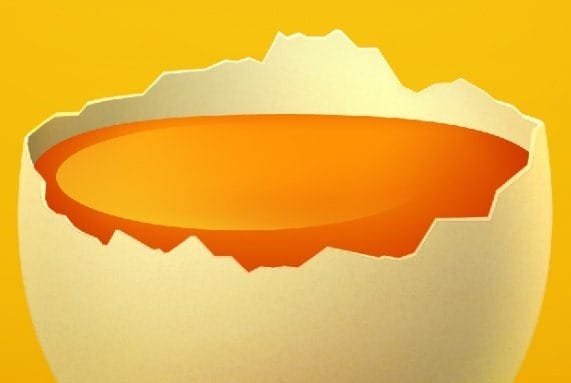
Then go to Filter > Blur >> Gaussian blur and blur our layer a bit.
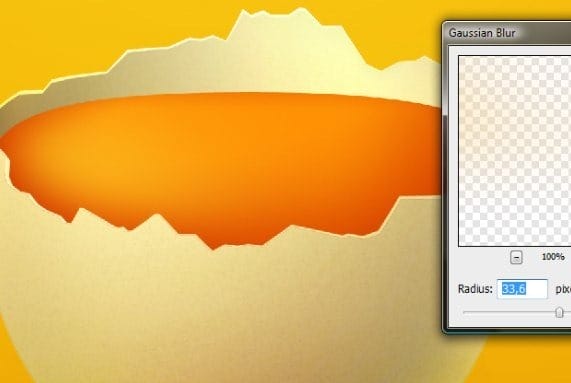
We want our light to be more sharp on the edges of yolk and blur as it is in the middle. Make a new selection and place its edge along the layer’s edge, like here:
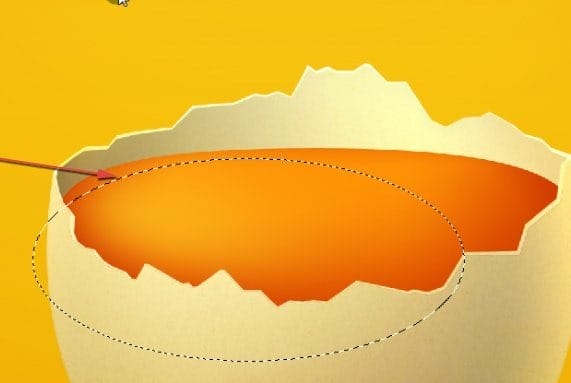
Go to Select > Refine edge and play with settings to get something like this below:
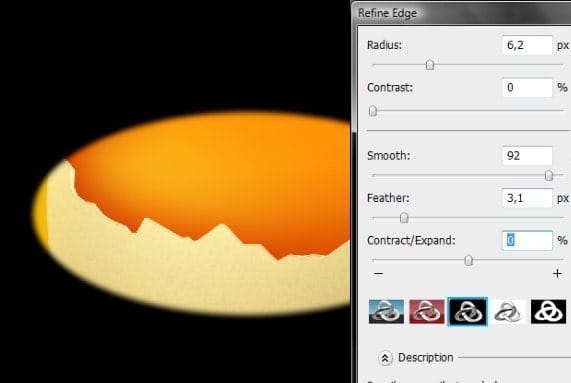
Then get Eraser tool with soft round brush and softly delete the part of edge after inversion of selection (Select > Inverse).
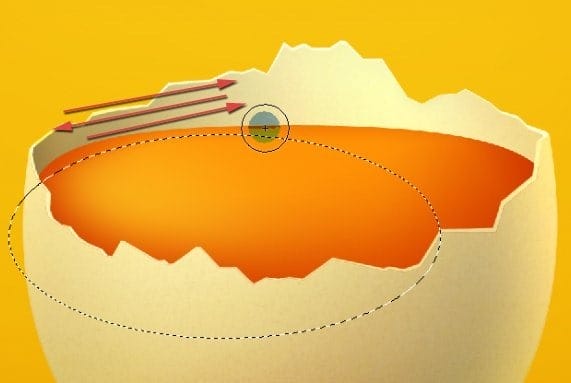
Do exactly the same with the bottom edge.
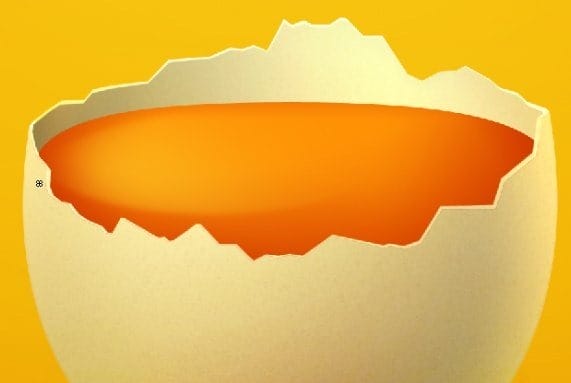
Step 21
Duplicate the layer and set the blending mode of copy to Overlay. Then select both layers in the layer’s window ([Ctrl.jpg”> + [Click.jpg”> on layer to select more than one) and go the Edit > Transform >> Rotate to make it fit to the overall yolk shape. You can also scale it a bit if it is too small or too large.
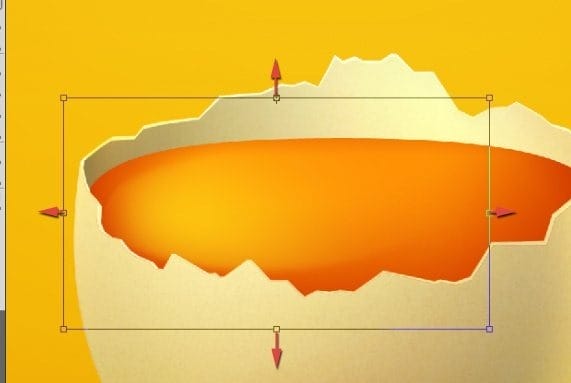
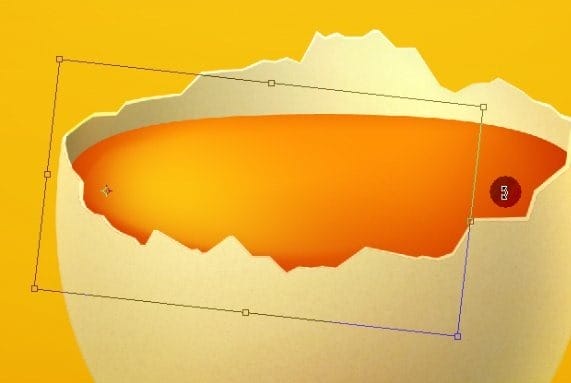
So we got something like this for now:
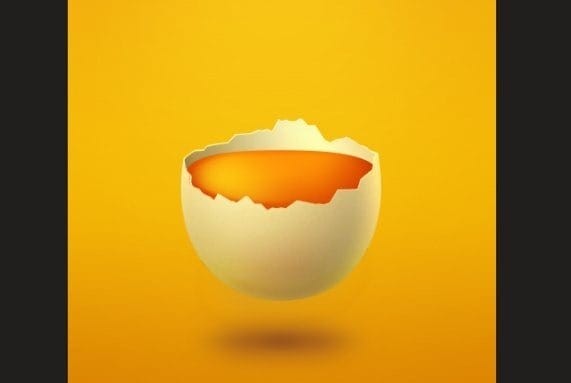
Step 22
Make some random selection and fill it with white. This will be our strongest light reflection.
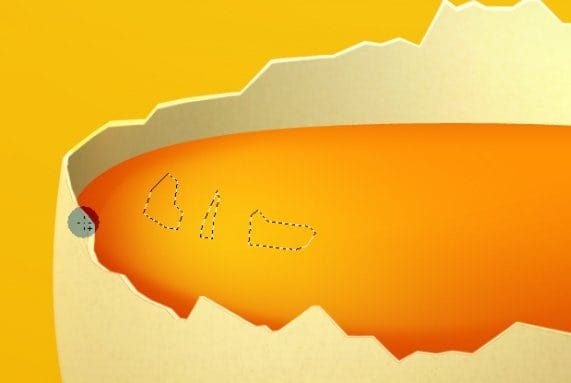
Use a smudge tool to add some dynamic to the lights.
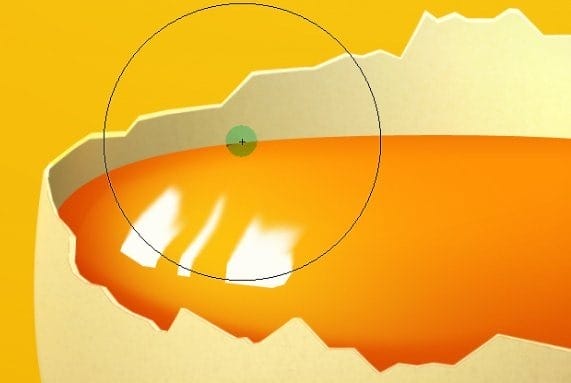
Use Eraser tool to soften the edges and then blur it all.
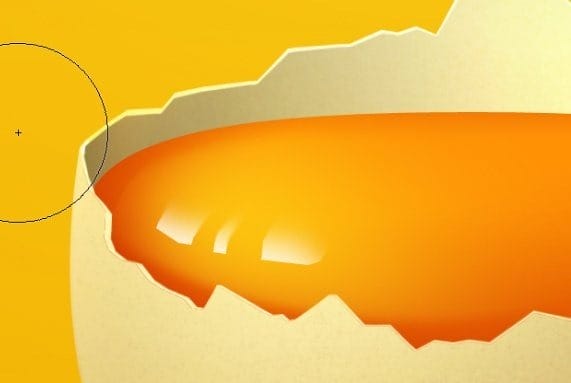
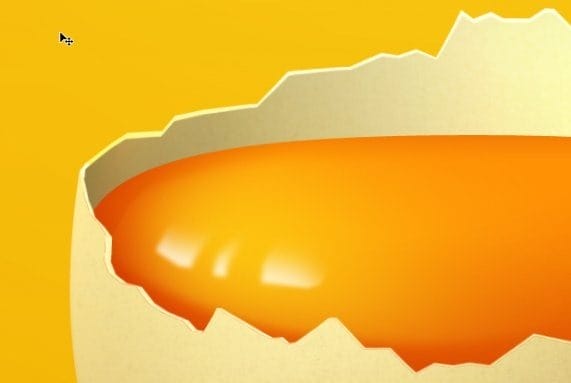
Use a warp transformation (Edit > Transform >> Warp) so your lights will get more round shape.
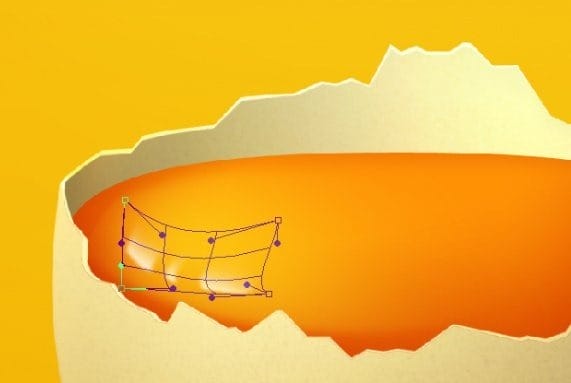
At the end point you can play with opacity and blending mode.
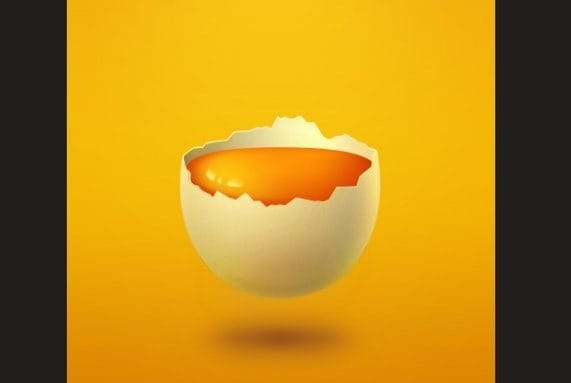
Make a radial gradient with almost white color and change its opacity to Overlay with 70% of opacity.
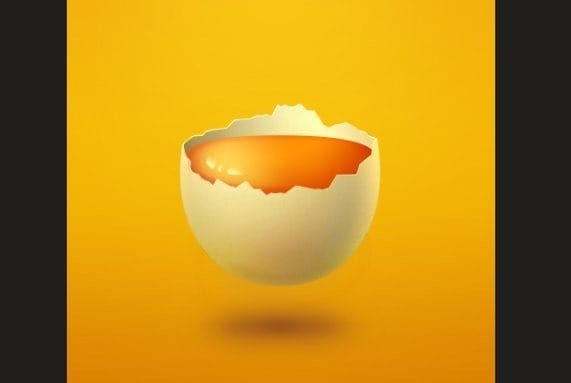
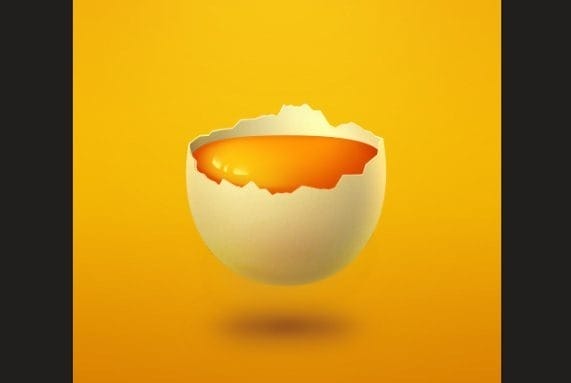
Step 23
We will make the same light reflection on the opposite side of the yolk. Start with selection.
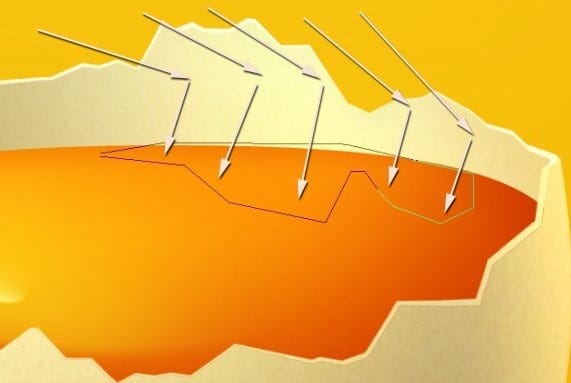
Fill it with gradient and delete the upper part.

As in the previous step, use smudge tool.

Then blur a bit and warp the layer.
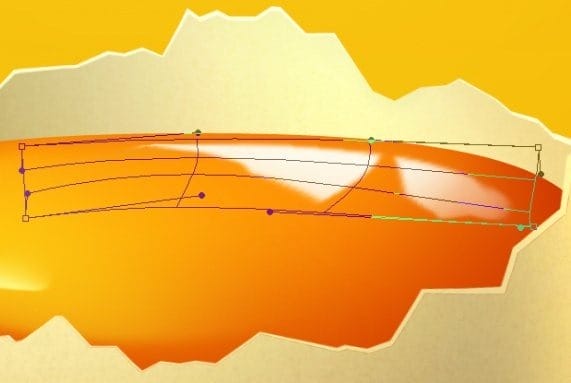
Lower down the opacity to about 15-20% and you got this:
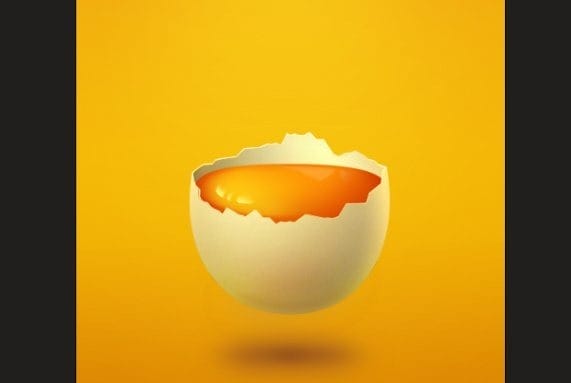
Step 24
Here comes the last part- reflection of the eggshell edges. Make a clipping layer to the yolk. Do [Ctrl.jpg”> + [Click.jpg”> on the thumbnail of the eggshell layer so you will get a selection. Then go to the Select > Transform selection. Use a warp to modify a selection – Edit > Transform >> Warp. Try to get something like this:
One response to “Create an Amazing Broken Egg and Yolk Drawing in Photoshop”
-
Nice Tuts


Leave a Reply