Make your artwork look like they're from an alternate universe. These Cyberpunk presets work with Photoshop (via the Camera Raw filter) and Lightroom. Download all 788 presets for 90% off.

With this albeit time-consuming but nevertheless very effective method, we will drag the highlights and the shadows back and forth in the direction our subject’s hair is flowing. This makes the hair actually look like hair with movement rather than a big formless blob. This is the sort of effect you should be getting.
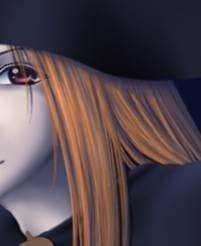
I won’t lie; this will take a LOT of time but I guarantee the results will be worth it. Take a look.
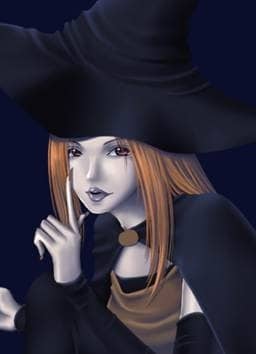
Our subject is almost complete! The last step is to add several minor details, to her brooch, her nails, the candle that she is holding, and the pumpkin that she is sitting on. The same techniques as used before apply for the pumpkin. Make sure to draw in a more solid shadow cast by her legs where they touch the pumpkin.
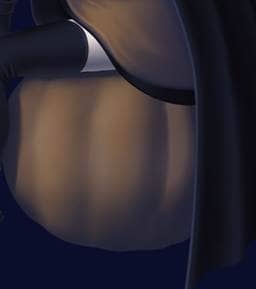
With her nails and her brooch, we want the material to seem glossy therefore we’ll add more sudden rather than gradual shadows and highlights.


Finally, for the candle and the candleholder our subject is holding, shade them in using the same techniques we have been using the entire time, making sure to give the candleholder a metallic finish, the candle a see-though shimmer where it is closer to the flame, and the flame a warm glow about it.

And our subject is complete! (We won’t worry about her left foot as it will be covered by long grass).

Part 3 – Background
Let’s merge all of the layers used for creating our subject so they don’t get confused with the layers we will use to create our background. We’ll create a new file to finish off our image so we can keep a file with all of the subject’s layers as well. Because the plan for the background is to be a landscape, let’s make the new image horizontal. Paste the subject in, and then create a layer for the sky and a layer for the land.
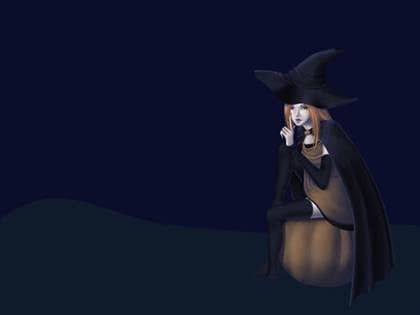
First, to give the hills in the background some depth, let’s use large, soft dodge and burn brushes to add in some highlights and shadows.
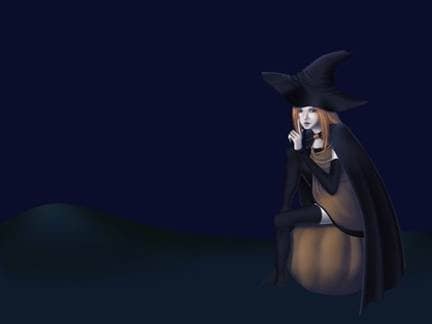
Now let’s work on the sky first. To begin with, let’s go online and chose a large, clear image of the moon to import it into our picture. With the Elliptical Marquee Tool (M), draw a selection around the moon. Go to Select-->Inverse and press the delete button on your keyboard. You should have a moon without any sort of unwanted background that came with the original image you pulled off the internet, only the background of the image we are working on. Make sure the moon is in the top left corner of the image where we had previously decided would be the location of our light source.
