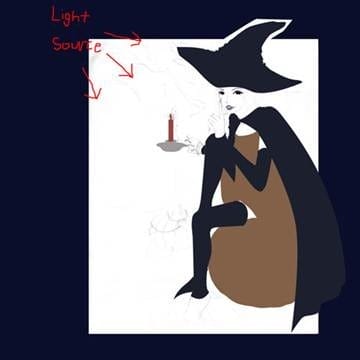
With this fact in mind, let’s begin shading! With a soft brush and manually picked colors, aided by the dodge and burn too (O) to place emphasis on highlights and shadows, we’ll add depth and life into our subject’s face.
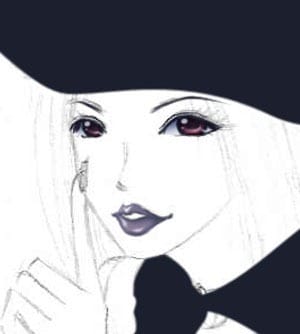
Now she finally looks like a live human being! Time to start shading everything else and bringing the rest of the image to life! We can turn the layer with the pencil sketch off now and turn the layers with her hair and her skin back on. Let’s start with our subject’s body and make her look more 3-dimensional. Keep in mind not only the light source but also the depth of our subject’s body. Parts that come more forward will be lighter than parts that are further back. Like before, use the brush tool and manually pick colors to use as highlights and shadows. Then dodge and burn for emphasis. Be sure to use a more solid brush where harsher shadows are cast by her hair or her clothes on her skin. Always keep in mind the direction of the light source.
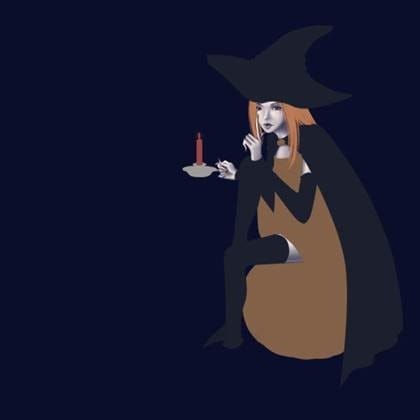
Repeat the steps above for our subject’s clothing. Keep in mind that clothing—fabric—is full of folds and creases, especially when wrapped around such an irregular figure as a human body. Draw in a shadow on the bottom of the fold and highlight the top. This makes fabric like more like fabric. Also, keep in mind that, because we will later have the moon in place of the light source identified earlier, we should put a silvery accent in the parts that will be closer to the light source, especially in the upper-left side of our subject’s hat.
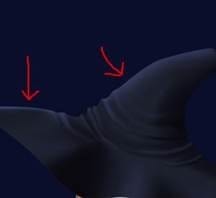
Let’s take a look at where we are.

Now for the hair. First, we’ll draw in highlights and shadows where they should be using a large, soft brush and manually picking colors like before.

Next, choose a very small smudge tool (R). Because we will be using the smudge tool to smudge these highlights and shadows in the direction of hair flow to create texture, we’ll want to set the strength to a high number. I have chosen 85%.

Now we will return to the pen tool. Using the anchor points, draw a line along the hair in the direction of hair flow. Right click “Stroke Path…” and chose to stroke the path with the smudge tool that we just set.


Leave a Reply