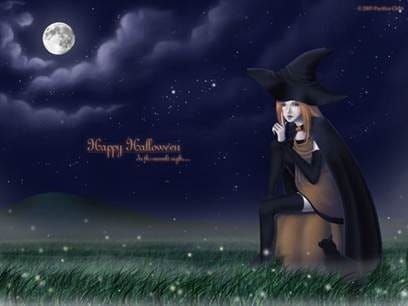
This Photoshop tutorial will teach you how to transform a pencil sketch into a full-color piece of artwork entirely through the use of Photoshop.
Preview of Final Results

Halloween Artwork Photoshop Tutorial
For this project, you’ll need:
- A pencil sketch
- A scanner
- Some artistic understanding
- And a lot of patience
Part 1 – Prep
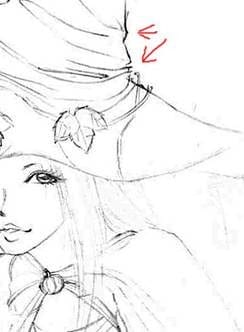
Firstly, let’s choose a pencil hand sketch that we want to color and open it in Photoshop. No part of this pencil sketch will be in the final image; it is entirely for reference purposes and we will be tracing and coloring over it.

Next let’s duplicate the sketch so it is on a new layer and its layer visibility can be turned off whenever we need to take a clear look at how the color drawing we will be doing on top of it is progressing. It helps to fill the background layer with a solid color because it will give a good juxtaposition makes the image on top of it more visible. Here I filled the background in with a dark blue color (#0A0E2B) because the setting of the final image will be nighttime therefore the background primarily dark blue.

If you notice, I also made the image a little wider so its borders won’t interfere with my drawing. I plan for the final image to be horizontal.
Part 2 – Subject
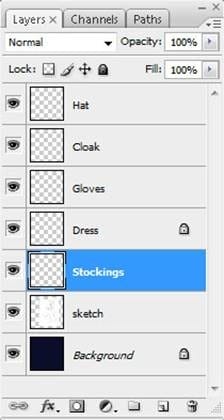
Now it’s time to start putting the subject—the witch—together. Let’s start with the clothes as they will be on the topmost layers and cover everything else such as her hair and her skin. The layers in this image will be a little tricky to order so let’s take it one step at a time. Let’s make a separate layer for the “Hat,” “Cloak,” “Gloves,” “Dress,” and “Stockings.”

Now we’ll fill in each these layers with a solid color according to the shape of each part of her outfit. First, we’ll take the pen tool (P) and draw a path along the outline of our subject’s clothing, making sure to keep each separate piece of clothing on a separate layer. Zoom in (Z) and be sure to pay attention to details like the folds of her clothing as well as which part of her clothing is hidden behind which other parts of her clothing.

Once we’re done the outline, right click and select “Fill Path…” and set the Feather Radius to 0.5 to fill in her hat, cloak, gloves, and stockings with a dark gray-blue color.


Leave a Reply