Turn any photo into a dot grid artwork with these Photoshop actions. You'll get great results with dots that change size. They get larger in brighter areas and smaller in darker areas. Free download available.
Step 21 – Use the Dodge tool on the metal band
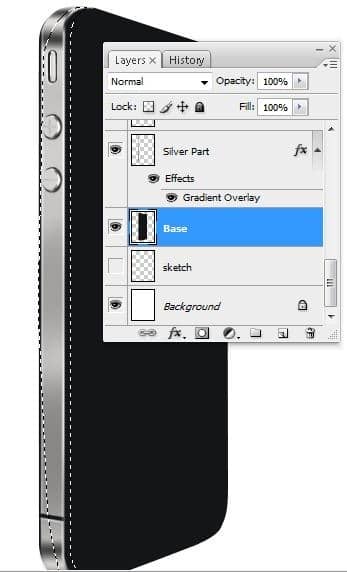
Select the “Base” layer then create a rough selection like shown in the image below. You can use the selection tools or use the Pen tool (P). If you’re using the Pen tool, create the path then right click on it and choose Make Selection.
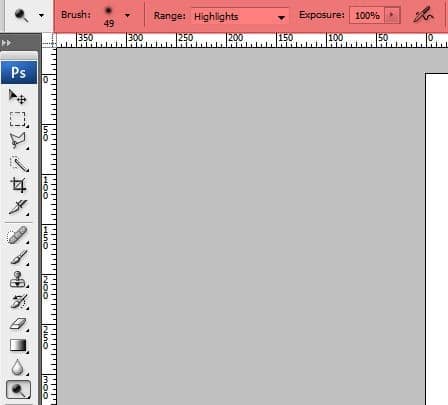
Select the Dodge tool (O). Apply the following settings in the option bar:
- Master Diameter: 49 pixels
- Range: Highlights
- Exposure: 100%
Dodge the upper area of the selection to lighten the corner.
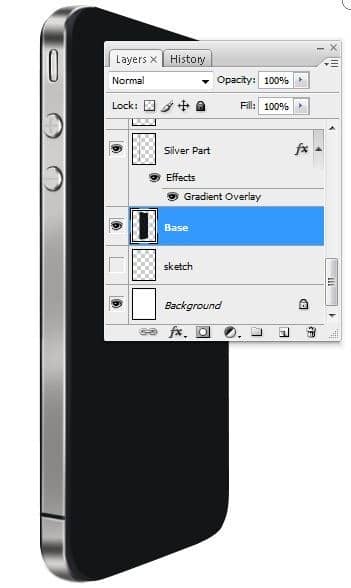
Step 22 – Create a reflection on the metal band corner
Create a new layer and name it “stroke 4”. Select the Pen tool (P) to create a path like shown in the image below.
![22a[3] 22a[3]](https://cdn.photoshoptutorials.ws/images/stories/4896530f36e1_112DE/22a3.jpg?strip=all&lossy=1&quality=70&webp=70&avif=70&w=1920&ssl=1)
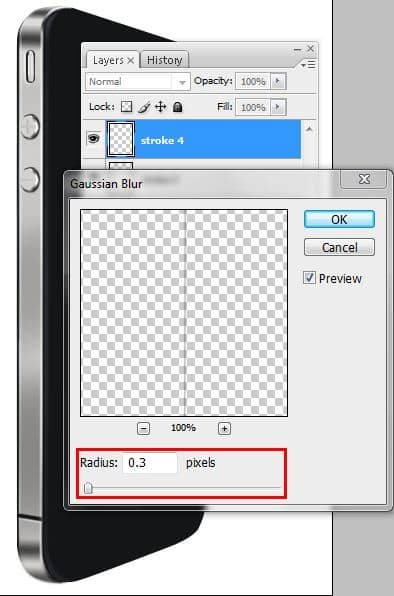
Add a 1 pixel black stroke then choose Filter > Blur > Gaussian Blur.
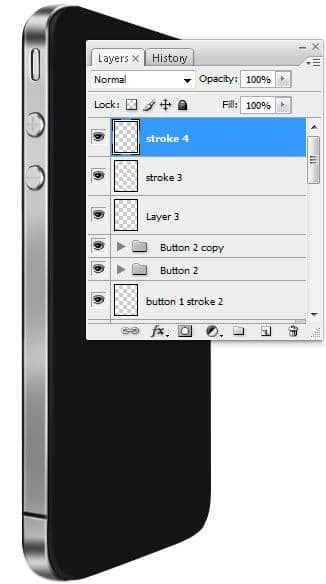
Set the Radius to 0.3 pixels in the Gaussian Blur window then click Ok.
Select the Eraser tool (E) and erase a little bit of the top and bottom of the stroke to fade the stroke out.
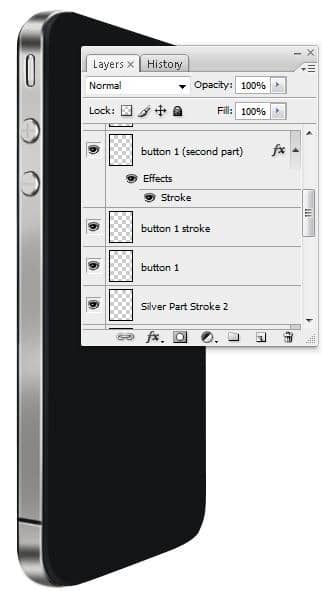
Step 23 – Create a bevel for the front face of the iPhone
Create a new layer and name it “stroke 5”. Select the Pen tool (P) to create a path like shown in the image below.
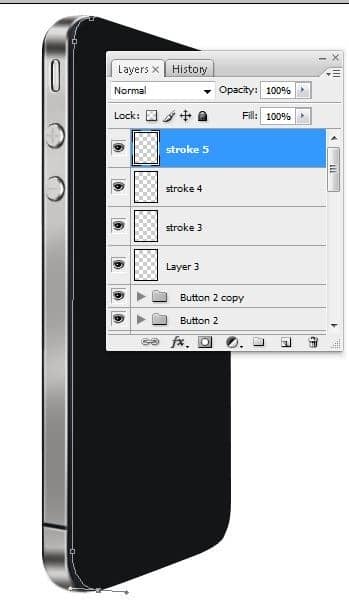
Add a 1 pixel black stroke to this path.
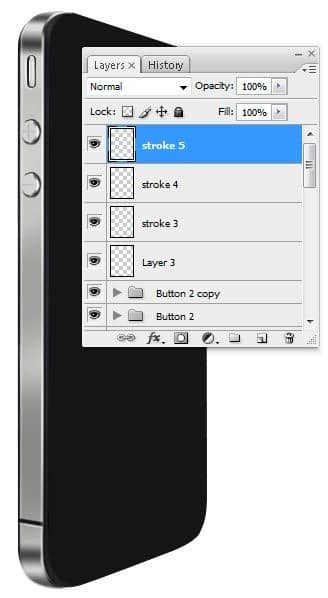
Choose Filter > Blur > Gaussian Blur and apply a 0.3 pixel blur.
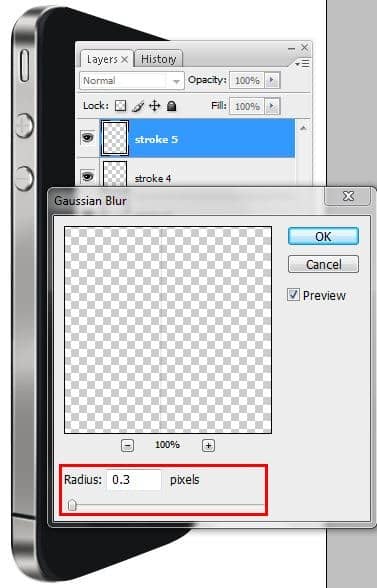
Step 24 – Add a reflection to the front face bevel
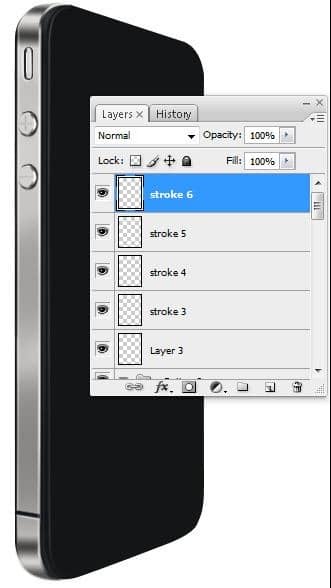
Create a new layer then rename it to “stroke 6”. Select the Pen tool (P) and create a path like shown in the image below.
![24a[3] 24a[3]](https://cdn.photoshoptutorials.ws/images/stories/4896530f36e1_112DE/24a3.jpg?strip=all&lossy=1&quality=70&webp=70&avif=70&w=1920&ssl=1)
Add a 2 pixel white stroke to the path.
![24b[3] 24b[3]](https://cdn.photoshoptutorials.ws/images/stories/4896530f36e1_112DE/24b3.jpg?strip=all&lossy=1&quality=70&webp=70&avif=70&w=1920&ssl=1)
Select the Eraser tool (E) with the following option bar settings:
- Master Diameter: 121 pixels
- Mode: Brush
- Opacity: 100%
- Flow: 100%
![24c[4] 24c[4]](https://cdn.photoshoptutorials.ws/images/stories/4896530f36e1_112DE/24c4.jpg?strip=all&lossy=1&quality=70&webp=70&avif=70&w=1920&ssl=1)
Erase the area above the stroke to blend it in.
Step 25
Create a new layer and name it “Screen”. Select the Pen tool and create a rectangle path like shown in the image below.
![25a[9] 25a[9]](https://cdn.photoshoptutorials.ws/images/stories/4896530f36e1_112DE/25a9.jpg?strip=all&lossy=1&quality=70&webp=70&avif=70&w=1920&ssl=1)
Right click on the path then choose Fill Path. Fill it with a gray color. It doesn’t matter what color you pick because this is only for us to see the shape of the screen and will not show up in the final results.
![25b[9] 25b[9]](https://cdn.photoshoptutorials.ws/images/stories/4896530f36e1_112DE/25b9.jpg?strip=all&lossy=1&quality=70&webp=70&avif=70&w=1920&ssl=1)
Step 26 – Create the gap between the glass and LCD
Create a new layer and name it “stroke 7”. Select the Pen tool and create a path like shown in the image below.
![26a[3] 26a[3]](https://cdn.photoshoptutorials.ws/images/stories/4896530f36e1_112DE/26a3.jpg?strip=all&lossy=1&quality=70&webp=70&avif=70&w=1920&ssl=1)
Create a 1 px white stroke on the path.
![26b[3] 26b[3]](https://cdn.photoshoptutorials.ws/images/stories/4896530f36e1_112DE/26b3.jpg?strip=all&lossy=1&quality=70&webp=70&avif=70&w=1920&ssl=1)
Reduce the opacity to 17%.
Step 27 – Create the iPhone wallpaper graphic
Select the layer “Screen” then use the Hue/Saturation tool (Ctrl+U or Image > Adjustments > Hue/Saturation) and reduce the lightness to –100 to make the screen black.
![27a[3] 27a[3]](https://cdn.photoshoptutorials.ws/images/stories/4896530f36e1_112DE/27a3.jpg?strip=all&lossy=1&quality=70&webp=70&avif=70&w=1920&ssl=1)
Load a selection of the layers contents (Ctrl+click on the layer thumbnail or Layer > Load Selection). Select the Brush tool and set the foreground color to any color you like. This will be used to create the abstract graphic on the screen. Click once on the top left then select another color and click again on the top right of the screen.

2 comments on “How to Draw a Photorealistic iPhone 4 in Photoshop”
I realy like your site and get what i looking for thank you very much.
thank yhu