Download Lightroom presets and LUTs, absolutely free. Use the presets to add creativity and style to your photos.
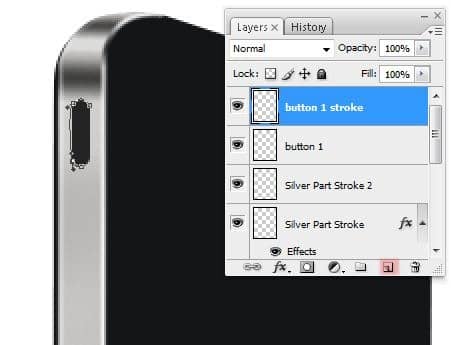
Select the Eraser tool and erase over the ends to fade the stroke.
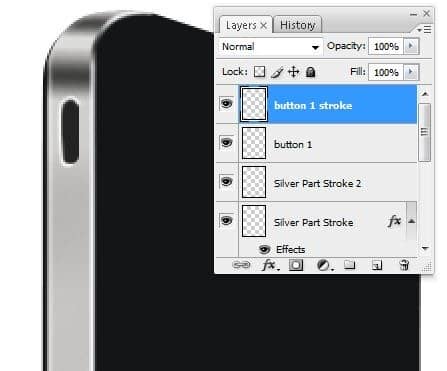
Using a larger eraser brush, erase around the outer edge of the stroke to reduce the opacity.
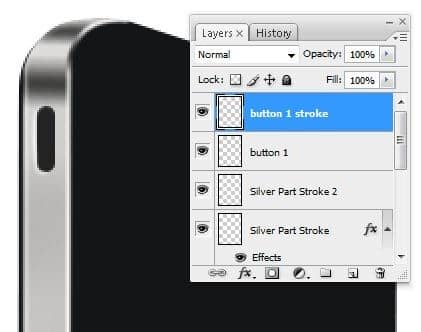
Step 9 – Create the other side of the bevel for the vibrate on/off switch
Create a new layer and name this layer “button1 (second part)”. Set the foreground color to #D5D4D2 then select the Rounded Rectangle tool (U) and create a shape like the image below.
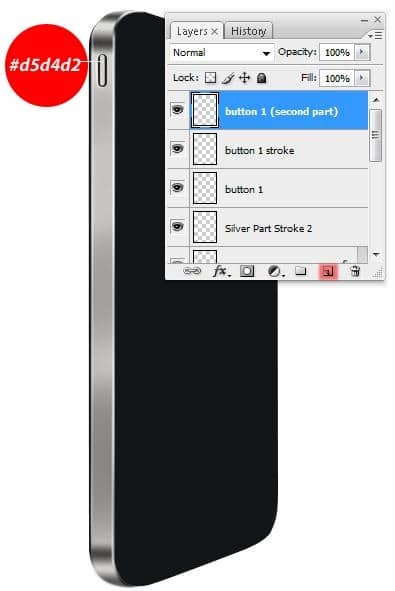
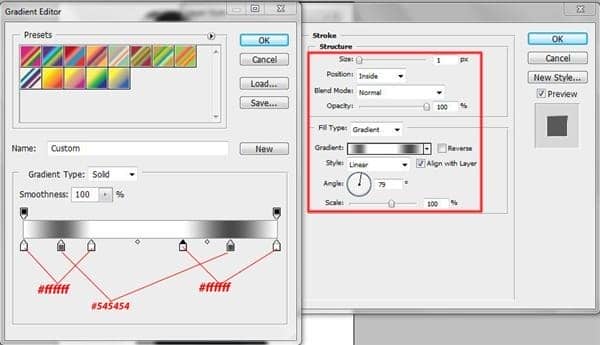
Choose Layer > Layer Style > Stroke then create a stroke with the settings shown in the image below. Note that the stroke fill type we’re using this time is a Gradient. Once you set the fill type to Gradient, you can create the gradient shown in the image below.
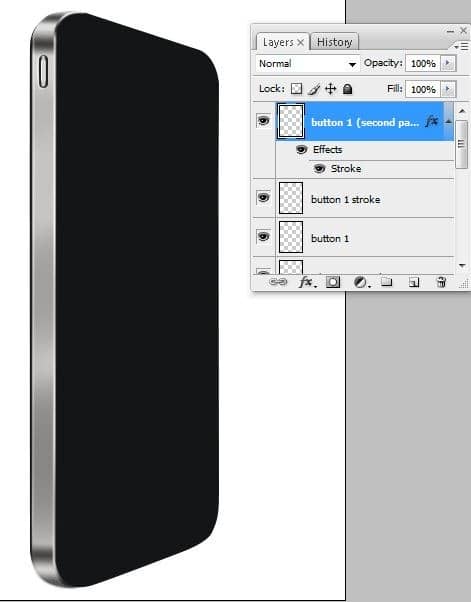
This is what your iPhone should look like so far.
Step 10 – Finishing touches for the vibrate on/off switch
Create a new layer then rename it to “button 1 stroke 2”.
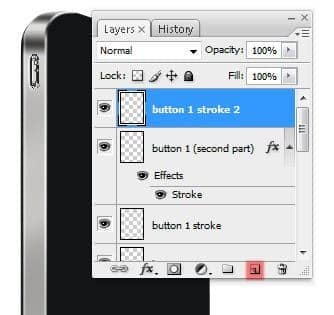
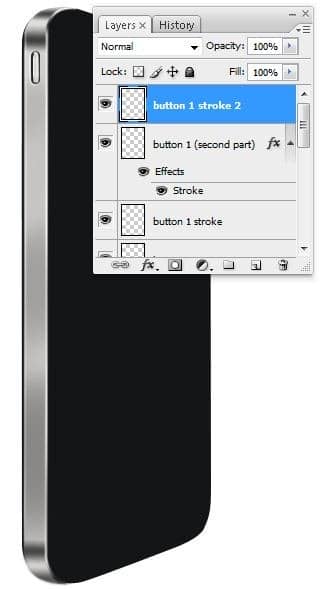
Select the Pen tool (P) to create an image like shown in the image below. Add a 1 px white stroke by selecting the Brush tool to set the brush size to 1 pixel and foreground color to white. Then switch back to the Pen tool (P), right click on the path, then choose Stroke Path.
Step 11 – Create the shape for the volume up button
Create a new layer then name it “button 2”. Select the Elipse tool (U) and create an oval shape like show in the image below. Use the Paint Bucket tool (G) to fill the selection with a dark gray color (#343331).
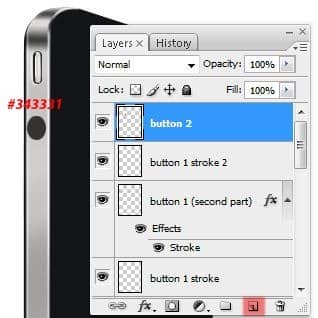
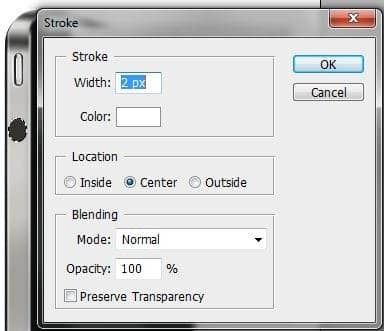
With the selection still active, right click on the selection and choose Stroke. Set the stroke size to 2 px and color to white.
This is what the button should look like.
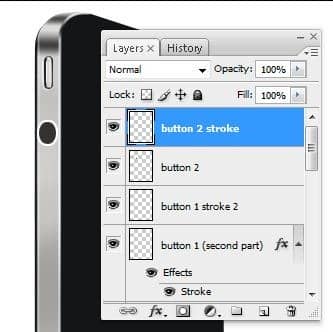
Step 12 – Fade in the button stroke
Select the Eraser tool (E) with these option bar settings:
- Master Diameter: 56 pixels
- Mode: Brush
- Opacity: 100%
- Flow: 100% (12A)
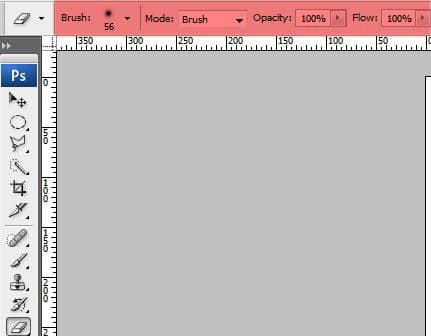
With the Eraser tool (E), erase the outer edge of the stroke to fade it in.
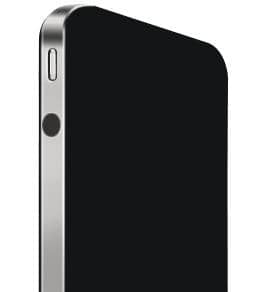
Step 13 – Create the top of the volume up button
Create a new layer and name this “button 2 top”. Select the Elipse tool (U) to create a shape like shown in the image below. Use the Paint Bucket tool (G) to fill the selected area with a light gray (#D5D4D2).
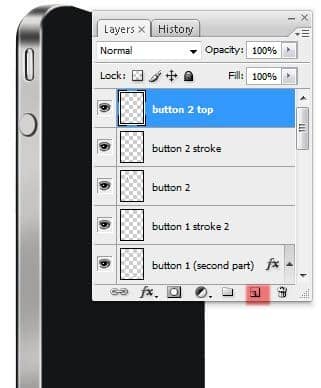
Create a new layer then use the Pen tool (P) to create a path like shown in the image below.
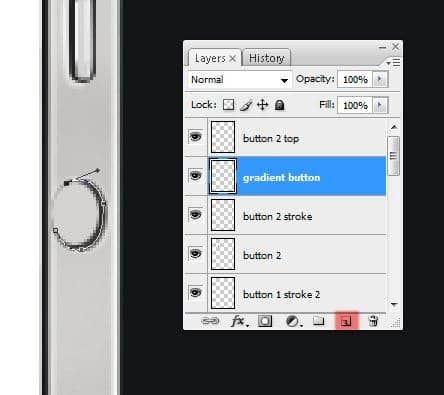
Right click on the path then choose Fill and fill the path with a dark gray color (#343331).
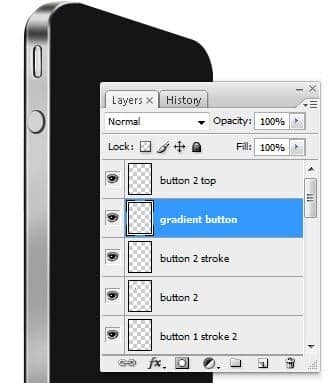
Step 14 – Dodge and burn the volume up button
Select the Dodge tool (O) and apply the following settings in the option bar.
- Master Diameter: 8 pixels
- Range: Highlights
- Exposure: 100% (14A)
Use the Dodge tool in the areas shown in the image below.

2 comments on “How to Draw a Photorealistic iPhone 4 in Photoshop”
I realy like your site and get what i looking for thank you very much.
thank yhu