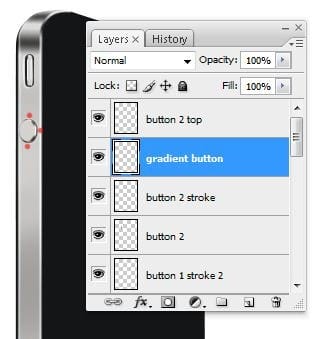
Choose Layer > Layer Style > Stroke and use the settings shown in the image below.
- Size: 1 pixel
- Position: Outside
- Blend Mode: Normal
- Opacity: 37%
- Fill Type: Color
- Color: #000000(black) (14C)

Step 15 – Create the reflection for the volume up button
Create a new layer then name this layer “Layer Properties”. Select the Pen tool (P) and create a path around the button like shown in the image below.
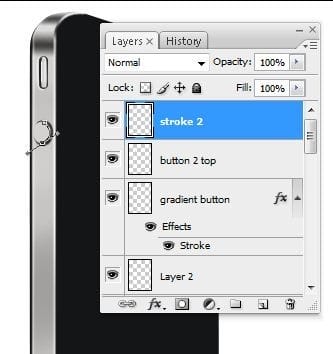
Select the Brush tool then set the brush size to 3 pixels and stroke to white. Right click on the path then choose Stroke Path. This time, enable the Simulate Pressure option.

Step 16 – Create the volume up sign
Create a new layer then rename it to “plus”. Select the Pen tool (P) and create a path over the button like show in the image below. Select the Brush tool and set the brush size to 1 px and foreground color to a gray. Switch back to the Pen tool (P) then right click on the path and select Stroke Path.

Go to Layer > Layer Style > Inner Shadow and apply the settings shown below.
- Blend Mode: Multiply black
- Opacity: 25%
- Angle: 173*
- Distance: 1 pixel
- Choke: 0%
- Size: 1 pixel

Step 17 – Put the button layers into a group
Select all the layers related to the volume up button then press Ctrl+G or choose Layer > New > Group from Layers. This will put all the layers into a group.


Rename this group to “Button 2”.
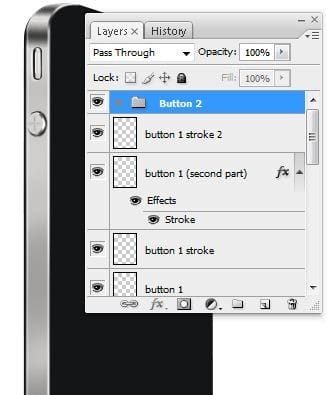
Step 18 – Duplicate the button and convert it to a volume down button
Select the “Button 2” group then duplicate the group (Ctrl+J or Layer > Duplicate Group). Select the Move tool (V) then move the button below where the volume down button should be.

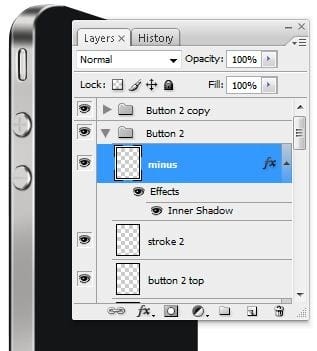
Transform the plus sign to a minus sign using the Eraser tool. Make sure you have your hardness set to 100%. Rename the layer to minus.
Step 19 – Create the metal band divider
Create a new layer then use the Pen tool (P) to create a path like shown in the image below.

Add a 3 pixel black (#1A1C1B) stroke like shown in the image below. If you got this far, you should remember how to do this. In case you don’t, select the Brush tool (B) then set the brush size to 3 px and foreground color to black (#1A1C1B). Select back the Pen tool (P), right click on the path, then select Stroke Path.
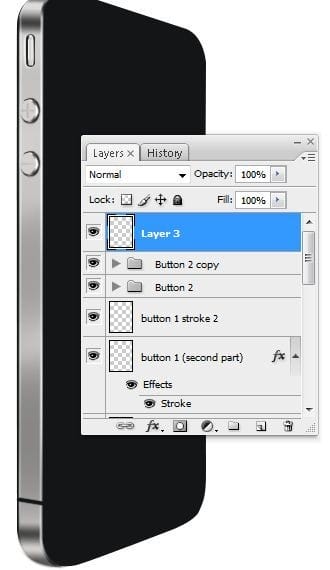
Select the Dodge tool (O) and dodge the the right side of the stroke to lighten it.

Step 20 – Create the bevel at the metal band divider
Create a new layer and name it “stroke 2”. Add a 2 pixel white stroke like shown in the image below. We’ve done this a few times already and it is the same process as before. Create the path using the Pen tool (P), select the Brush tool (B) and set the brush size to 2 px and foreground color to white, then switch back to the Pen tool to stroke the path (Right-click on the path then choose Stroke Path).
2 responses to “How to Draw a Photorealistic iPhone 4 in Photoshop”
-
I realy like your site and get what i looking for thank you very much.
-
thank yhu
-


Leave a Reply