
Step 25
Make another selection using the Lasso Tool (L).
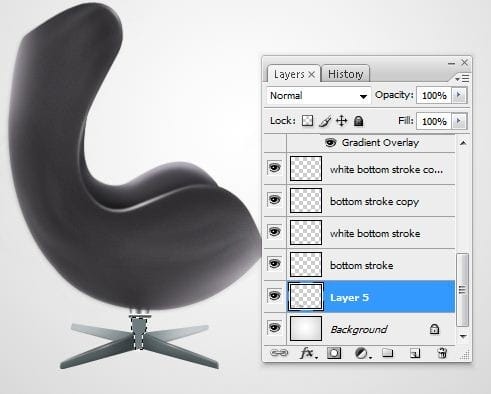
Add some shadows using the Burn Tool (O) on the sides of the selection.
Step 26
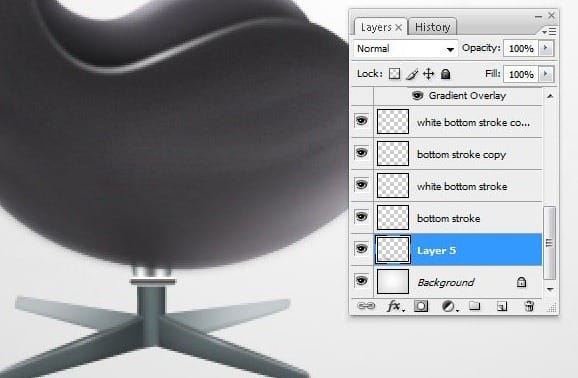
Make a new layer and name the layer “bottom stroke 2 “. Make a path using the Pen Tool (P).
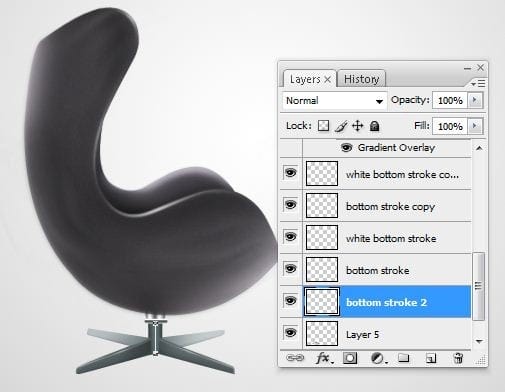
Add a 2px wide white stroke.

Use the Eraser Tool (E) at the top and bottom of the stroke like in the picture below.
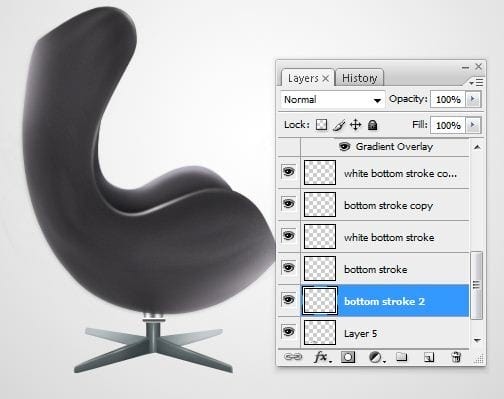
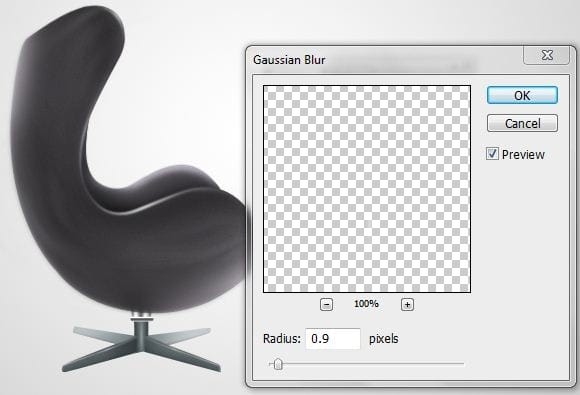
Now go to Filter > Blur > Gaussian Blur… and set Radius on 1 px. Press OK.
Step 27
Make a new layer and place it above the “Background” layer. Make a path using the Pen Tool (P) similar as it´s shown in the picture below.

Grab the Gradient Tool (G) and fill the path with a dark gray color.
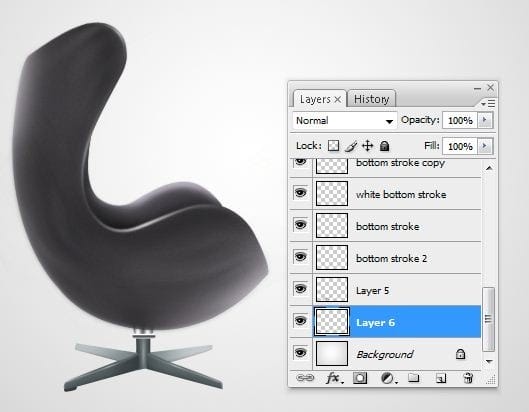
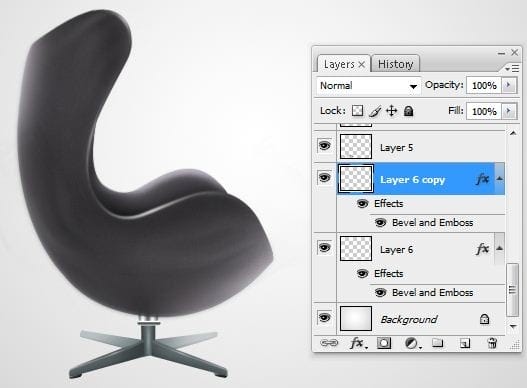
Go to Blending Options > Bevel and Emboss… and make following settings.

Duplicate the layer created during this step, flip it horizontally and place it like in the picture below.
Step 28
Make another new layer (Ctrl+Shift+N) and create another dark gray shape like in the next picture.
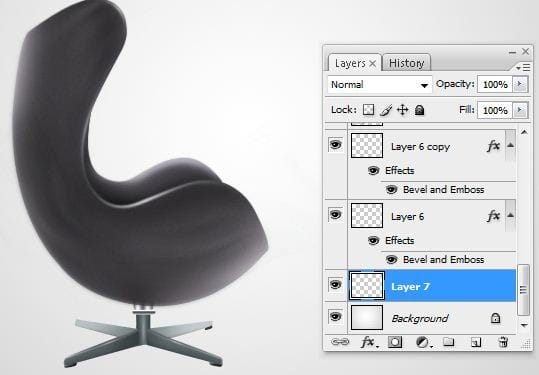
Click on the layer created at the step 27, right click on it and select Copy Layer Style.
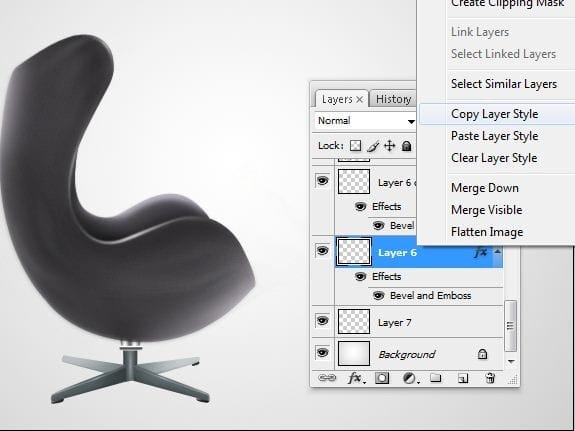
Click on the “Layer 7” an paste the layer style.

Duplicate the layer , flip it and place it like in the picture below.

Step 29
Make a new layer and name it “shadow “. With the Pen Tool (P) make a path as seen below.
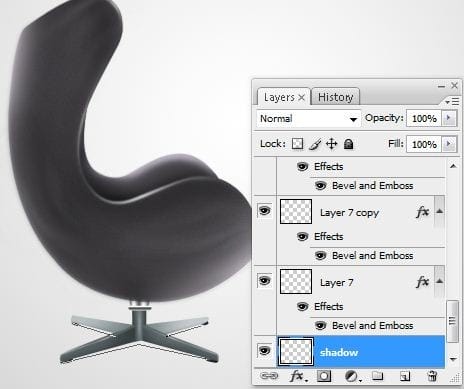
Add 3 pixels wide dark gray stroke (Right click > Stroke Path).
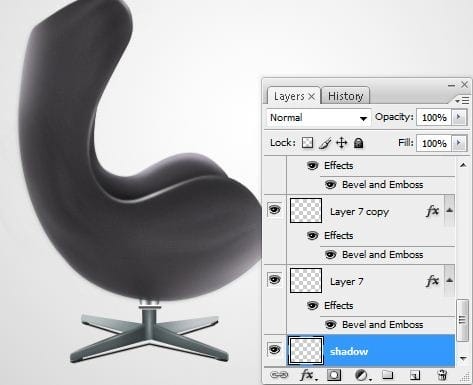
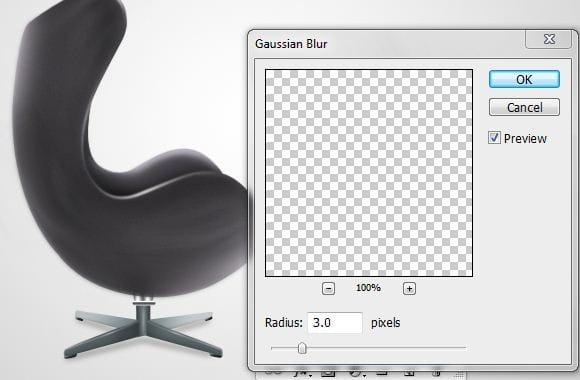
Go to Filter > Blur > Gaussian Blur… aand set the Diameter on 3 px. Press OK.
Step 30
Now duplicate all the layers which create the bottom part of the chair and place them into a new group called “Second chair”.

In this group select “Layer 5” and make following selection using the Lasso Tool (L).
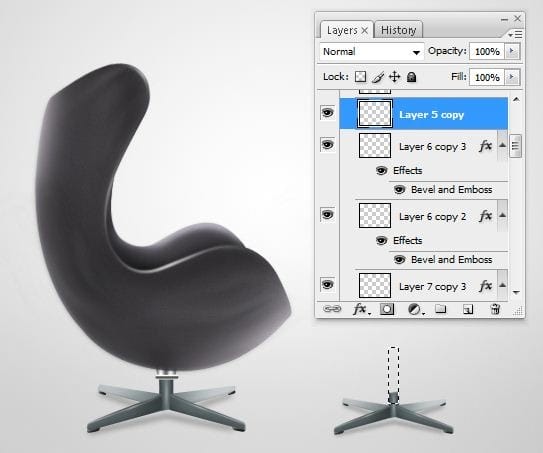
Use the Smudge Tool (R) and smudge like in the picture below.

Step 31
Smudge the white stroke too.
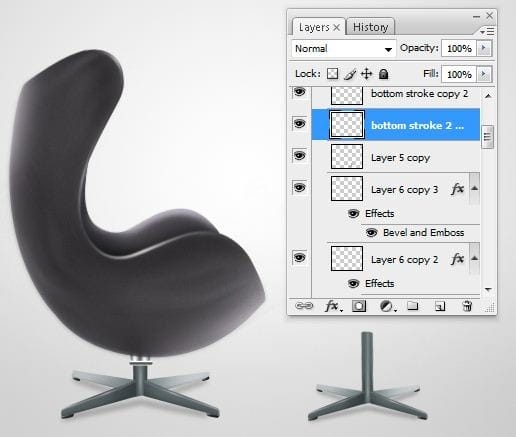
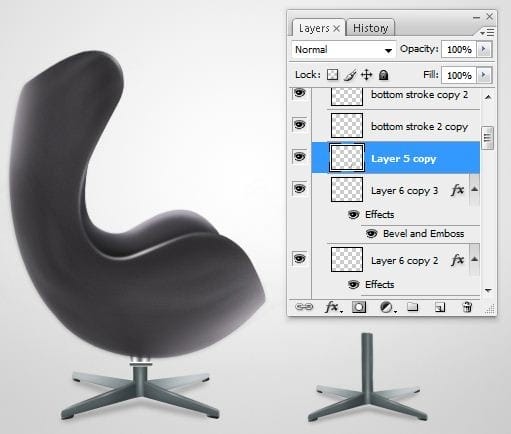
Add some shadows using the Burn Tool (O) on the sides.
Step 32
Make a new layer (Ctrl+Shift+N) and name it “Top part”.
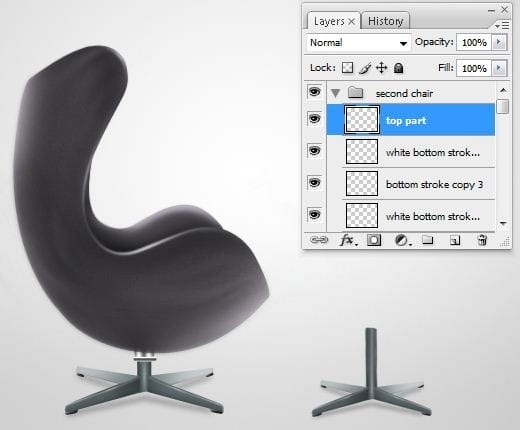
Select the Rounded Rectangle Tool (U) with following settings.
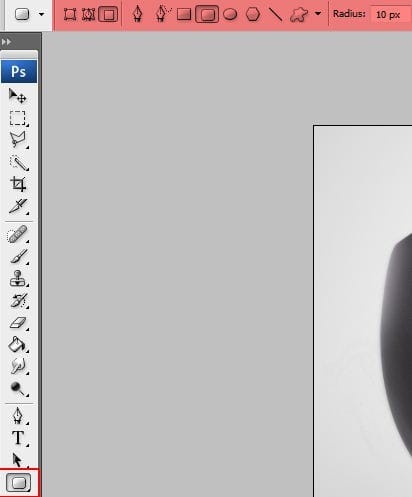
Add a gray shape like in the picture below.

Step 33
From the Tools menu select the Elliptical Marquee Tool (M).

With the “top part ” layer selected make following selection.
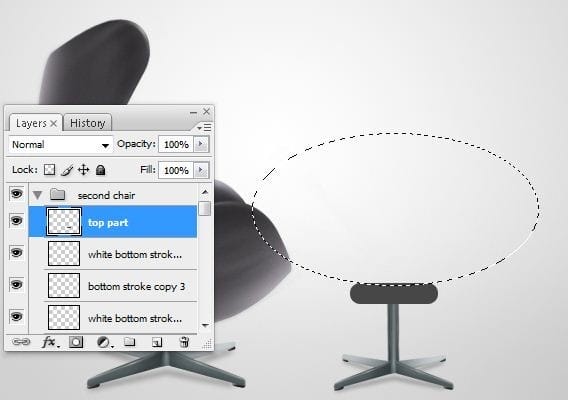
Press Delete key from your keyboard.


Leave a Reply