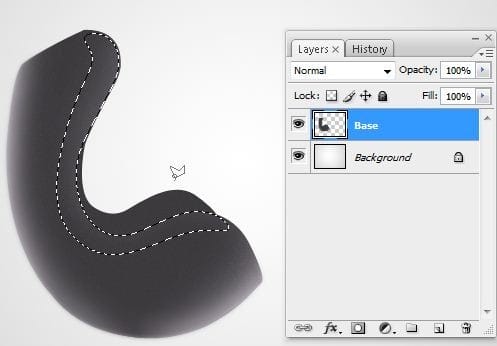
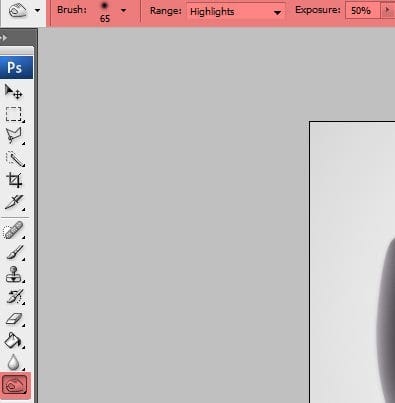
Select the Burn Tool (O) with following settings.
Add some shadows using the Burn Tool (O) like in the picture below.

Step 9
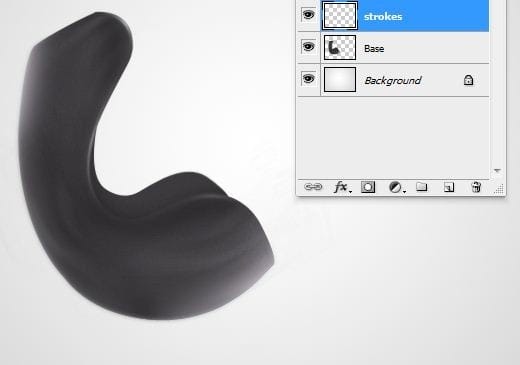
Create a new layer. Rename the layer to “Strokes”.
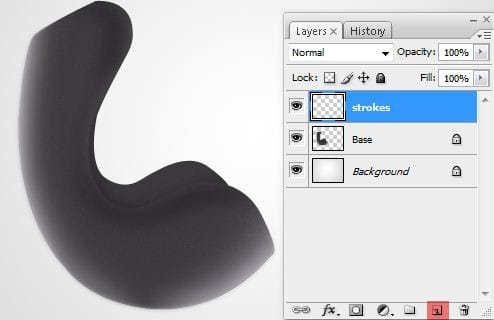
From the Tools Menu select the Brush Tool (B) with these settings:
• Master Diameter: 3px
• Mode: Normal
• Opacity: 100%
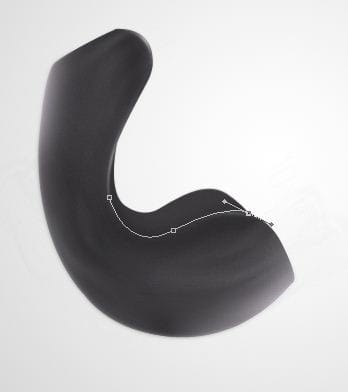
Use the Pen Tool (P) and create a path like in the picture below. Right click on it and select “Stroke Path” option

Step 10
After you’ve pressed Stroke Path, check the “Simulate pressure” box and press OK.
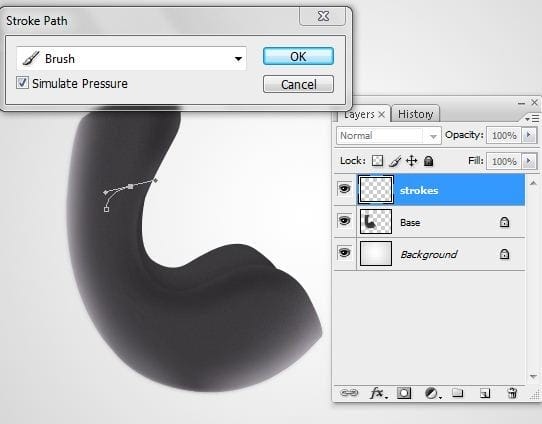
You should obtain a stroke like in the next picture.
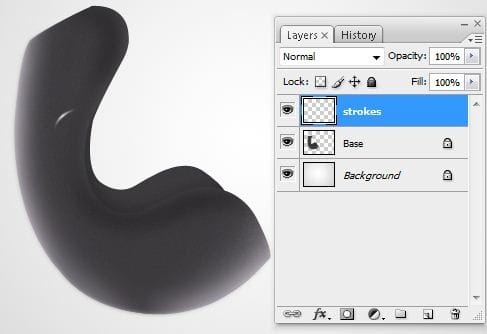
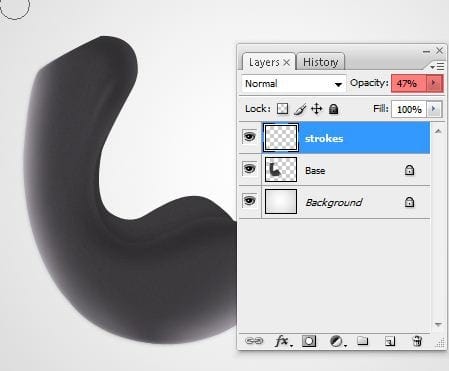
Use the Smudge Tool (R) and smudge the created stroke. Decrease the opacity of the “strokes” layer to 50%.
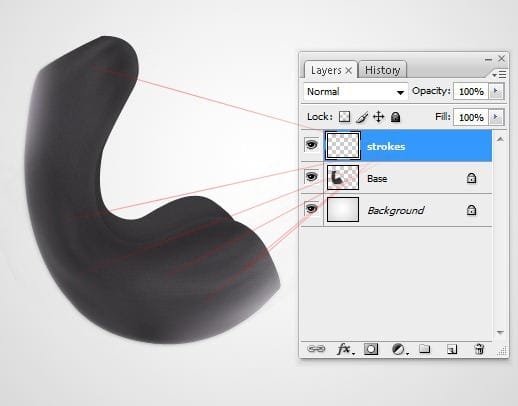
Duplicate the layer “strokes” (right click on it and select Duplicate Layer) and place it in the indicated places (you can see them in the picture below where the red lines shows). Merge the duplicated layers in one (Ctrl + click on the layers you want to merge and then the right click on these layers and select Merge Layers).
Step 11
Make a new layer and rename it to “Stroke 2”. Select the Pen Tool (P) and make a path like in the picture below.

Add a 3 px wide white stroke (with Simulate Pressure ON). You should get something like this.
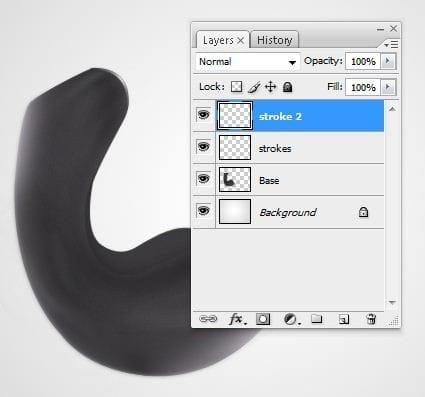
Go to Filter > Blur > Gaussian Blur… and set the Radius on 1 px.

Step 12
Add more strokes using the same technique as it the step 11.
Use the Pen Tool (P) and create a path like in the picture below.
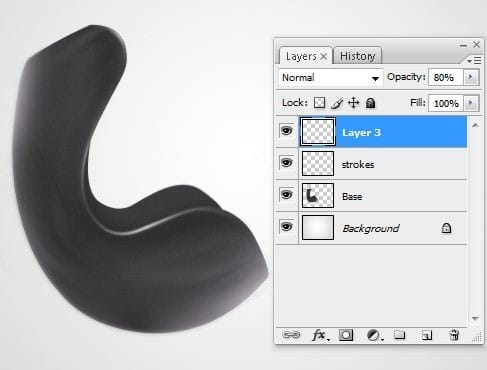
Add a 3px wide white stroke (with Simulate Pressure ON). You should have something like on the picture below.

Decrease the opacity of it to 80%.
Step 13
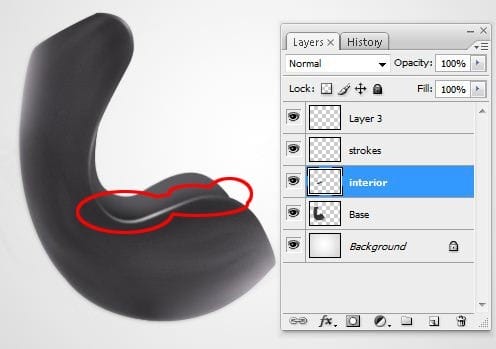
Make a new layer and rename it to “interior”. Grab the Gradient Tool (G) and fill it like in the picture below with #5C5960 gray color.

Step 14
From the Tools Menu select the Burn Tool (O). Set the Diameter of the brush on 52 px, Range on Highlights and Exposure on 50%. Add some shadows as it´s circled in the picture below.
Step 15
Pick up the Dodge Tool (O). Set the Diameter of the brush on 30 px, Range on Highlights and Exposure on 70%. Add some highlights similarly as on the picture below.
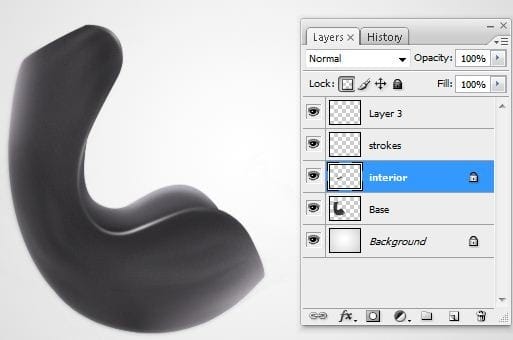
Go to Image > Adjustments > Brightness/Contrast. Set the value Brightness on -11 and Contrast on 61. Press OK.


Leave a Reply