
Repeat it at the bottom part too.

Step 34
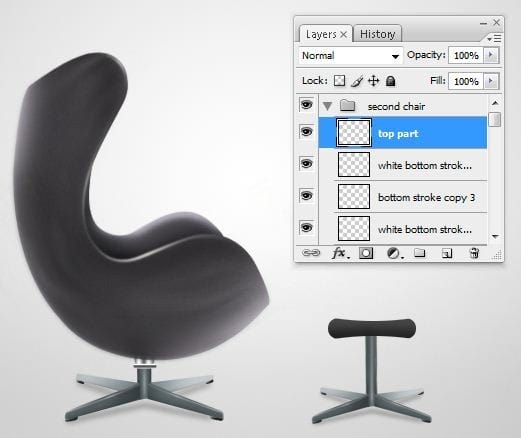
Select the Burn Tool (O) and set the Diameter of the brush on 26 pixels, Range on Highlights and Exposure on 36%. Use the Burn Tool (O) to add some shadows at the bottom.
Step 35
Pick up the Dodge Tool (O). Set the Diameter of the brush on 29 pixels, Range on Midtones and Exposure on 30%. Add some highlights at the top part of “top part” layer.

Step 36
Make a new layer and name it “top part stroke”. With the Pen Tool (P) make following path.
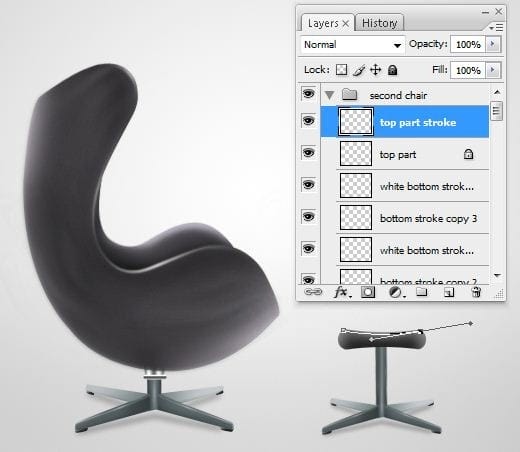
Add a 3px wide white stroke (Simulate Pressure ON ) like in the picture below.
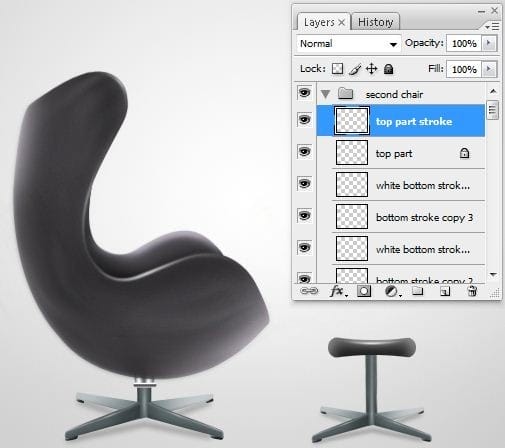
Go to Filter > Blur > Gaussian Blur… and set the Radius on 1pixel. Press OK. Decrease the opacity of the “top part stroke” layer to 70%.

Step 37
Add another stroke on the side of the little chair.
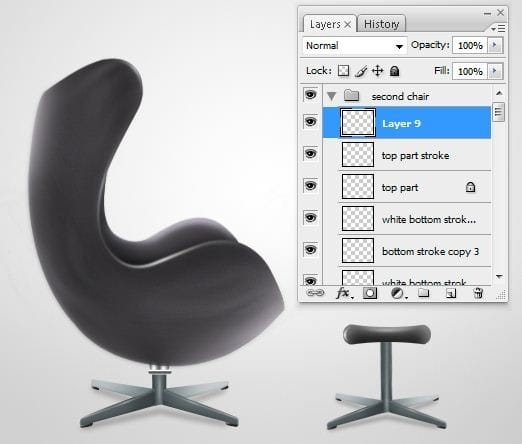
Go to Filter > Blur > Gaussian Blur…. and set the Radius on 1 pixel.
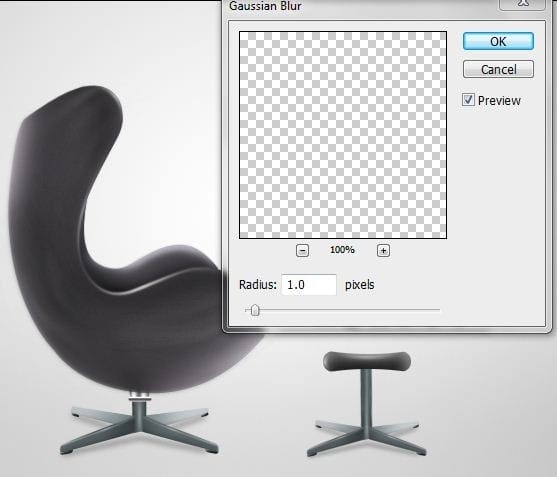
Decrease the opacity of the “top part stroke” layer to 70%.

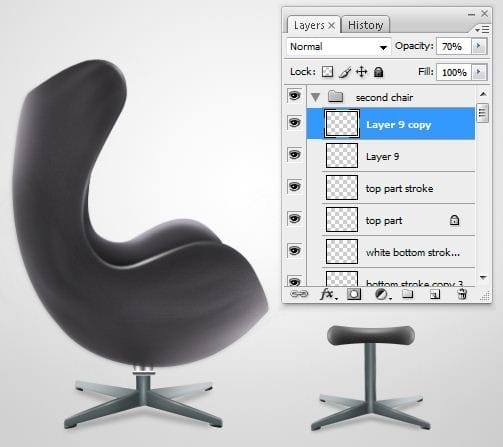
Duplicate the stroke created at the the beginning of this step. Flip it and place it like in the picture below.
Final Results
![final[1] final[1]](https://cdn.photoshoptutorials.ws/images/stories/c4b38e001fe3_E923/final1.jpg?strip=all&lossy=1&webp=82&avif=82&w=1920&ssl=1)


Leave a Reply