Make your artwork look like they're from an alternate universe. These Cyberpunk presets work with Photoshop (via the Camera Raw filter) and Lightroom. Download all 788 presets for 90% off.
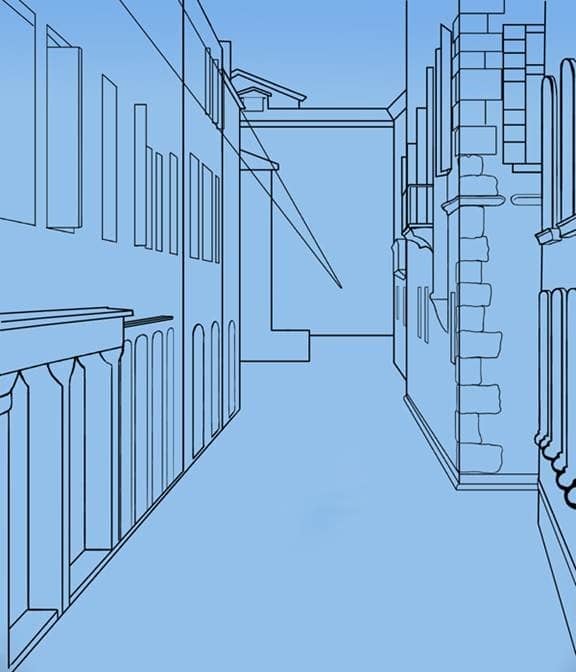
Step 79
Using an opaque, 9 pixel hard-edged brush, draw a second outcropping from this building. It appears to be a chiminey.
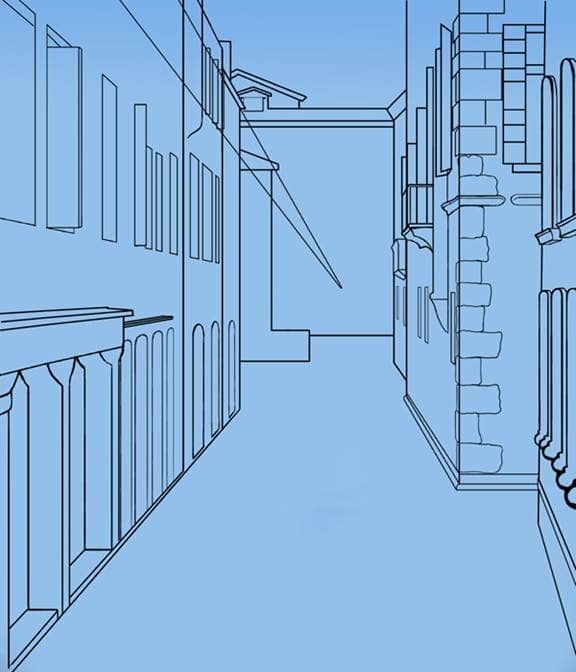
Step 80
Erase the two lines.
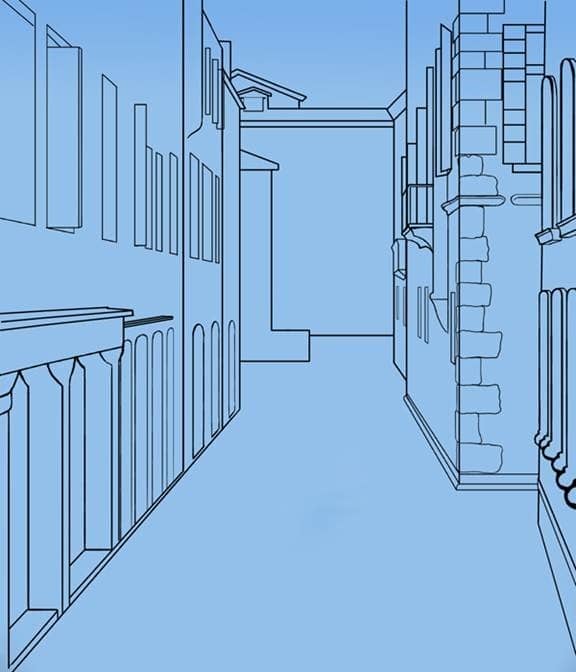
Step 81
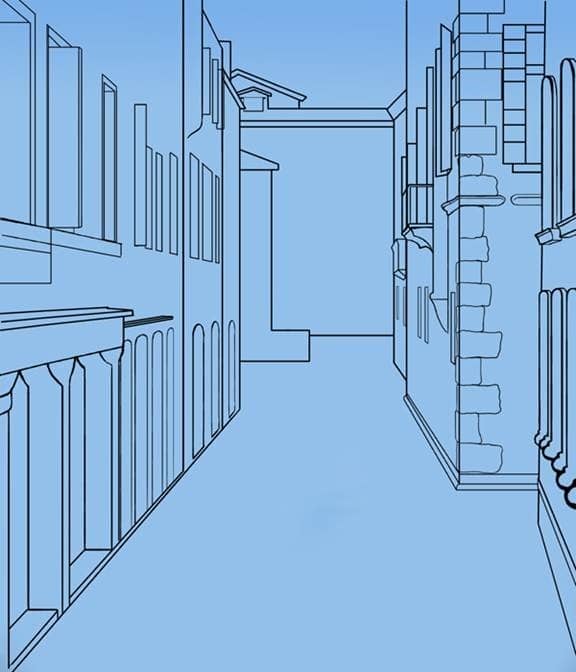
Draw an elongated rectangle beneath the first three windows. Draw the inside of the windows.
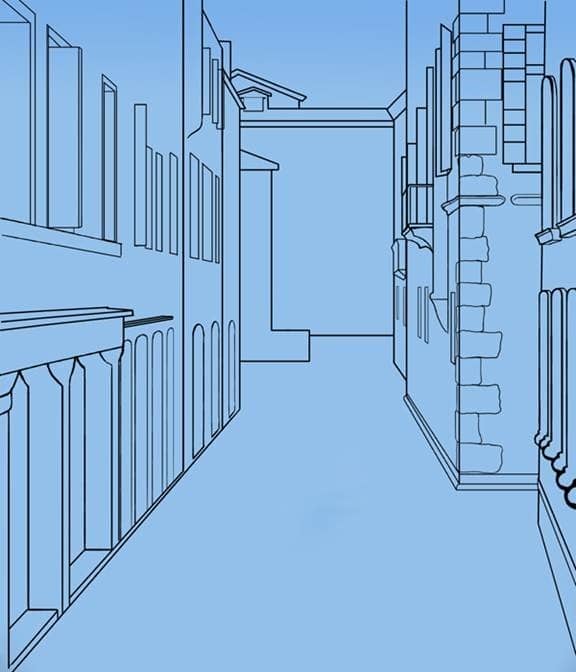
Step 82
Draw a square flower box in front of the first window.
Step 83
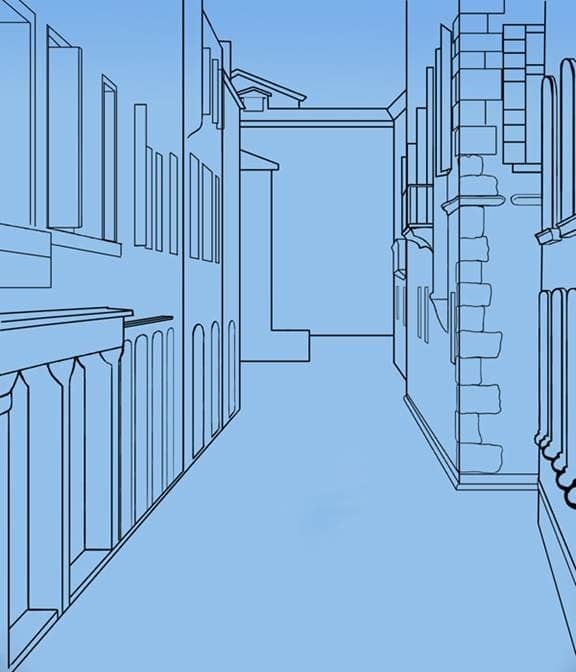
Erase the lines beneath it.
Step 84
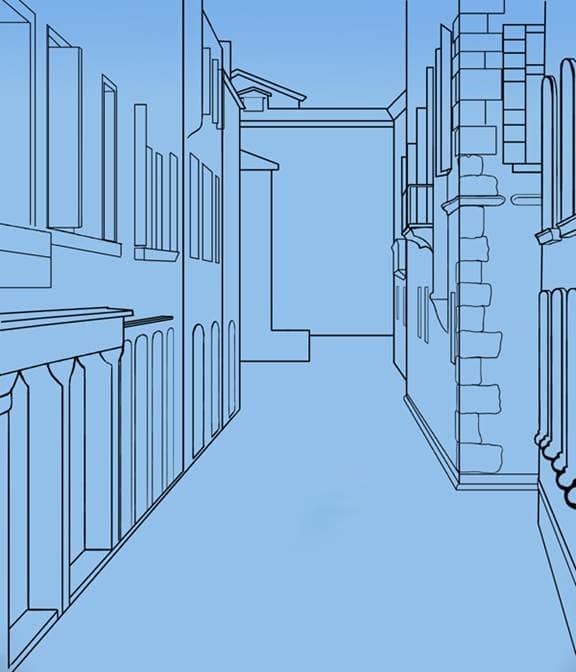
Draw a rectangular prism under the second set of windows. This is another window box.
Step 85
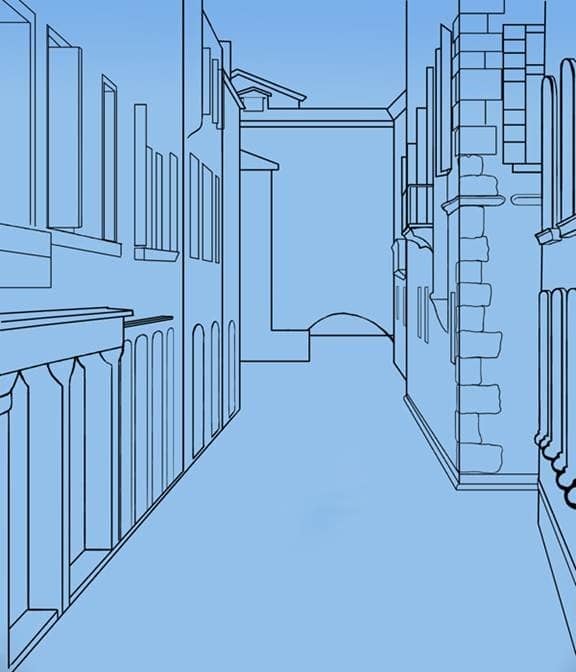
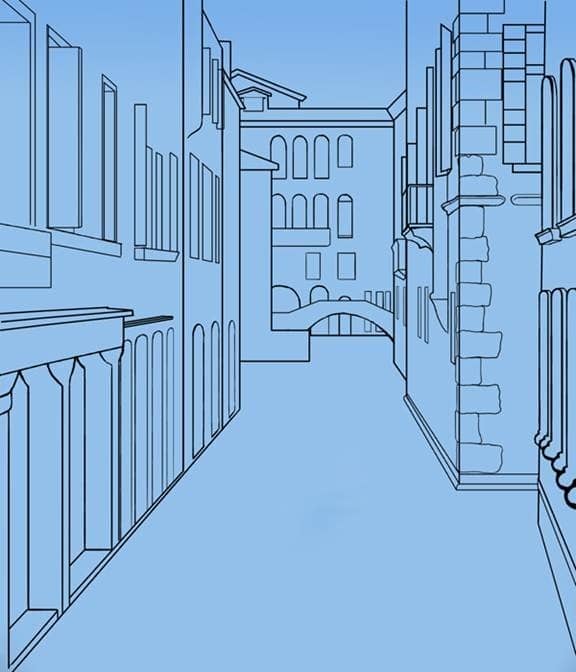
Draw an arch from the “L” shaped building to the building on the other side.
Step 86
Draw the top of the bridge with the line tool (4 pixels).
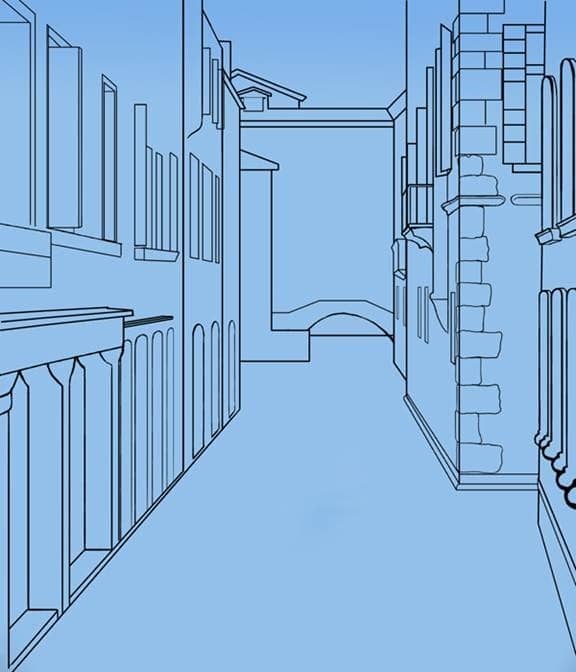
Step 87
Draw three arches behind the bridge.
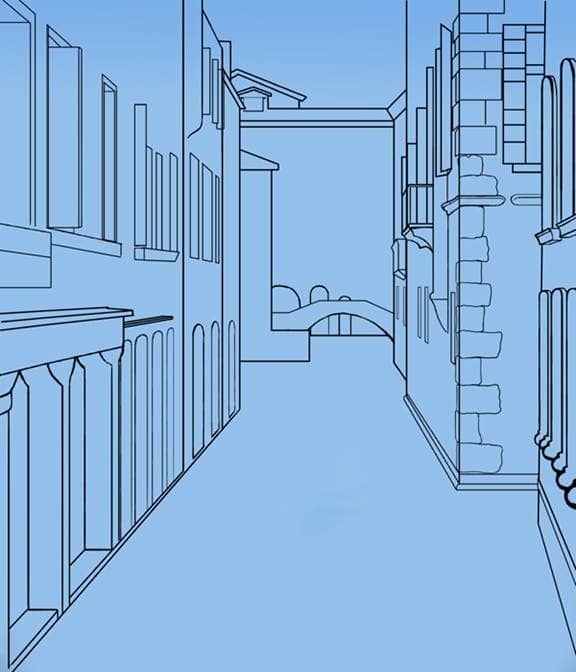
Step 88
Draw three windows to the right of the arches.
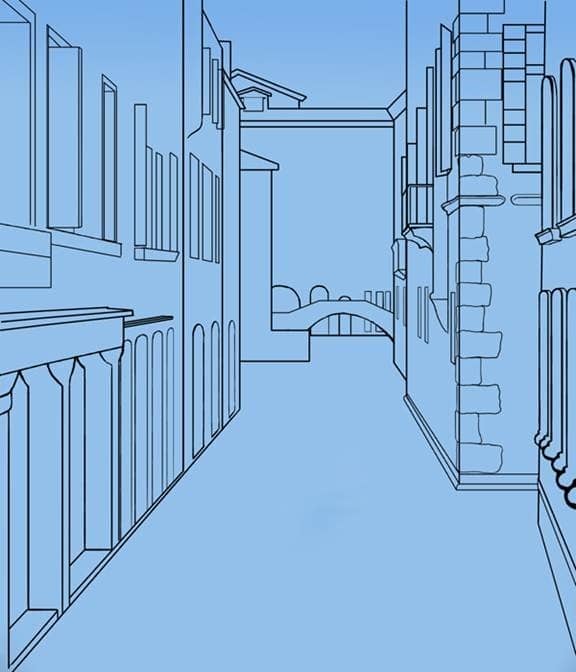
Step 89
Draw two windows above the bridge at 4”.
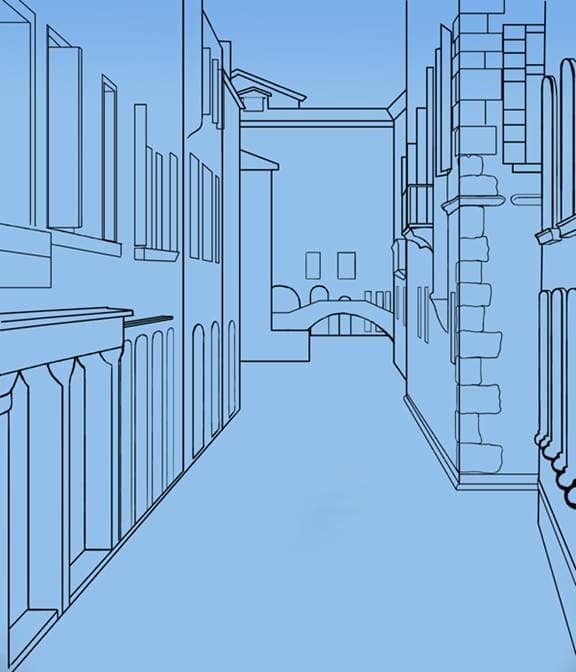
Step 90
Use the 9 pixel hard-edged brush to draw a balcony at 3.5”.
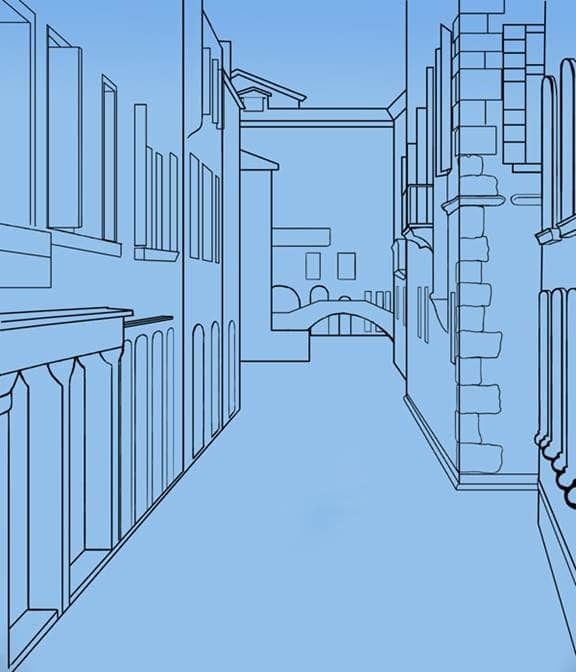
Step 91
Draw three arched windows above the balcony.
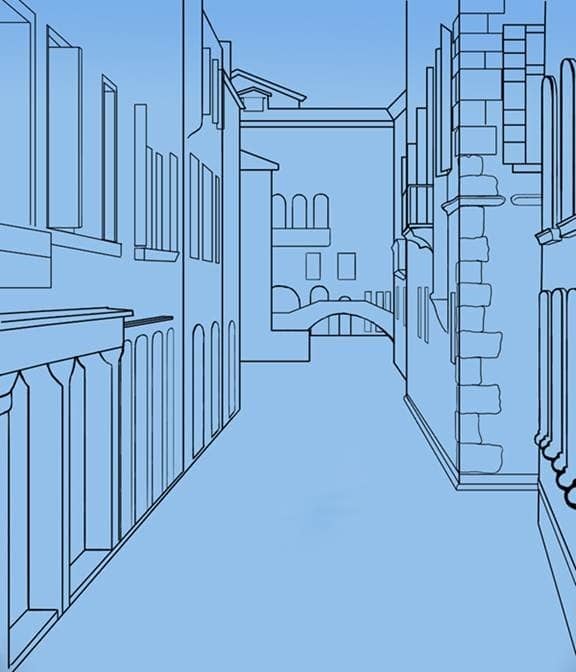
Step 92
Draw three more arched windows directly above the others.
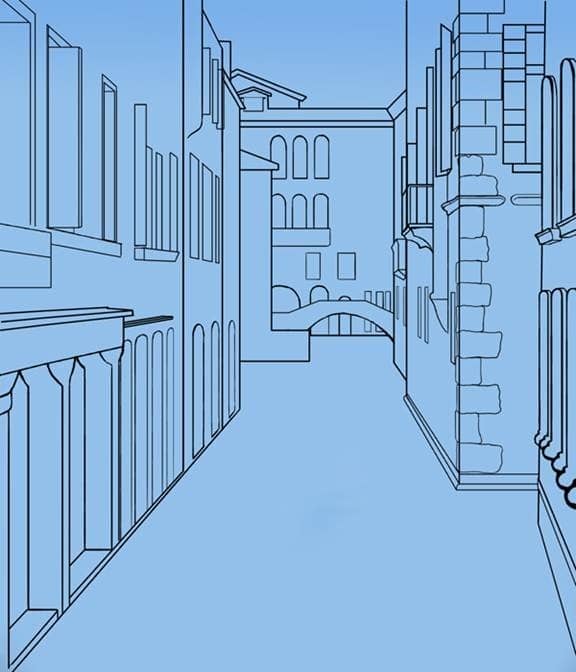
Step 93
Draw another arched window to the right of the ones you just drew. The top of the arch should be on the same later, but it is shorter than the others.
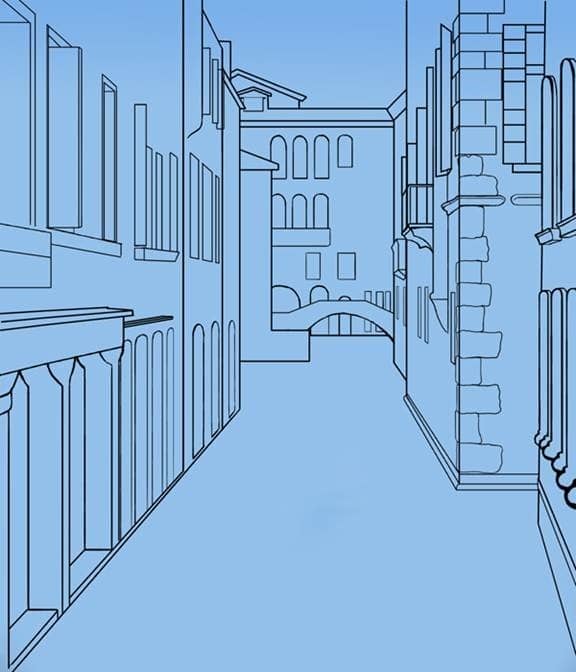
Step 94
Draw the last window. It should be shaped like an arch, but have a rectangle inside it.
Step 95
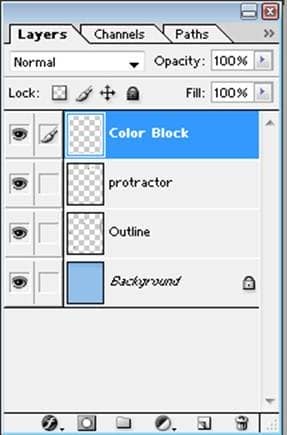
Make a new layer, “Color Block”.
Step 96
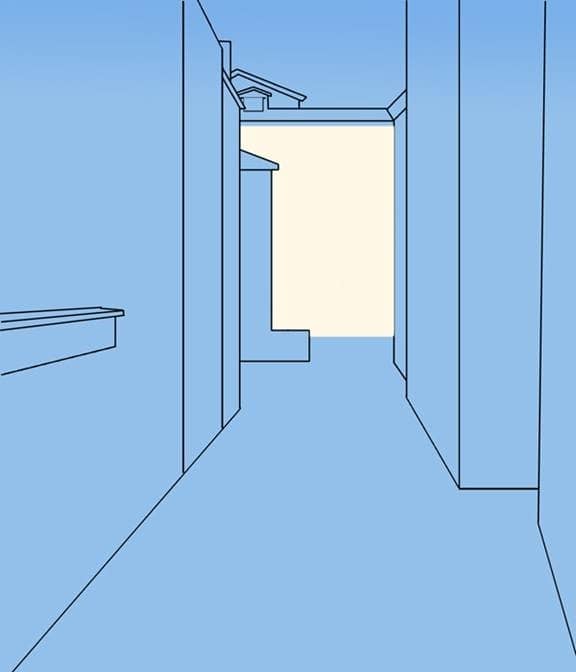
Fill in the back building with color #FFF8E7 (34 pixel square brush, opaque). We will be using this brush through step 47. Make sure to cover up the outline lines.
Step 97
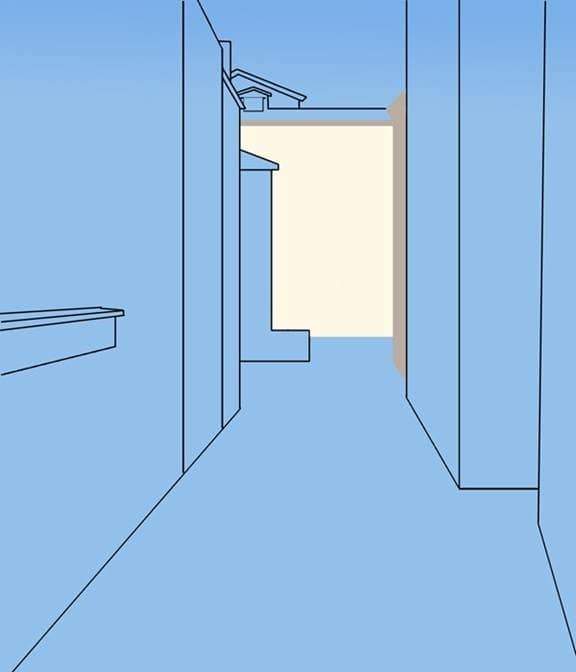
Fill in the building to its right and the section of roof above it with color #B9ACA1 (same brush).
Step 98
Block in the two back roofs with color #B7512B and the closer “L” shaped building with color #
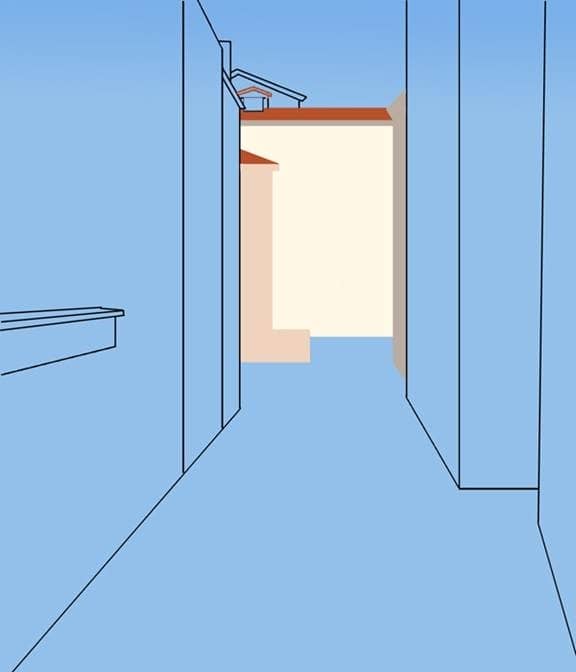
Step 99
Block in the right building closest to the right with color #9F6128 and the building to the left with color #D78941.
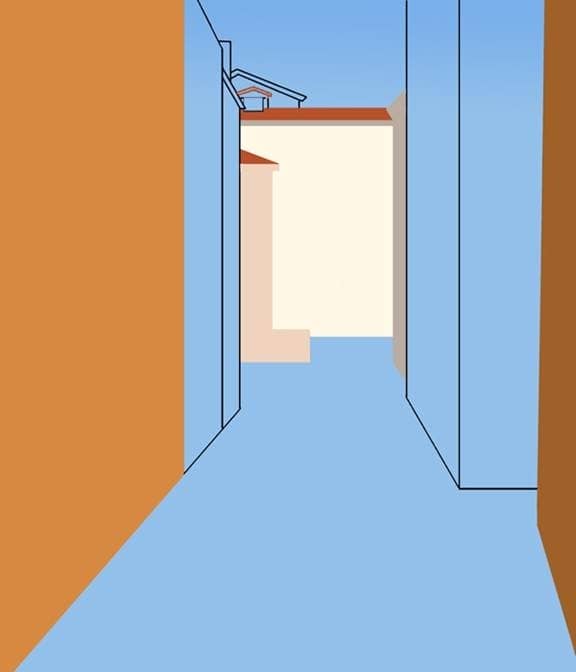
Step 100
Color the middle building with color #EA875D and the building behind it with color #DE9E7E.
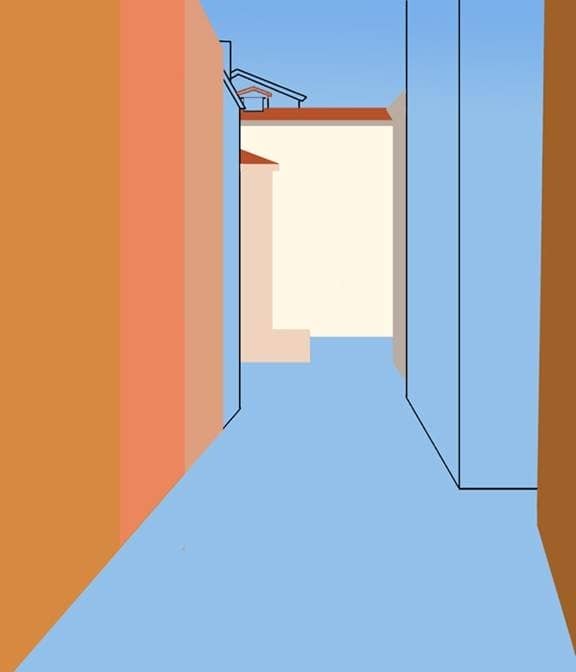
Step 101
Block in the last building on the left side with color #F1D09E.
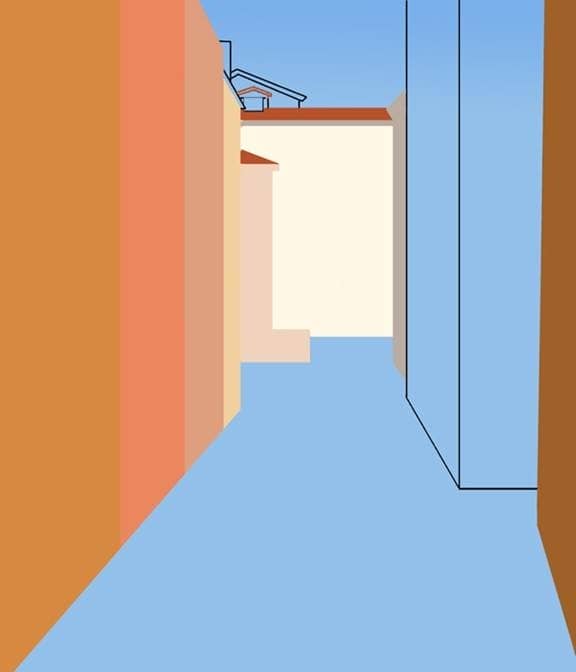
Step 102
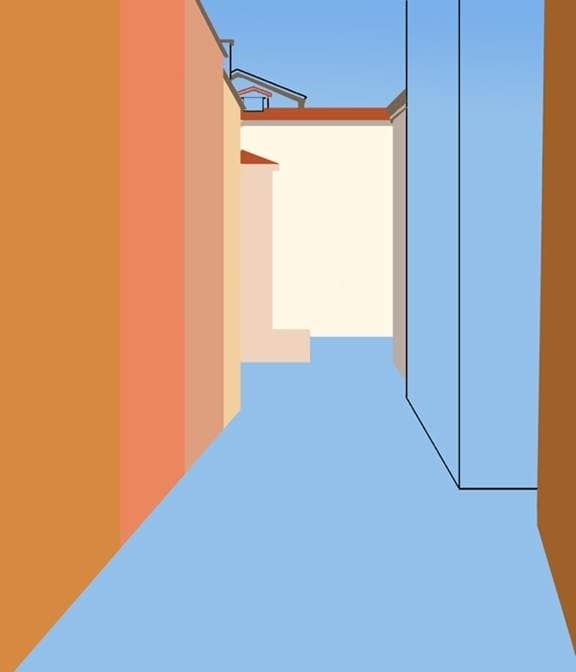
Tip the tops of the gray roofs with color #786352 using a 15 pixel square brush.
Step 103
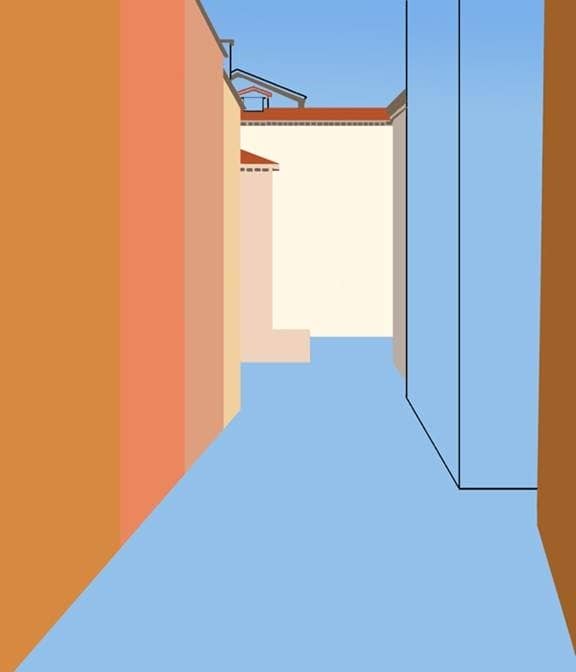
Use the same brush (turn on shape dynamics, and set control to pen pressure) and make little rectangles across the lengths of the bottom of the pink and red roofs.
Step 104
Line above the rectangles with color #E8FAFF (soft-edged round brush, 40% opacity).

2 comments on “How to Paint Venice in Photoshop”
Link is working for my computer
can you give a new link to the photo please