Make skin look perfect in one-click with these AI-powered Photoshop actions.

Step 15
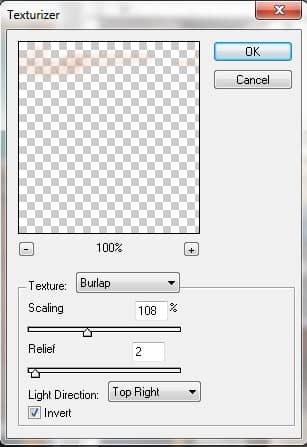
Apply a burlap texture to the bridge using the texturizer tool.

Step 16
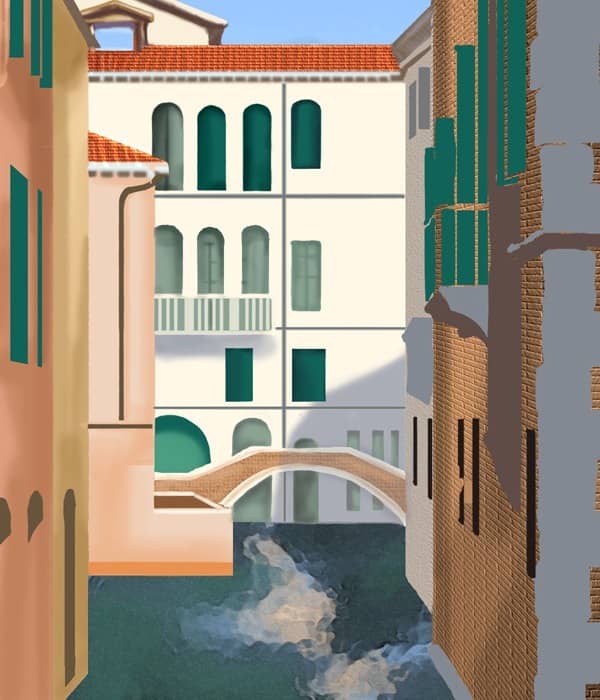
Draw a rectangle at the bottom of the “L” shaped building with color #E89150 (87% opacity, hard-edged brush).

Step 17
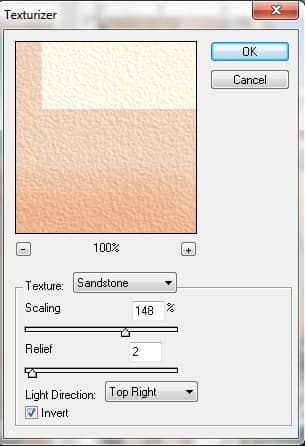
Apply a sandstone filter to the light gray building to the right of the middle building. Set the Texture to sandstone, Scaling to 148%, the Relief to 2, and the light direction to top right. Check the Invert box.
Step 18
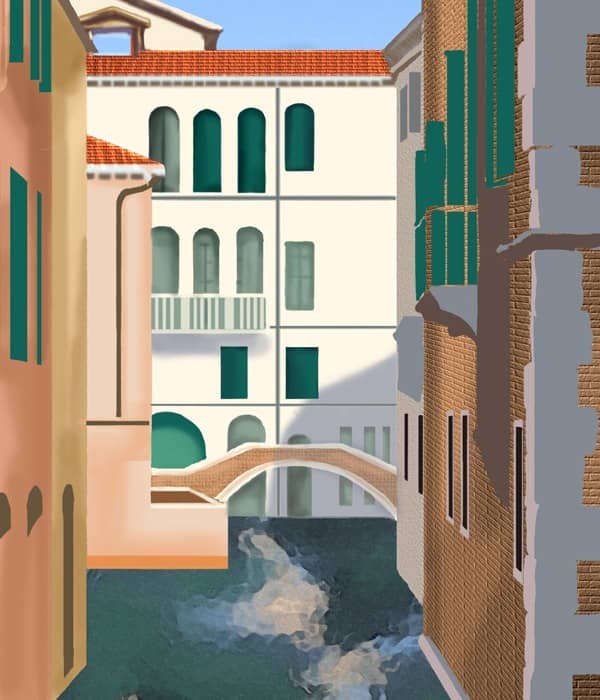
Highlight the left side of the stones on the corner of the middle right building with color #BEABAC (opaque). Use the same color on the bottom half of the building base.

Step 19
Use the same color to outline the bottom row of windows on the same building.
Step 20
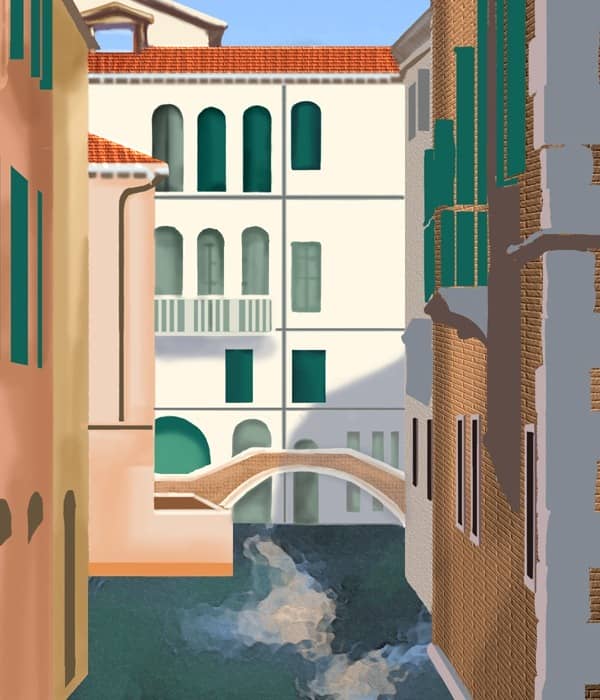
Draw a vertical line to the right of each window you just outlined with color #6E585A (opaque, hard-edged brush).
Step 21
Use the burn tool (midtones mode, 20% exposure) on the “Color Block” layer underneath the windows.
Step 22
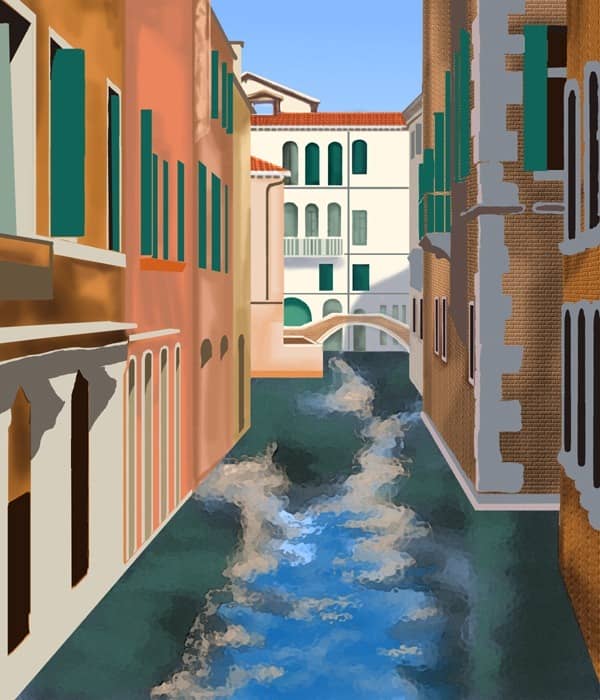
Use the same color to highlight the windows on the right windows (30% opacity, soft-edged brush).
Step 23
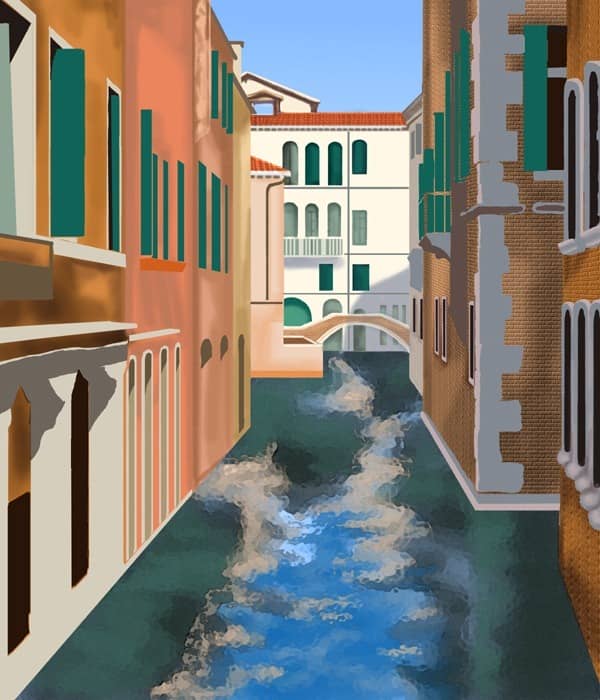
Shadow the window frames with color #6E585A (same brush).

Step 24
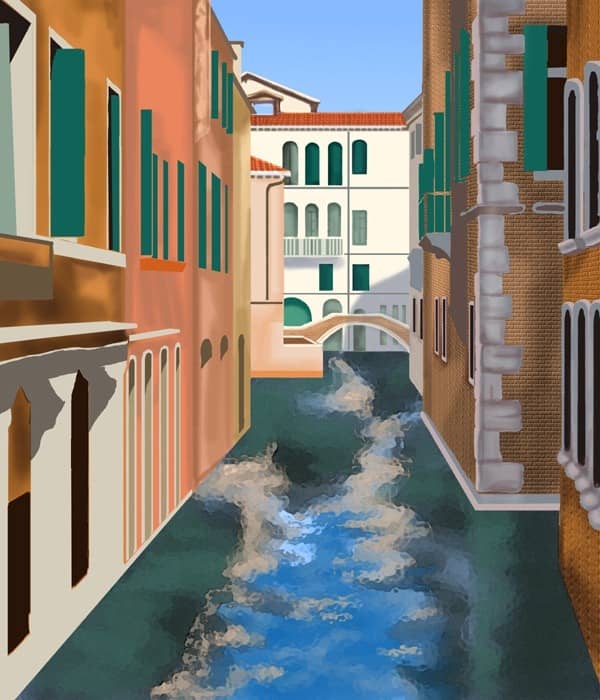
Add shadows to the right side of the stones with color #6E585A (20% opacity, soft-edged brush)
Step 25
Paint a film of color #897E82 over the stones at 55% opacity.
Step 26
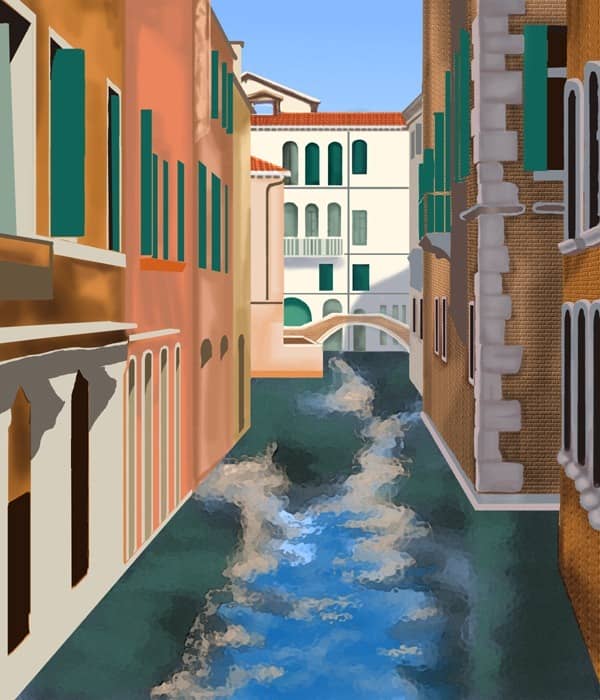
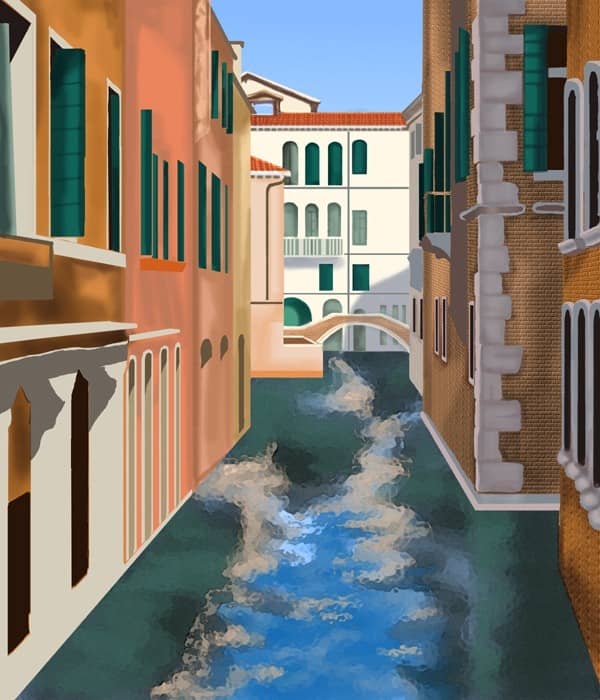
Paint shadows on all of the window shutters with color #072222 (30% opacity, 70 pixel soft-edged brush).
Step 27
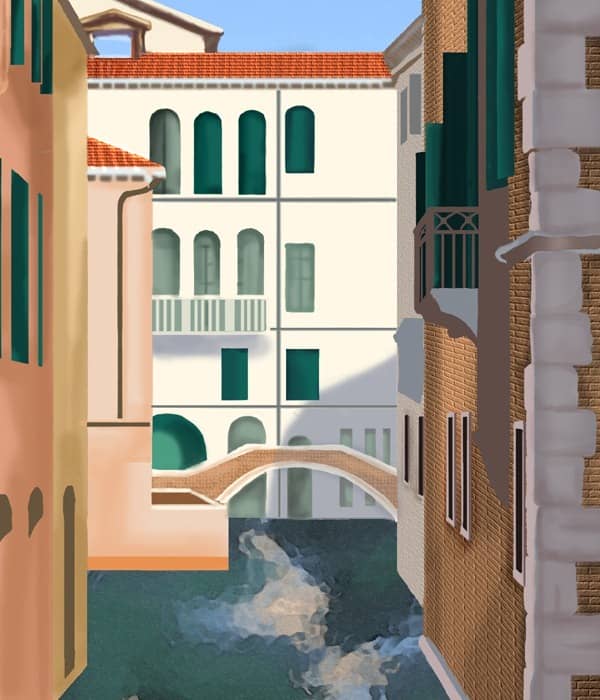
Draw the rails of the balcony on the right building with color #5F4C47 (opaque, 10 pixel hard-edged brush).
Step 28
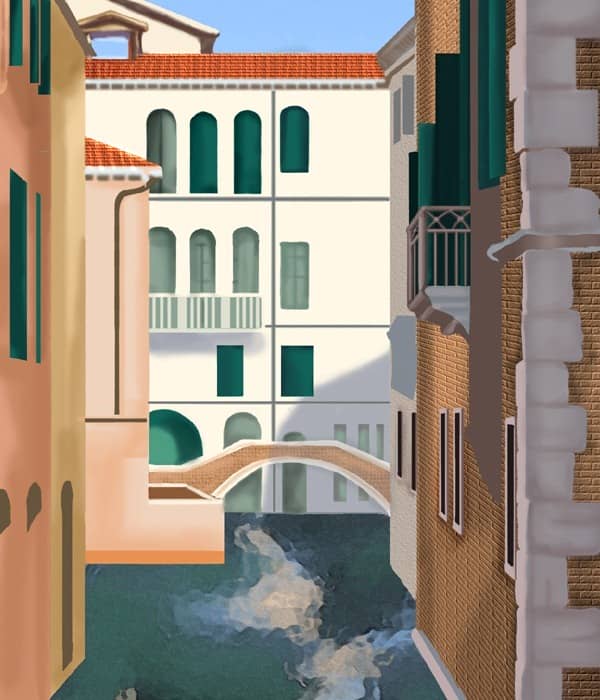
Highlight the bars with color #A18D8C (25% opacity, 7 pixel soft-edged brush), paint shadows on the bars with color #443936 (same brush).
Step 29
Use the burn tool on the “Color Block” layer to add shadows beneath the window frames.

Step 30
Paint window frames on the middle row of windows on the left buildings with color #BEABAC (opaque, hard-edged brush).

Step 31
Block in the shadow side of the window box with color #8D3504 (opaque, 25 pixel hard-edged brush).
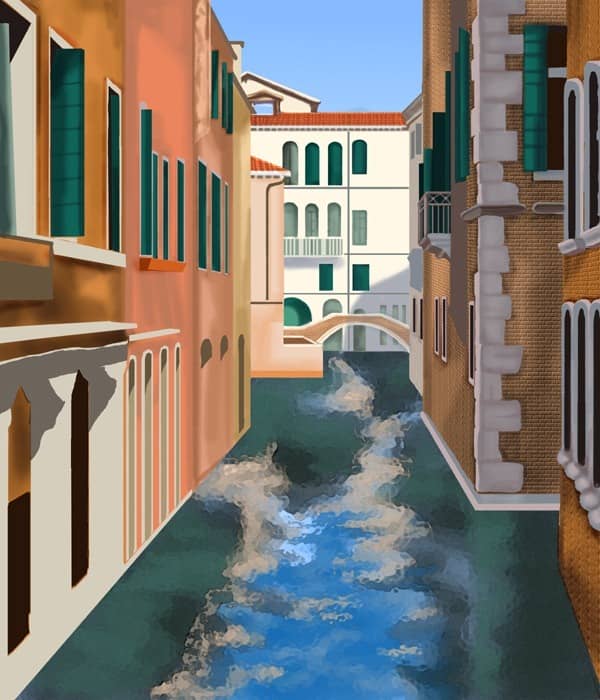
Step 32
Start adding shadows to the row of left columns with color #767164 (25% opacity, hard-edged brush).
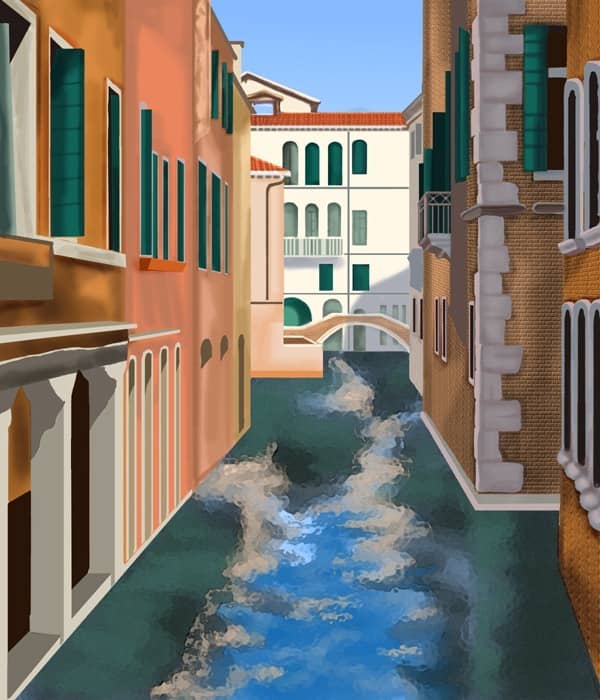
Step 33
Draw the final shadows on the columns with color #322E25 (25% opacity, 50 pixel soft-edged brush).
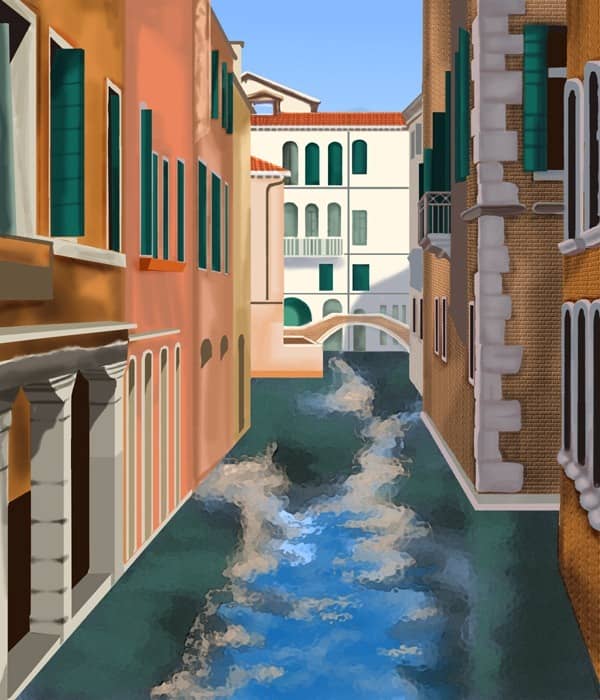
Step 34
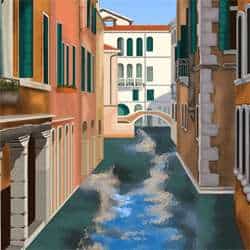
Select the two outcroppings and apply a Texturizer filter to them. Set the Texture to Brick, the Scaling to 66%, the Relief to 6, the Light Direction to Top Right.

2 comments on “How to Paint Venice in Photoshop”
Link is working for my computer
can you give a new link to the photo please