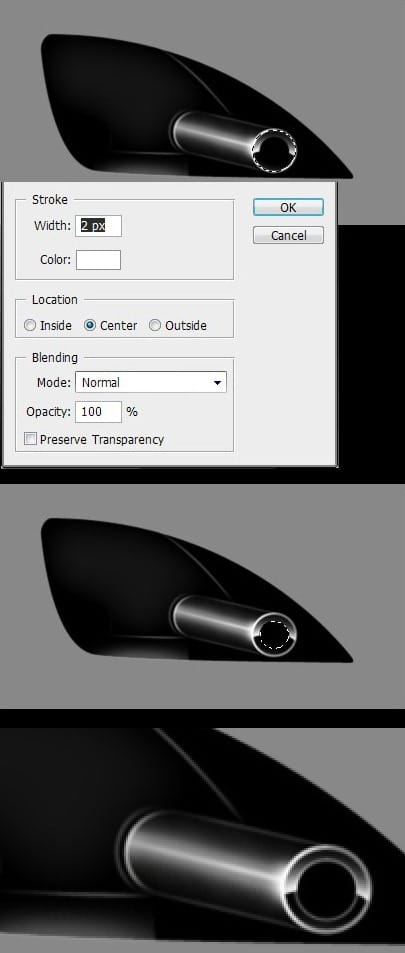
Step 9
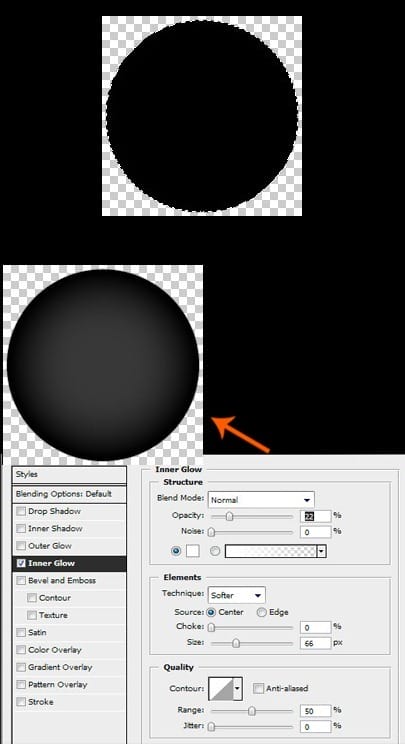
Create a new file with dimensions 200×200 and Transparent Background. Make a circle selection, create a new layer and fill it with black color. Go to layer’s Blending Options, at Inner Glow, and set those values.

Step 10
After that, create a new layer, and make a selection like that. Pick the Brush Tool, white color and having a non-hardness brush at about ~100px, fill it smoothly from the top. Then, create a new layer and with a ~50px non-hardness brush and white color, make a point in the ball’s bottom, and low the layer’s opacity at about ~27%. Merge all these layers, select the ball, and copy it.

Step 11
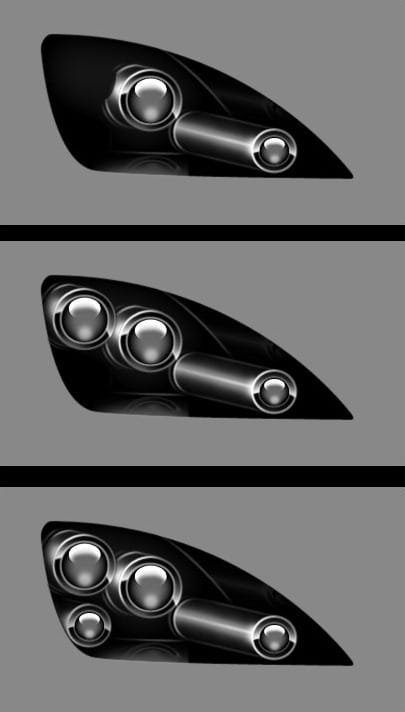
Now, returning at the headlight, to the lamp, select the small black circle, that you have created previously, and go to Edit> Paste Into. Immediately go to Edit> Transform, and play there until it fits perfectly in the circle. After this step you’ve finished the first lamp. Now, to make the lamp’s reflection on side headlight’s part, select the whole lamp, and go to Edit> Copy Merged. After that hit CTRL+V to Paste it. Fit it with Transform, in the side headlight’s part and low the layer’s opacity at about ~ 10%.

Step 12
Now, for the other 3 cylindrical lamps, you can repeat the whole procedure of Step 3-12, or merge all the layers from group Lamp1, duplicate the layer and just fit it in the shape. But I suggest you to repeat at least, the procedure of front parts of lamp, that includes the 2 circles and the light.

Step 13
Let’s make the blinker. Create a new group and name it Blinker. Create a new layer, and make a selection like that following the initial shape. Fill it with black color. Now following again the shape make an another selection in the middle of the first, and go to Layer > New > Layer via copy. Now having picked the filled layer, create a new layer. Having a big non-hardness brush and white color, fill the half selection of the bottom, then low the layer’s opacity at about ~29%. Repeat this procedure again, but this time fill the selection a bit less, and don’t low the opacity of this layer.


Leave a Reply