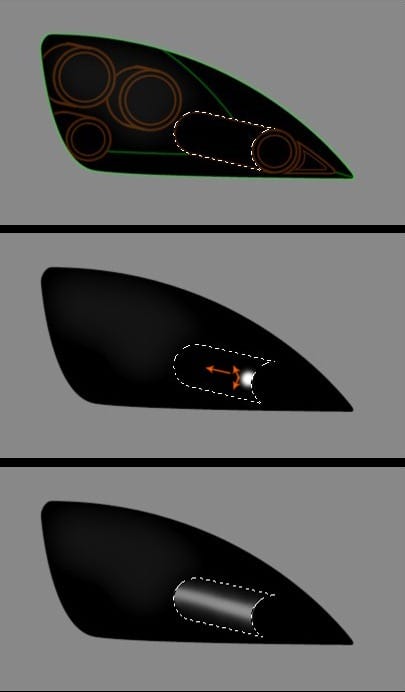
Step 4
Create a new layer, make a path like that along the lamp with Pen Tool and having the Brush Tool at 2px, and with white color, stroke it. Then take the Erase Tool and erase it a bit on the back. If is needed low the layer’s opacity. Reselect again and create a new layer. Go to Edit > Stroke and having picked the white color and Width : 2px, and the Location : Center, stroke it. Then pick the Erase Tool (E), and erase until it’ll be like that. If is needed, low the layer’s opacity. Then, duplicate the stroke layer, and erase it all, except la semicircle in the lamp’s bottom. After that, move that line a bit out of the lamp, and low the layer’s opacity.
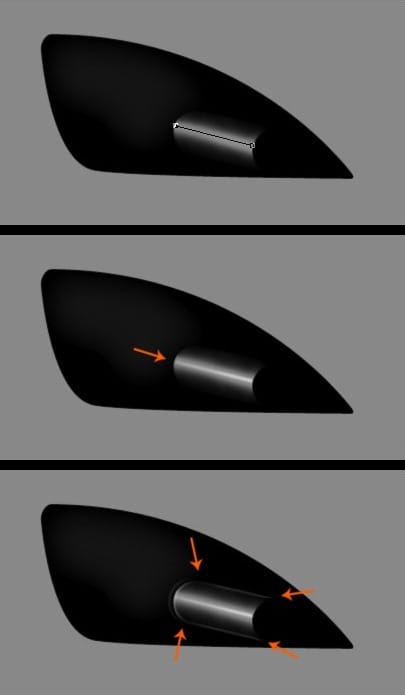
Step 5
Now, reselect the lamp, and having a non-nardness brush at about ~20px, a white color #FFFFFF, create a new layer and make a point like that.
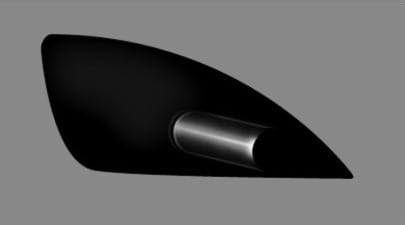
Step 6
So, let’s get prepared for the lamp’s light. Following the initial shape, make a circle selection like that, create a new layer and fill it with black color. Following again the initial shape, make in this circle a smaller circle selection and go to Layer > Layer new via copy.
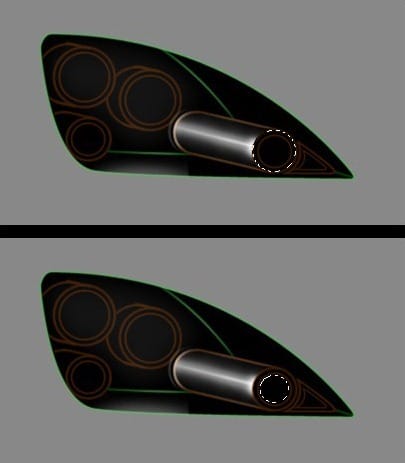
Step 7
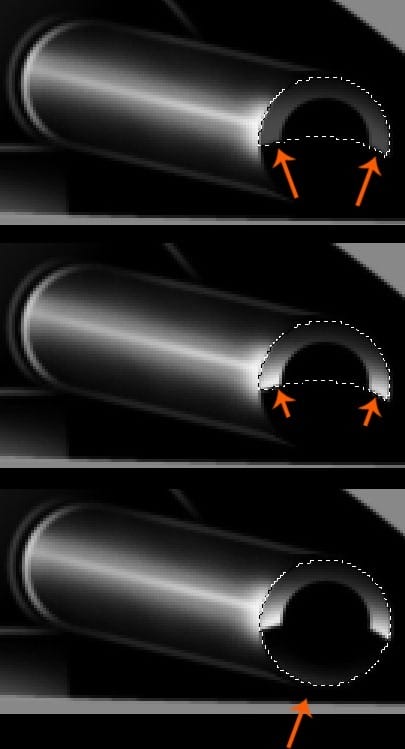
Now having picked the big circle layer, make a selection like I did. Create a new layer and having a big non-hardness brush and white color, fill the half selection of the bottom, then low the layer’s opacity at about 29%. Repeat this procedure again, but this time fill the selection a bit less, and don’t low the opacity of this layer. Create a new layer, reselect the big circle, and having the same brush and white color fill a bit the selection from the bottom. Then low the layer’s opacity at about ~35%.
Step 8
After that, having picked the little circle layer, select it, and create a new layer. Go to Edit > Stroke, and stroke it with 2px, white color, and location Center. If is needed use Erase Tool to erase it a bit, or low the layer’s opacity. After that, having picked the small circle layer, create a new layer and go to Edit > Stroke, and stroke it with 2px, white color, and location Center or Inside. Then low the layer’s opacity at about~30%. Now, after all this preparation we are ready to create the lamp’s light.


Leave a Reply