Luminar AI lets you turn your ideas into reality with powerful, intelligent AI. Download the photo editor and see how you can completely transform your photos in a few clicks.
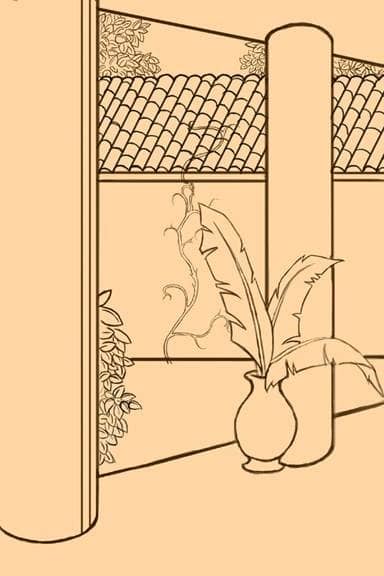
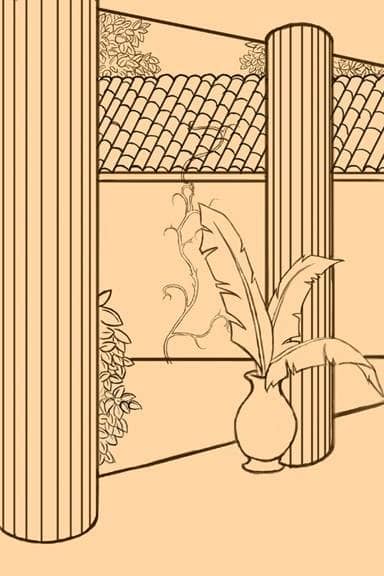
Step 39
Make a new layer titled “tiles” below the “sketch” layer.
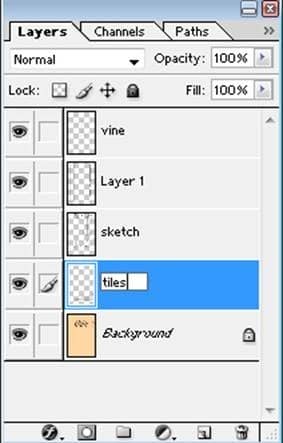
Step 40
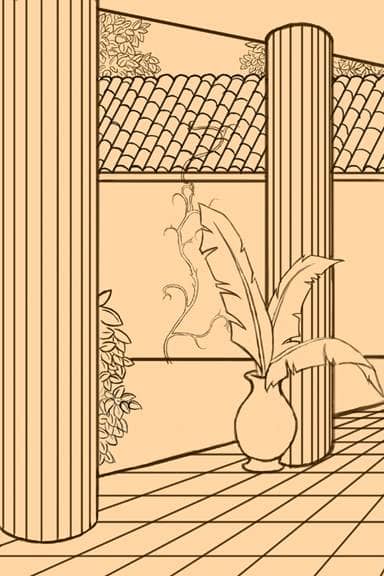
Create horizontal lines running across the bottom (shift and drag across). These should follow the same principal as the columns, except they get closer together the further from the bottom they get.
This will create the illusion of depth.
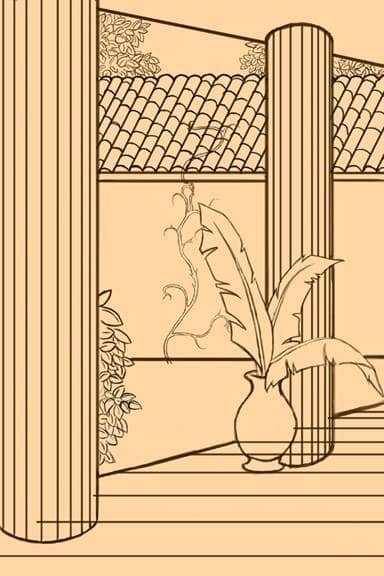
Step 41
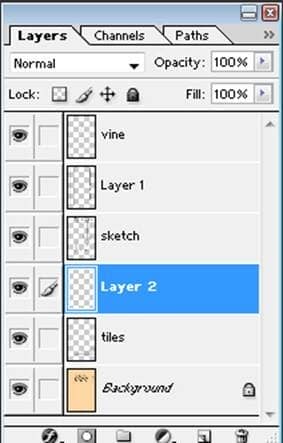
Make a new layer above this layer. It, like “layer 1”, will be merged later on.
Step 42
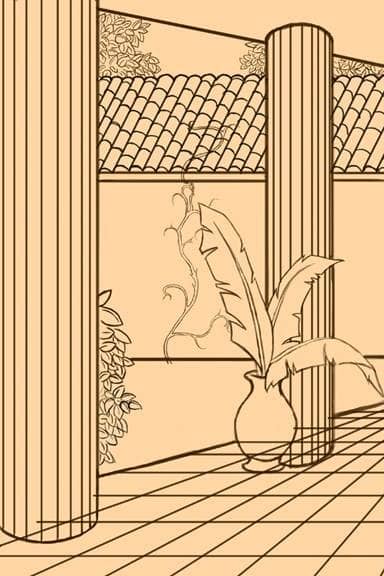
Now it is time to finish the floor tiles. The best way to do this is to first turn off shape dynamics. Then, making slanted lines that are an equal distance apart and the bottom of the page, draw them up towards the middle. Let them get closer together at the end, as this will complete the illusion of depth, and give you nice floor tiles.
Step 43
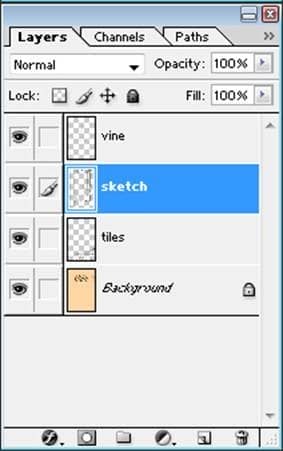
Merge “layer 1” onto the “sketch” layer, and “layer 2” onto the “tiles” layer.
Step 44
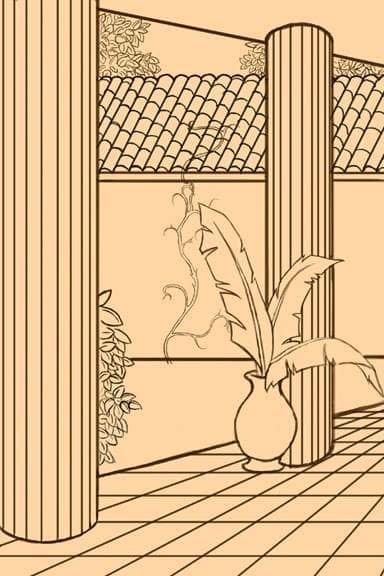
Erase the parts of the tiles that can be seen through the pot and columns.
Final Results
And you are finished with the drawing! The next two parts will guide you through coloring the picture, drawing a roman woman, and finishing the digital painting. Continue to Roman House Part II – The Drawing.

One comment on “Roman House Painting Part I - The Drawing”
This looks very interesting