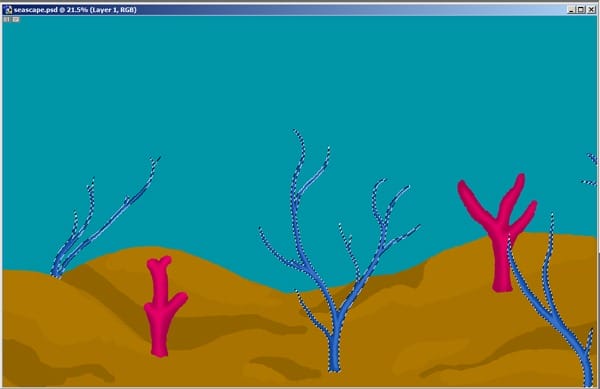
Step 20
Apply a 3.6 pixel Gaussian blur to the layer.

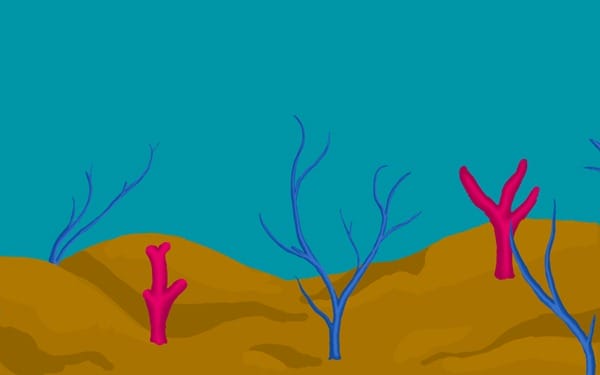
Step 21
Merge down the layer.

Step 22
Make a new layer, “coral 2”.
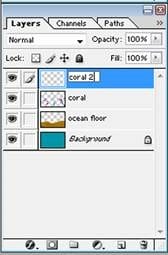
Step 23
Using color #9000D8 block in 2-3 dome shaped corals.
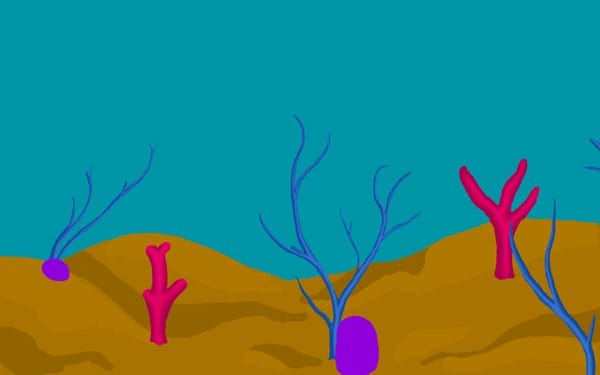
Step 24
Repeat the same process with color #90009D, placing them in little groups across the sea floor.
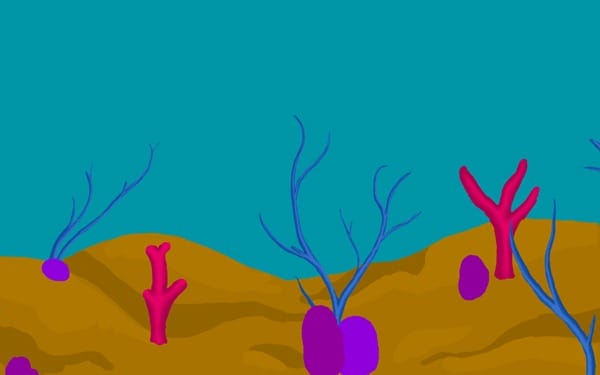
Step 25
Now make little holes in their tops with the burn tool (100% exposure, midtones, 95 pixels, hard-edged brush).
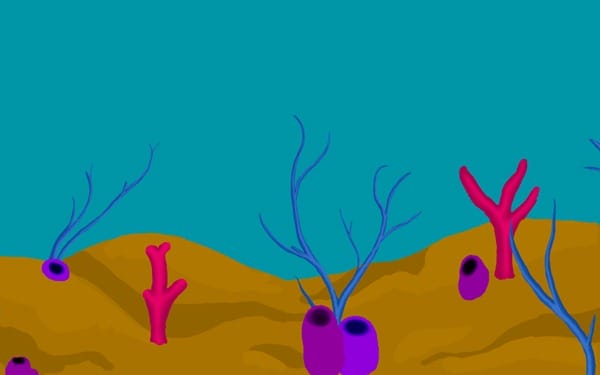
Step 26
Now use the dodge tool to highlight them (30% exposure, highlights mode, 600 pixels soft edged brush).
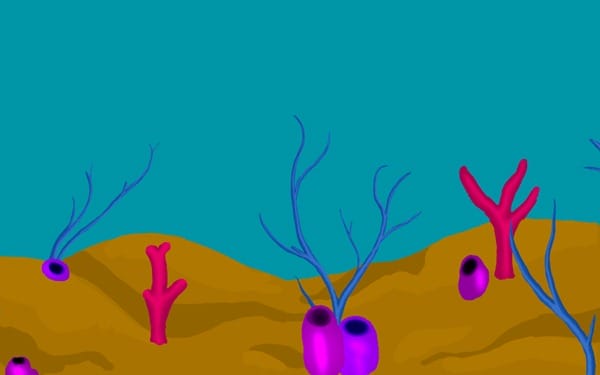
Step 27
Going back to the dodge tool, change the settings to a soft round brush at 80% exposure (and shadow mode), and block in the cast shadows on the corals. This will define that there are more than one separate corals in the bunches.
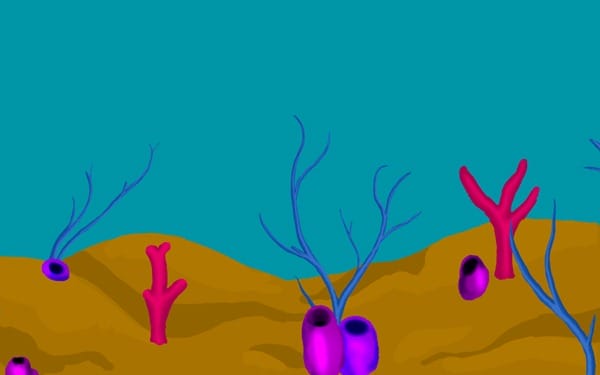
Step 28
Now take color #335400 and block in some seaweed clumps with the paintbrush.
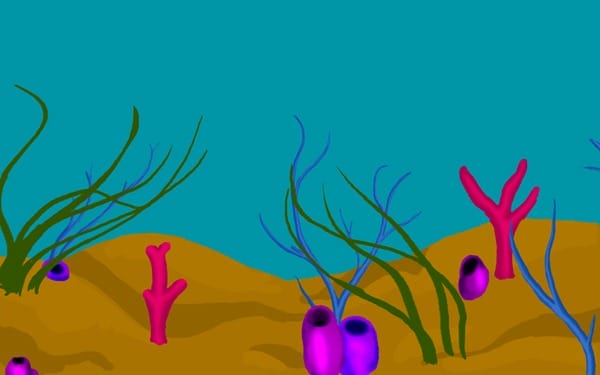
Step 29
Make a new layer above the “ocean floor” layer and title it “coral 3”.

Step 30
Now use the same color to add more clumps of sea weed.

Step 31
Switching back and forth between the “coral 2” and “coral 3” layers, block in the shadows with color #223700.

Step 32
Highlight the grass with color #457200.
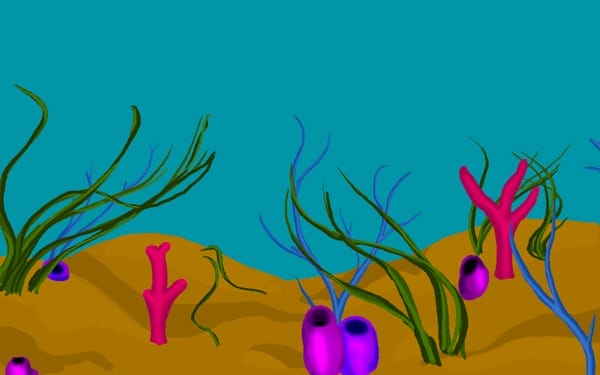
Step 33
Now, going back to the “ocean floor” layer, use the burn tool (400 pixels wide, soft edged brush, 49% exposure, midtones mode) add shadows to the ocean floor. These shadows are accentuations of the previous shadows, as well as those cast by the sea weed and corals.
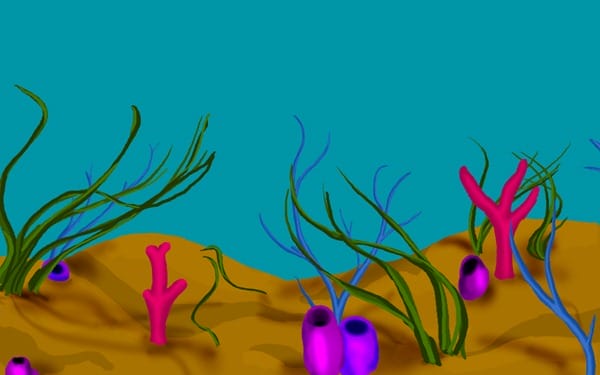
Step 34
Set the dodge tool to 30 % exposure in highlight mode (600 pixels brush) and highlight the ocean floor.
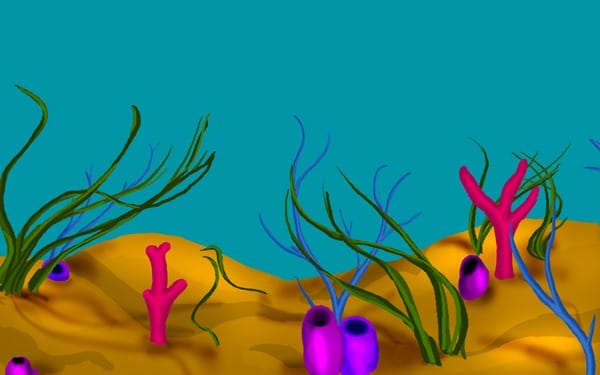
Step 35
Make a new layer above the background (title doesn’t matter).

Step 36
Now, using a 23 % opaque brush and color #BE7709, make the ocean floor appear to disappear into the distance. This will require some layering, with the least amount of layers in the distance, and them building (becoming more opaque) as they approach the bottom of the screen.
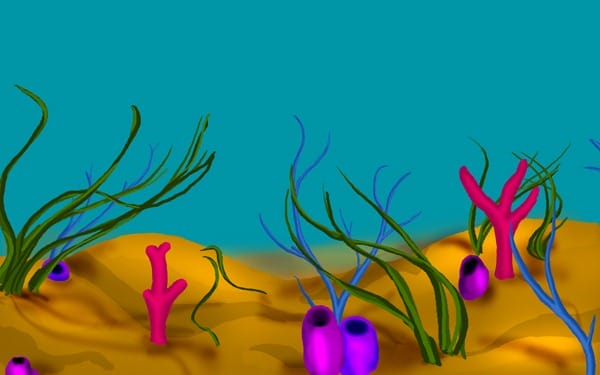
Step 37
Now, using the dodge tool set to 30%, layer and swirl across the background to create an illuminated water effect.
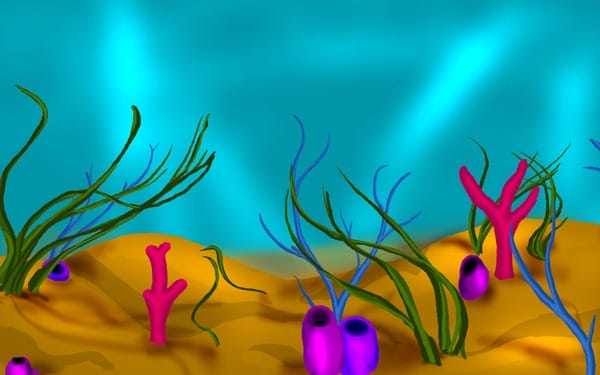
Step 38
Now, going back to the coral layers, swipe the dodge tool back and forth across the sea weed and coral, to make it look like there is spattered light falling on them.


Leave a Reply