
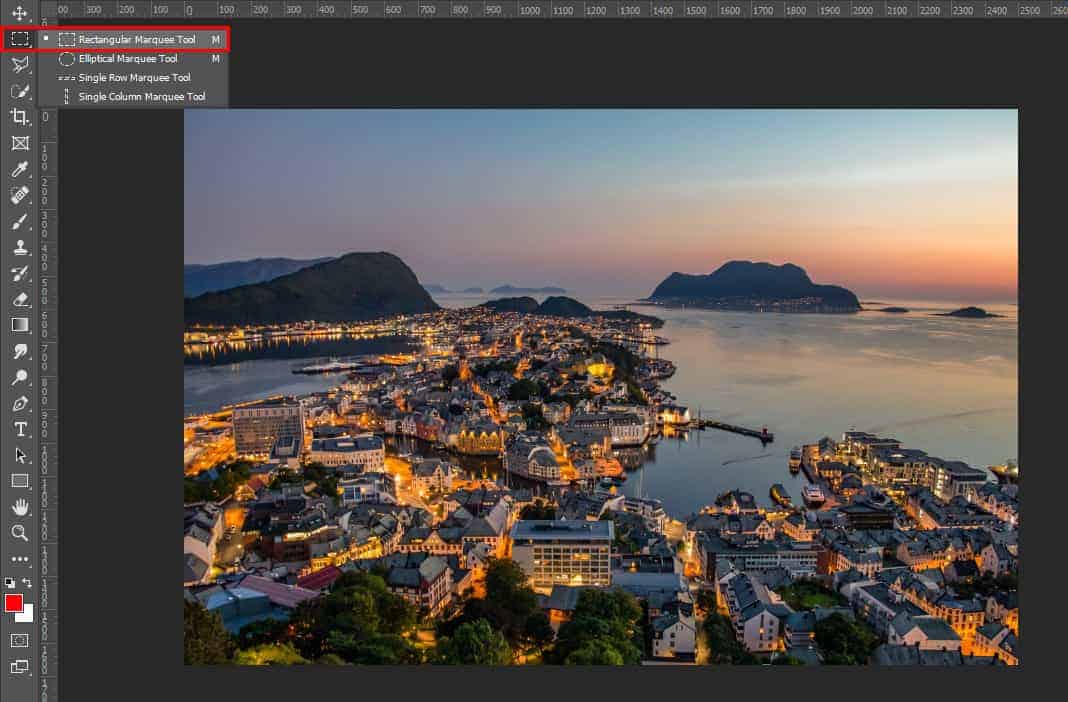

Step 6
After the selection area has been created, simply copy (Ctrl / Cmd + C) and Paste (Ctrl / Cmd + V) it to our work canvas. Then position the image with the transform tool (Ctrl / Cmd + T). Hold Alt + Shift and resterize like image below. In Photoshop CC only hold Alt to resterize al sides together.
Step 7
Next, We will create a new layer mask to make a selection. Go to use a Pen Tool (P) . Go Right Click> Make Selection. Feather Radius set to 0.5 check Anti Aliased and Operation to New Selection and hit OK. After that make foreground color to default D (Black and White) and hold ALT + DELETE.


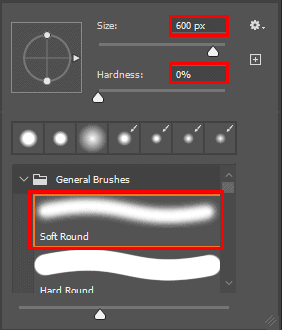
Step 8
Now create a new layer and use Brush Tool (B). Set Size to 600px, Hardness to 0% and Soft Round.
Foreground pallete colors


Now that we can paint from left to right. It should look like this.

When we’re done Rignt Click on layer and Choose Create Clipping Mask and opacity set to 20%.

Step 9
Add Adjustment Layer “Curves”

Step 10
Add Adjustment Layer “Levels”

Step 11
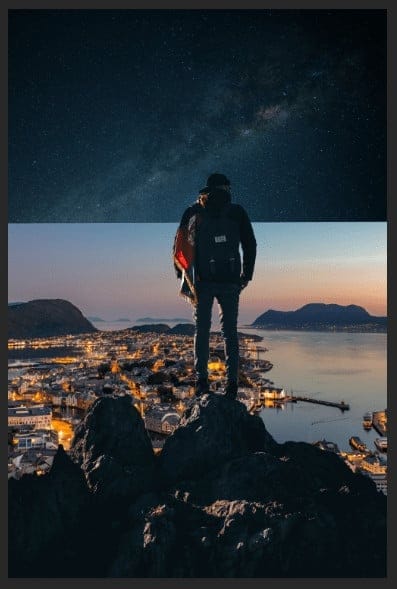
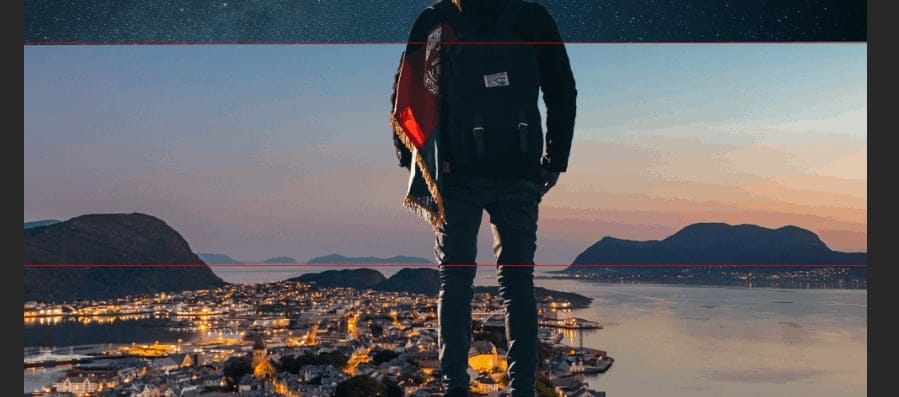
In this step we add a sky reflection to the water. Select Sky layer and click Ctrl/Cmd + J to duplicate. Use Transform Tool (Ctrl/Cmd + T) and flip vertical.

Then create a layer mask and use Brush Tool (B) to delete unnecessary parts. Opacity set to 30%. Foreground color set to black, see the example in the image below.


Step 12
Next, go to File > Place and open Package – Cosmos and select cosmos2_0005 image stock. Open a Transform Tool(T) and place the moon on the top left of the image then press Ok.

Now we will erase the stars around the moon. Create a layer mask and use Brush Tool(B) Soft Round with Hardness 0% and Foreground color Black.


Step 13
Add Adjustment Layer “Hue/Saturation”

Step 14
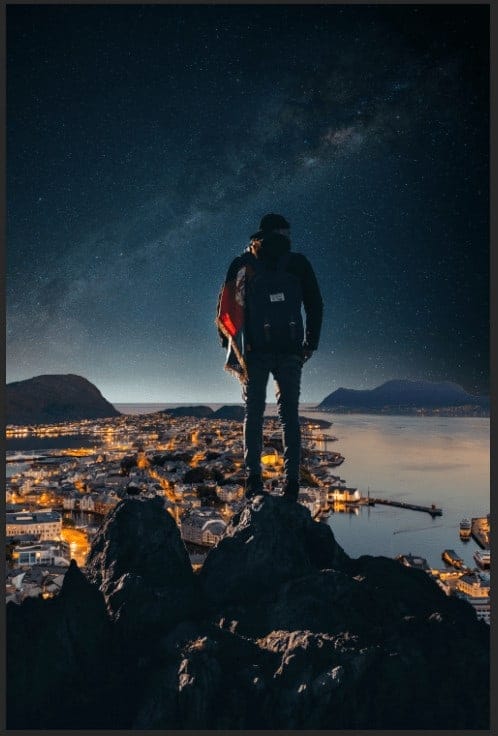
Next, we add Comet but first we need to import brushes. Select a Brush Tool(B) and right click on background. Now click on the gear icon and Import Brushes (Select a downloaded brush).

Step 15
Create a new layer with Foreground color White and opacity 75%. Select Brush Tool(B) and right click on background to select starry night folder.

Now we can paint comets on sky. Now create another layer and paint more and smaller comets. See the image bellow.
3 responses to ““Dreamer” Photomanipulation Tutorial”
-

Your art looks incredible! Thank you for making the time to write the tutorial!
-
Thank you!!
-
Very well done , thanks for sharing 👍👍👍😊
Leave a Reply