
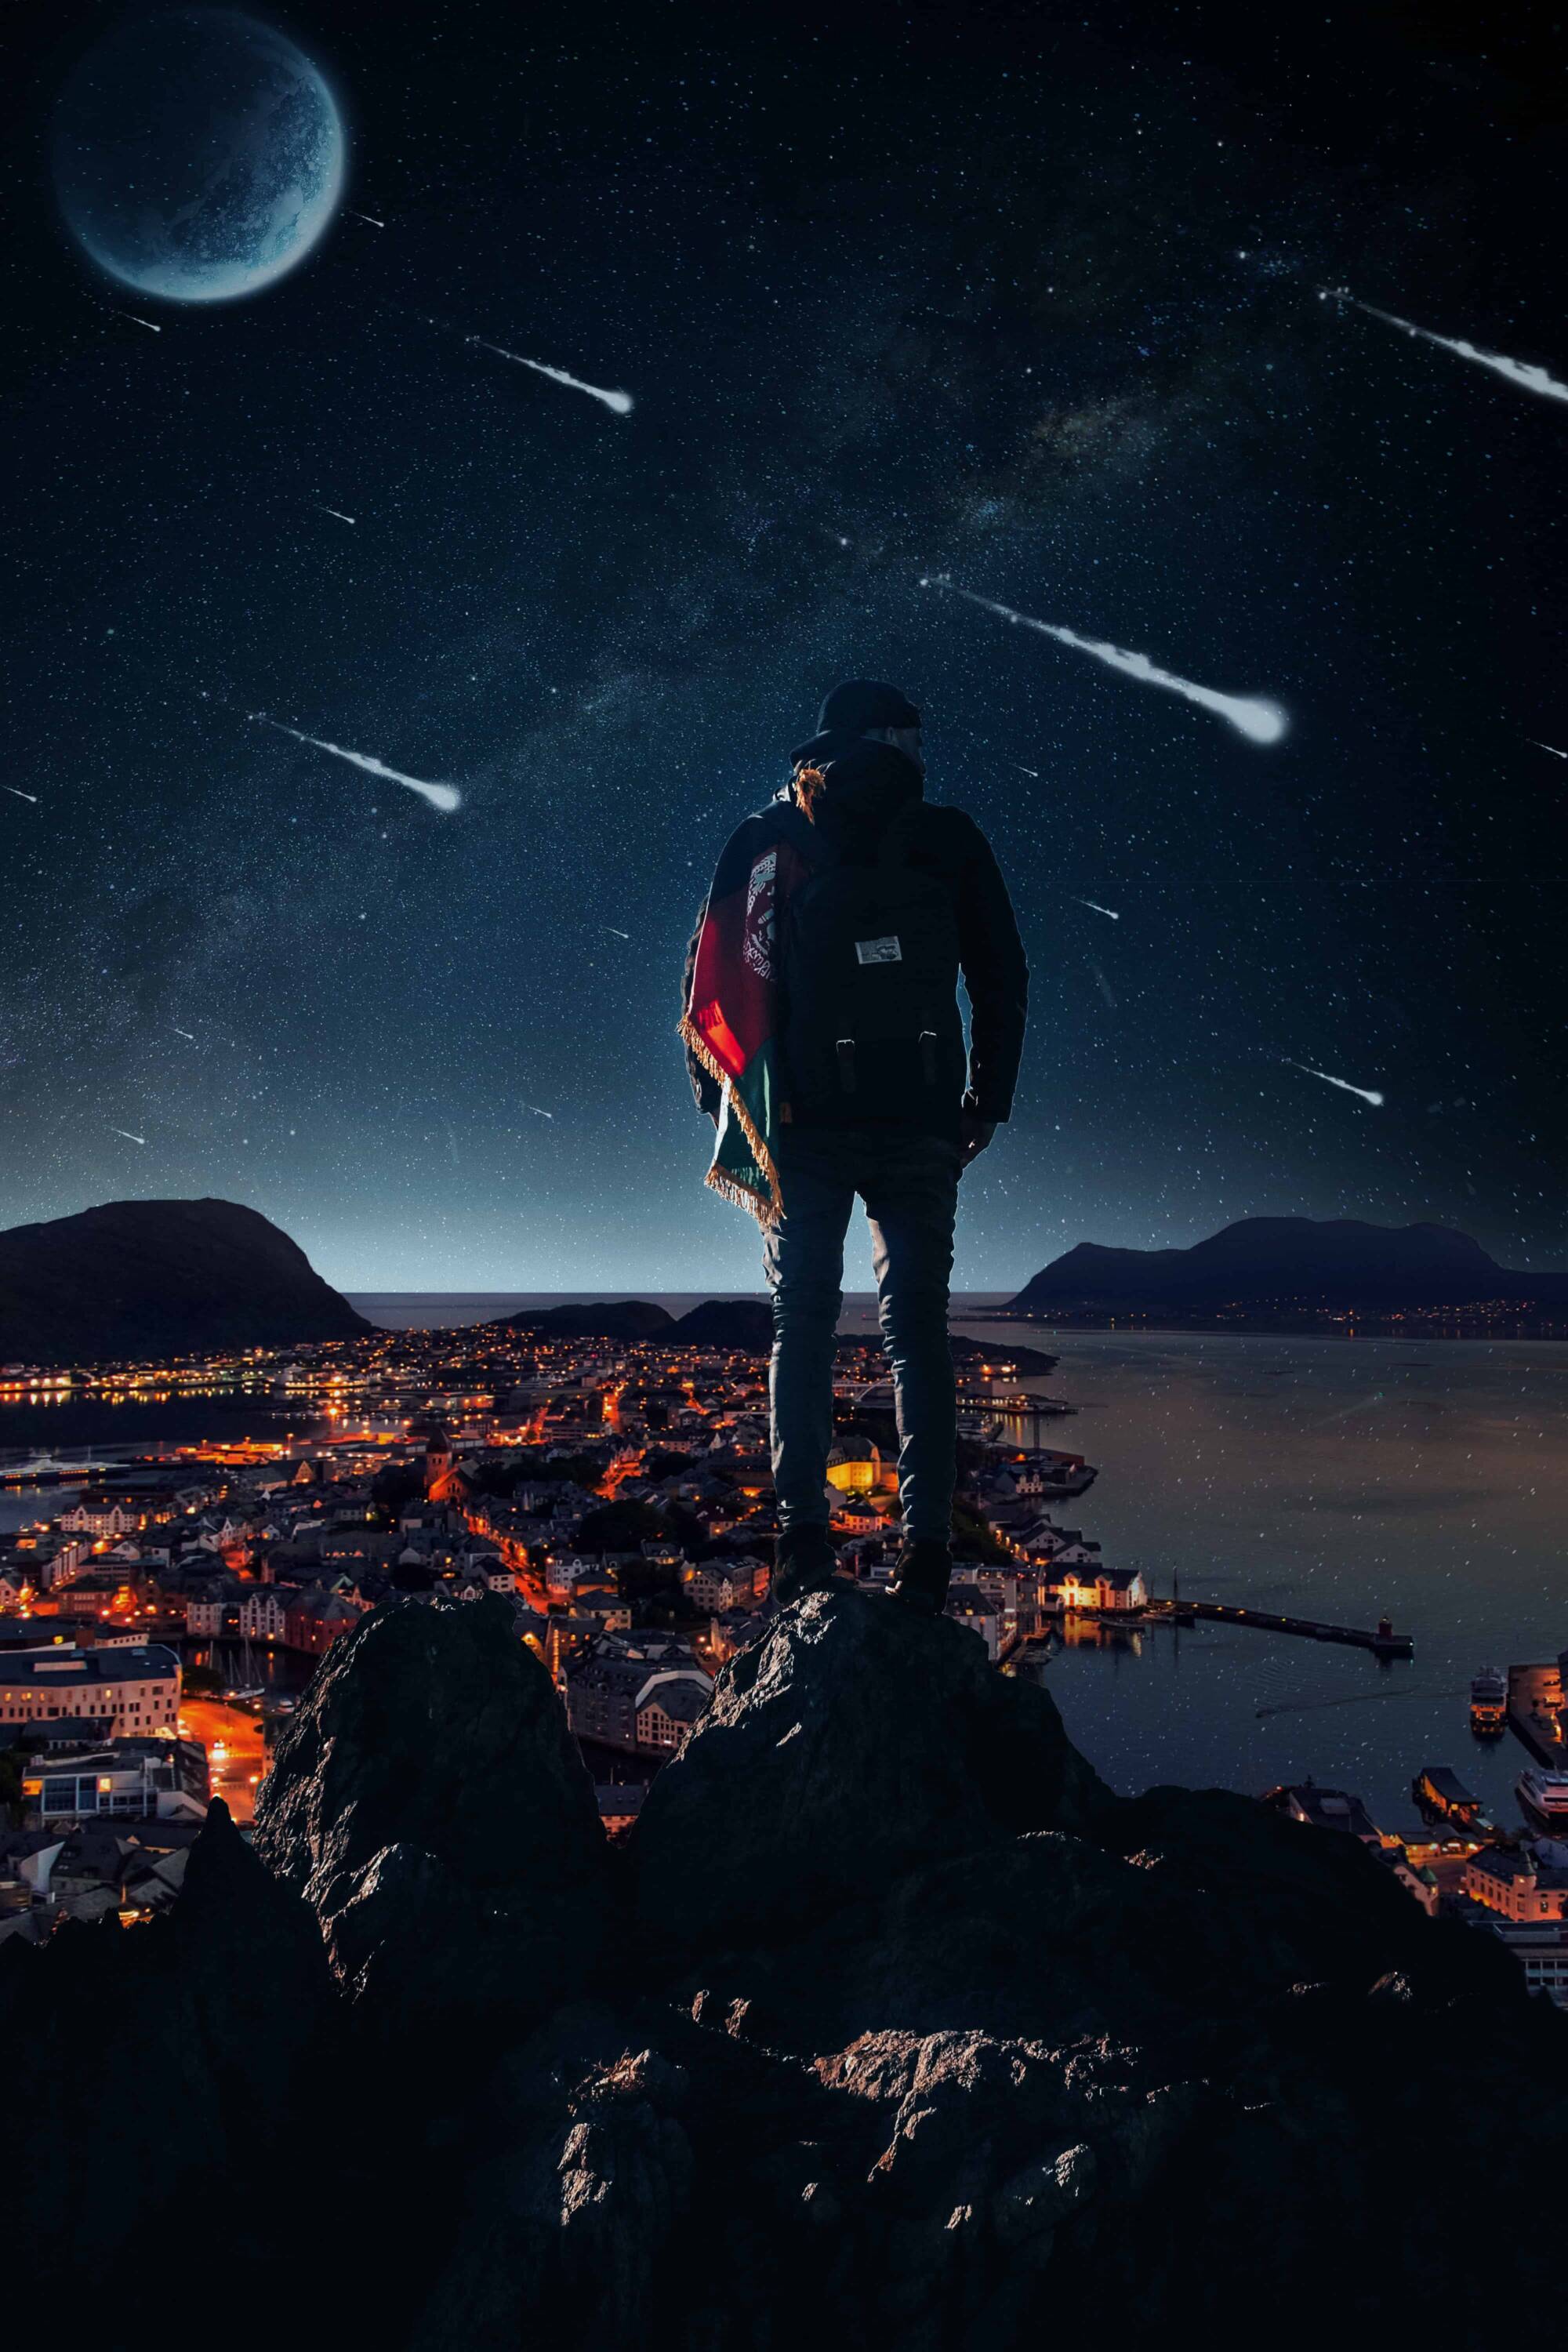
You see things and say Why? But I dream things that never were and I say Why not ?
In this Photoshop tutorial, we will learn how to combine multiple stock photos into unreal scenes using Adjustment layers, masking, brush and how to import some brushes.
Tutorial Resources
Step 1
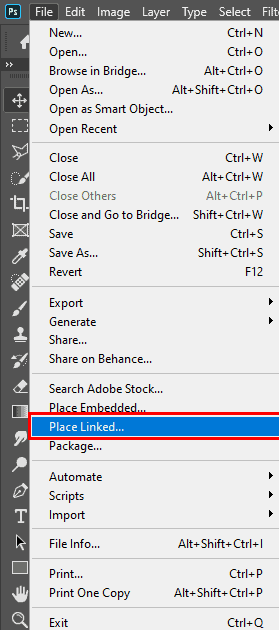
Now, let’s start by creating a new image file, go to the Menu bar and click File > New, and then input the following values on their respective fields
- Preset: Custom
- Width: 4000
- Height: 6000
- Resolution: 300
- Color Mode: RGB Color 8-bit
- Background Contents: Transparent

Step 2
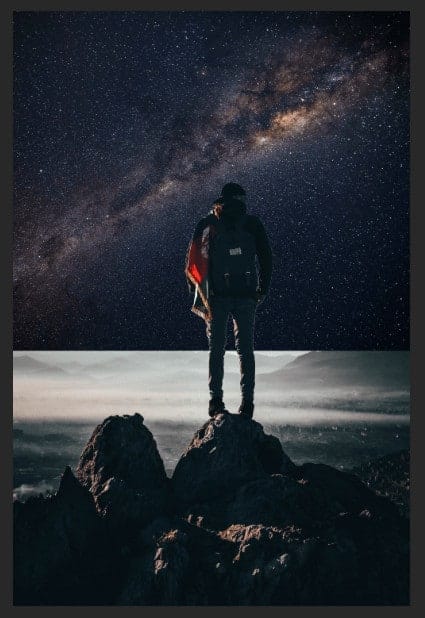
Go to File > Place. Select theManstock and place it into your document.

Step 3
Select the Pen tool. Position the Pen tool where you want the curve to begin, and hold down the mouse button.The first anchor point appears, and the Pen tool pointer changes to an arrowhead. (In Photoshop, the pointer changes only after you’ve started dragging.)Drag to set the slope of the curve segment you’re creating, and then release the mouse button.In general, extend the direction line about one third of the distance to the next anchor point you plan to draw. (You can adjust one or both sides of the direction line later.) After marking go Right Click> Make Selection. Feather Radius set to 0.5 check Anti Aliased and Operation to New Selection and hit OK.

When we select click Ctrl + J to duplicate it (Man Copy).


Step 4
Select Man layer and go to File > Place and select Stars stock. Use Transform Tool (Ctrl/Cmd + T) to set position of image. Hold Alt + Shift and resterize like image below. Blend Mode change to Soft Light with Opacity 100%. To reposition the placed art, position the pointer inside the bounding box of the placed artwork and drag, or in the options bar, enter a value for X to specify the distance between the center point of the placed artwork and the left edge of the image. Enter a value for Y to specify the distance between the center point of the placed artwork and the top edge of the image. To scale the placed art, drag one of the corner handles of the bounding box or enter values for W and H in the options bar. When dragging, hold down the Shift key to constrain proportions.

Step 5
In this step we will open City. After you open the image, use Rectangular Marquee Tool(M). With the Rectangular Marquee tool, drag over the area you want to select. Hold down Shift as you drag to constrain the marquee to(release the mouse button before you release Shift to keep the selection shape constrained).
3 responses to ““Dreamer” Photomanipulation Tutorial”
-

Your art looks incredible! Thank you for making the time to write the tutorial!
-
Thank you!!
-
Very well done , thanks for sharing 👍👍👍😊
Leave a Reply to Yves PeetersCancel reply