The new “Generate Background” tool in Photoshop makes changing backgrounds easy. In this tutorial, you’ll learn how to swap backgrounds using AI in just a few clicks. You’ll find out how to generate a larger background that you can easily crop later, choose your favorite results, and generate variations from those selections. We’ll also share some useful tips on color grading to enhance your final image. Let’s dive in and get started!
Step 1: Open Your Photo
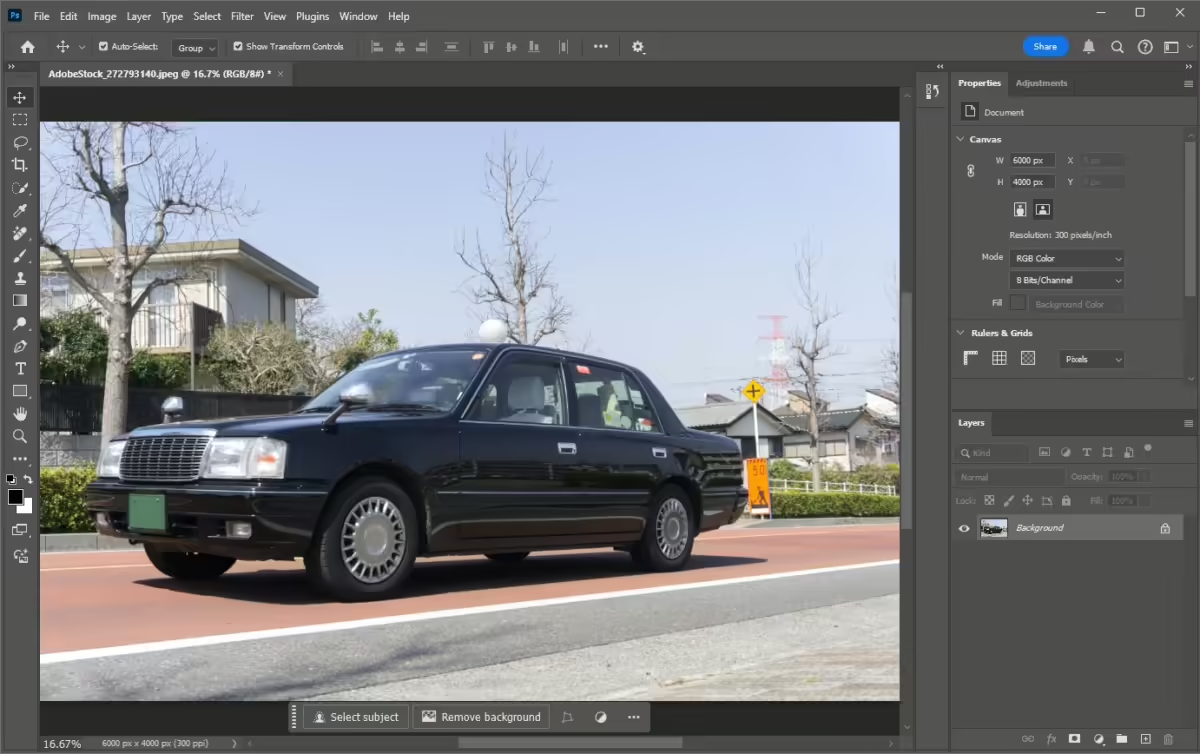
Start by opening a photo in Photoshop. If you’d like to follow along using the same image, I’ll be using this photo from Adobe Stock (note that it’s not free), but feel free to use your own image!
Step 2: Remove the Background
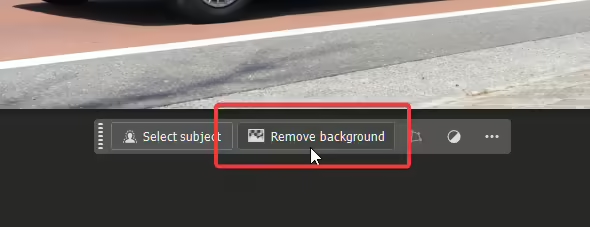
Look for the Contextual Task Bar. If it’s not visible, go to Window > Contextual Task Bar. Click on the “Remove Background” button. This will activate the AI tool to eliminate the existing background.
Tip: You can improve the quality by using cloud-based AI. To do this, go to Edit > Preferences > Image Processing. In the “Select Subject and Remove Background” setting, select “Cloud (Detailed Results)”.
Step 3: Refine the Mask
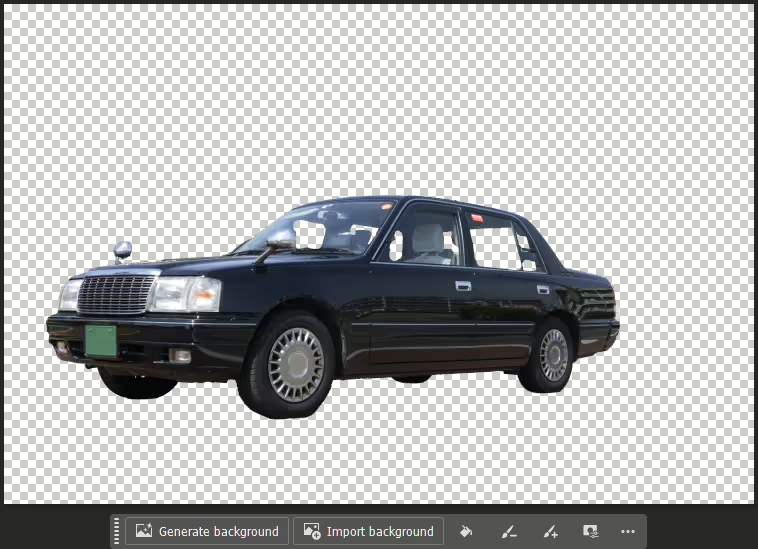
Once the AI has removed the background, you may need to refine it. In the Contextual Task Bar, locate the two brush icons for Subtract from Mask and Add to Mask. If you can’t see these icons, ensure you’ve selected the layer mask in the Layers panel (the thumbnail should have a white outline).
- Subtract from Mask: Paint over areas you want to remove.
- Add to Mask: Brush back in parts that should remain visible.
Brush Tips:
- Press
[to make the brush smaller. - Press
]to make the brush larger. - Press
Shift + [to soften the brush edge. - Press
Shift + ]to harden the brush edge.
Don’t worry about perfection; the AI will adjust fine details later.
Step 4: Crop Your Canvas
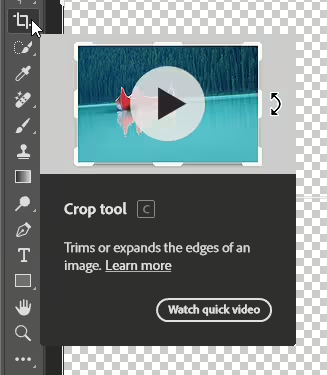
Before generating a new background, adjust where you want your object positioned by using the Crop tool. Select it from the toolbar and drag the corners to expand your canvas.
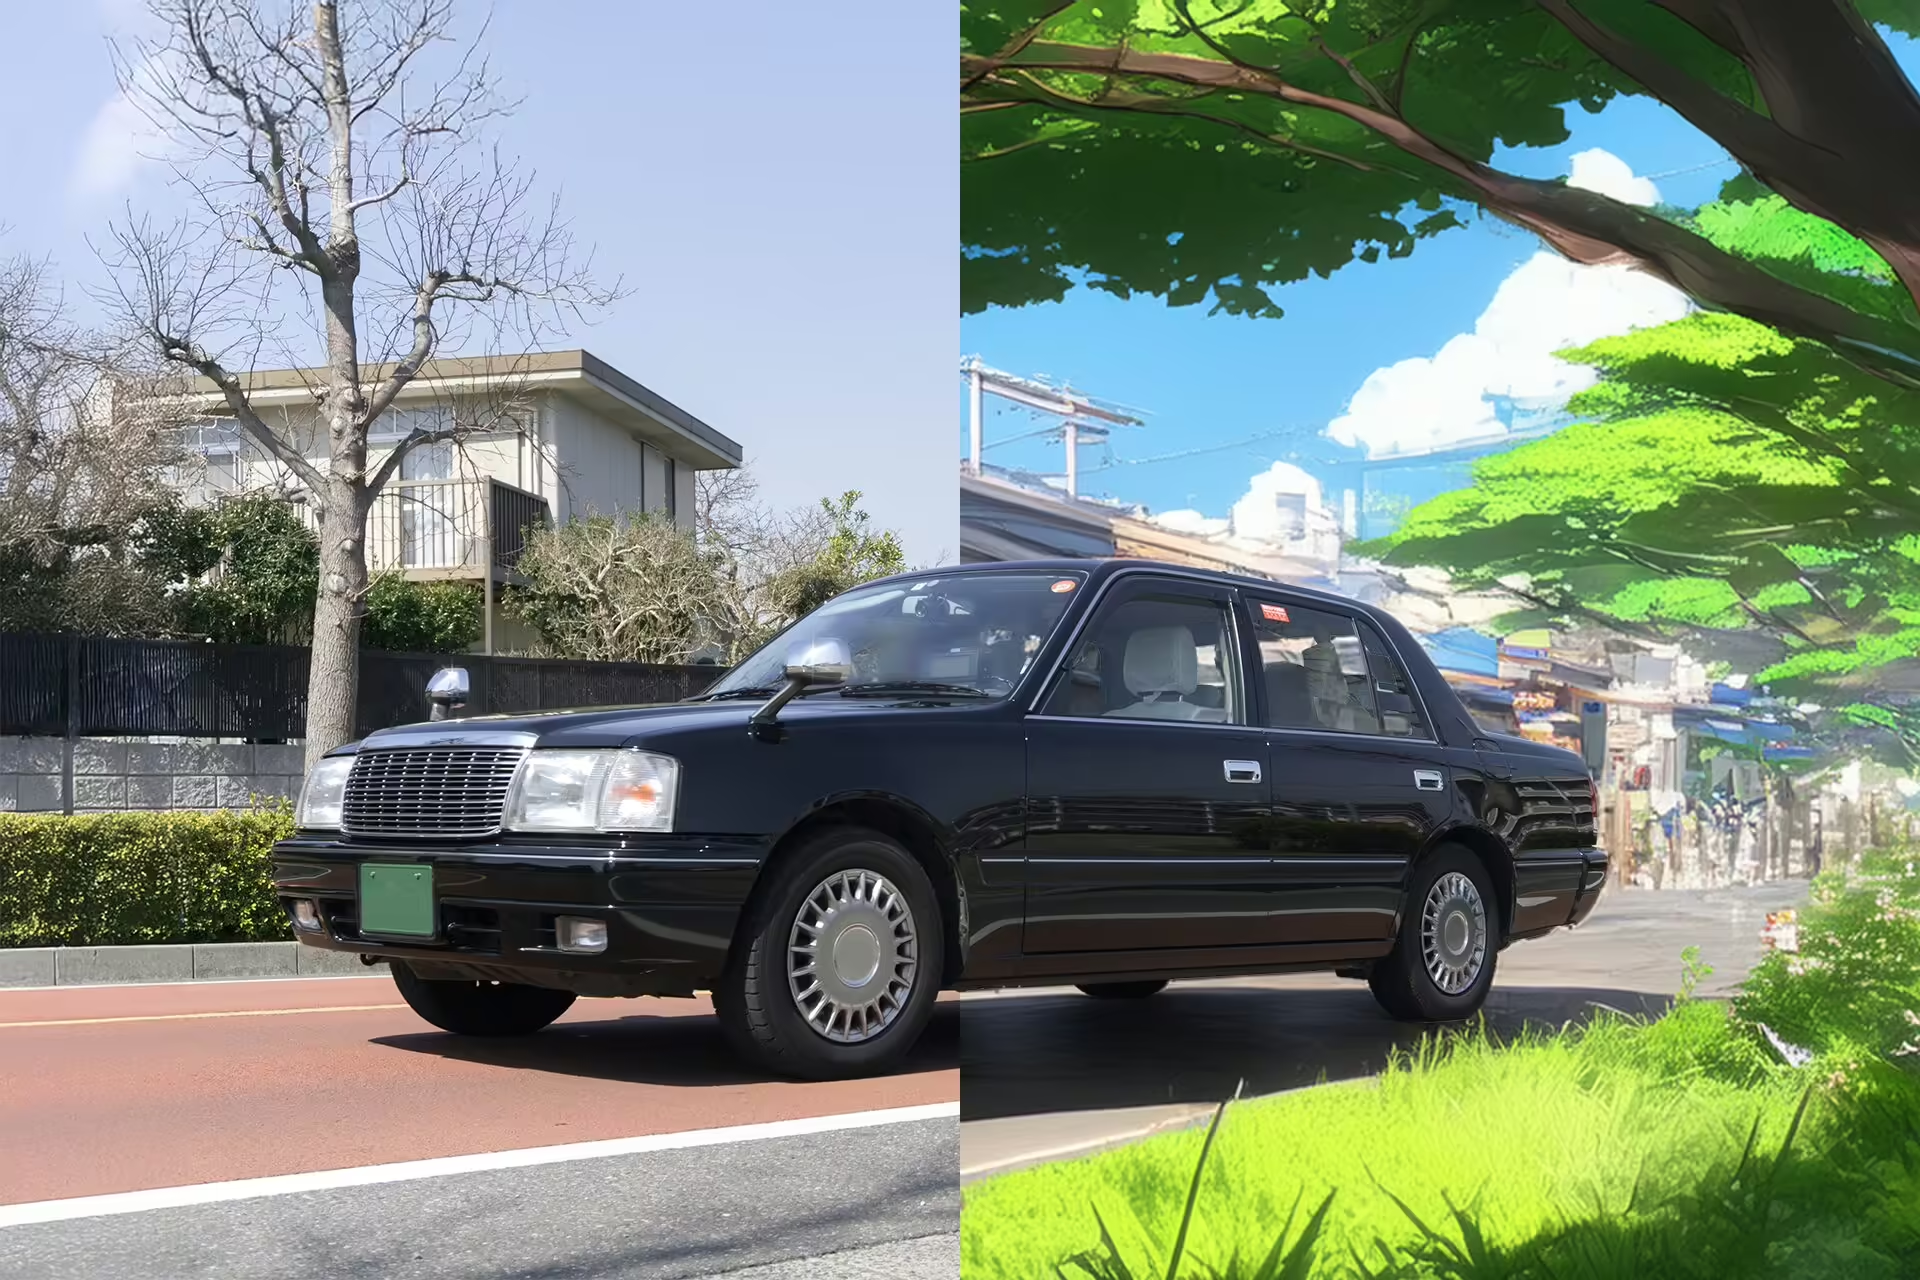
For my image, I made the canvas larger to give more space for the background (Tip: making it larger than necessary helps since you can always crop back later). Center your car as desired.
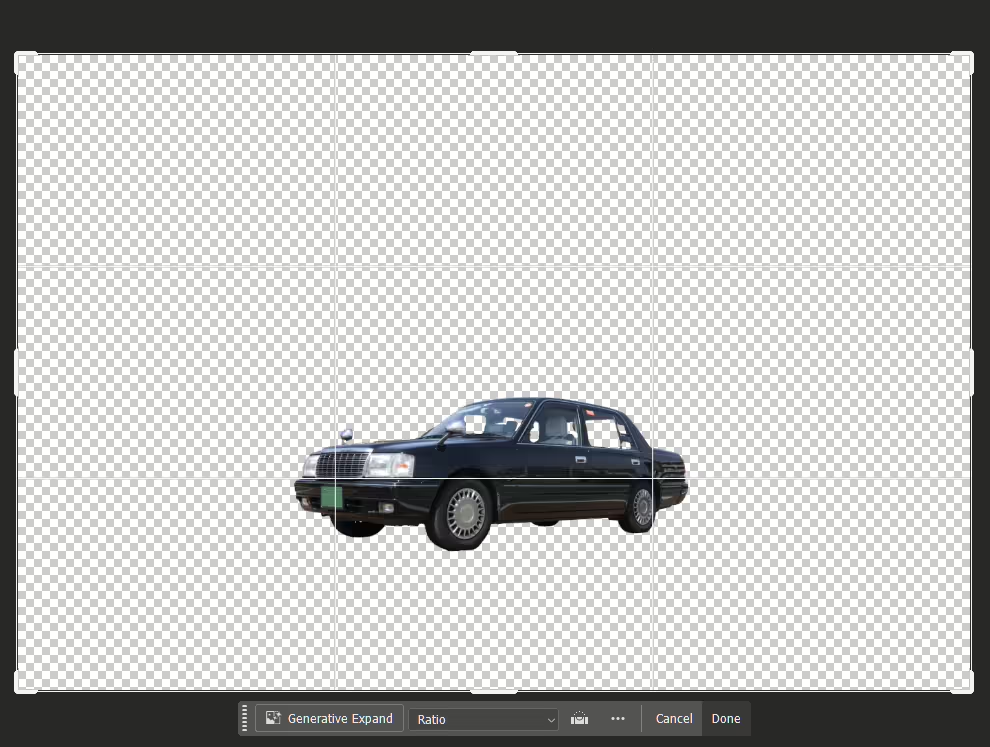
Once you have the crop you like, click on the “Done” button in the Contextual Task Bar.

Step 5: Generate Your Background
Select the Move tool from the toolbar.
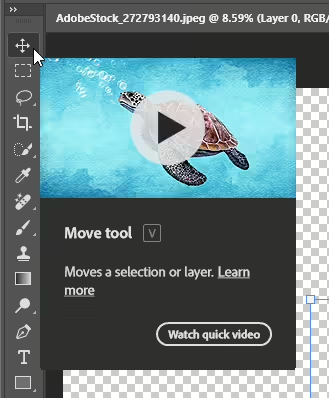
Click on the layer mask in the Layers panel to ensure it’s selected.
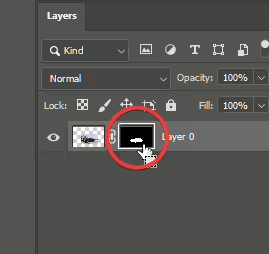
In the Contextual Task Bar, click on “Generate background.”
Note: You must to have the layer mask selected in order for the “Generate background” button to appear. If you do not see it, you can either click on the “Edit background” button from the Contextual Task Bar or click on the layer mask selected from the Layers panel.

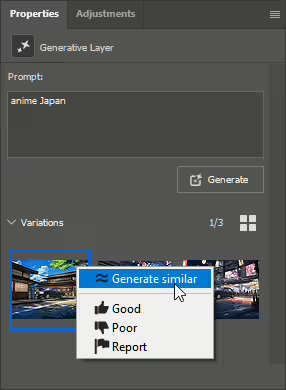
You’ll see a prompt field where you can enter your desired background description (known as a prompt). For my image, I’ll type “Anime Japan”. Don’t stress about getting the right prompt; you can always change it later.

Step 6: Review and Select Variations
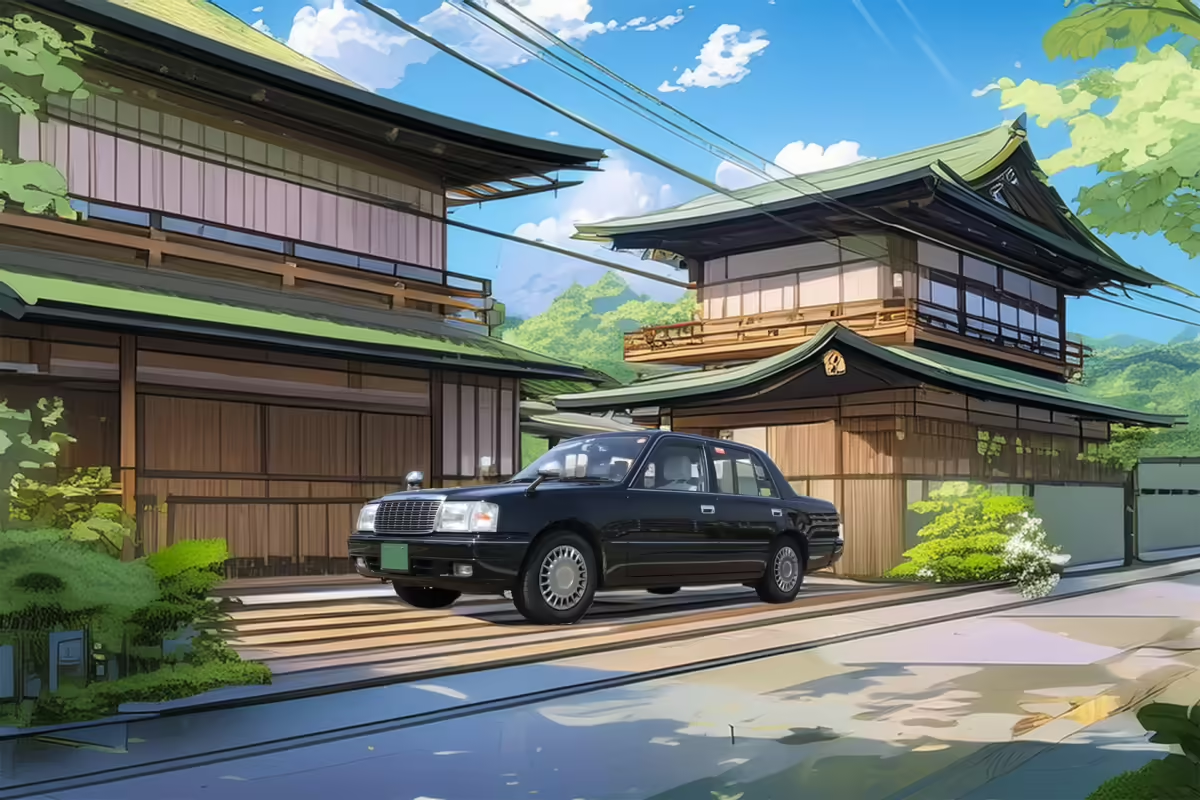
Photoshop will now generate an AI background for you. I like the style of the background, but the car is parked on the sidewalk which isn’t what I want. Thankfully, Photoshop now has a way to generate variations.
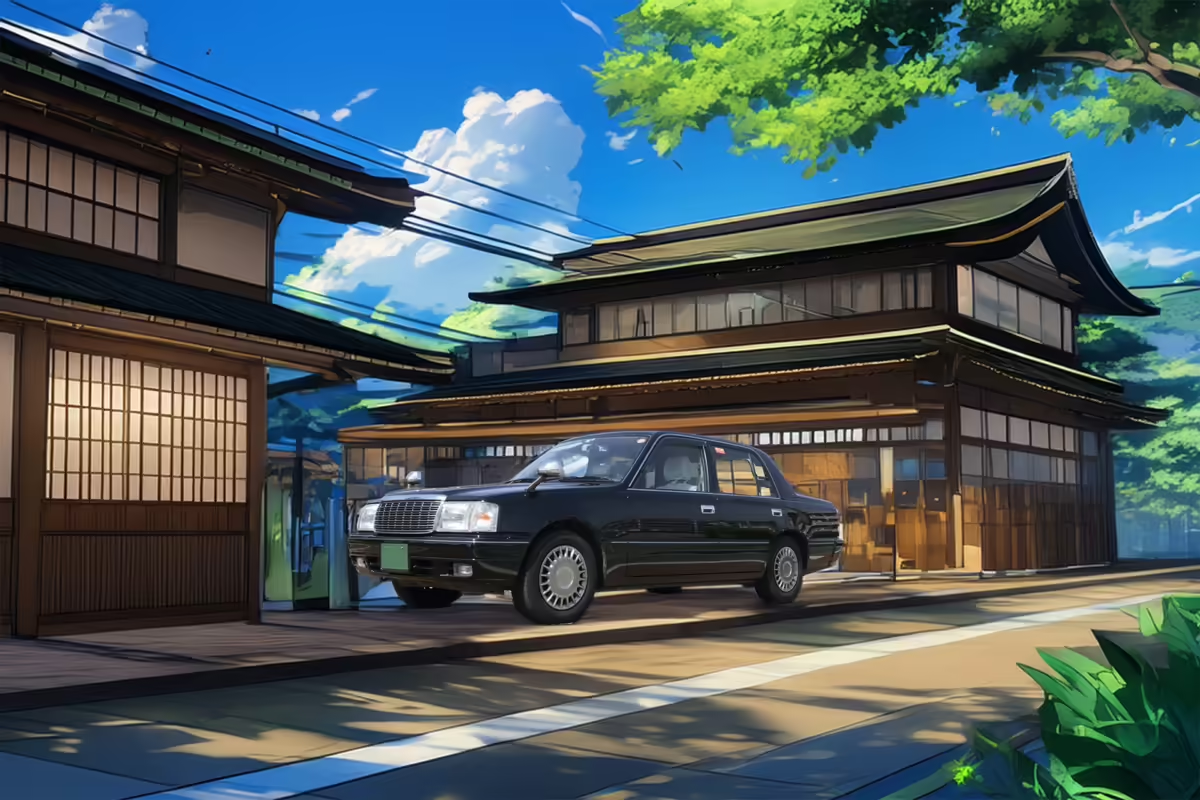
In the Properties panel (accessed via Window > Properties), you’ll find variations of your background. You can modify the prompt and generate additional variations. If one catches your eye, right-click on it and select “Generate Similar” for more options.
Step 7: Finalize Your Composition
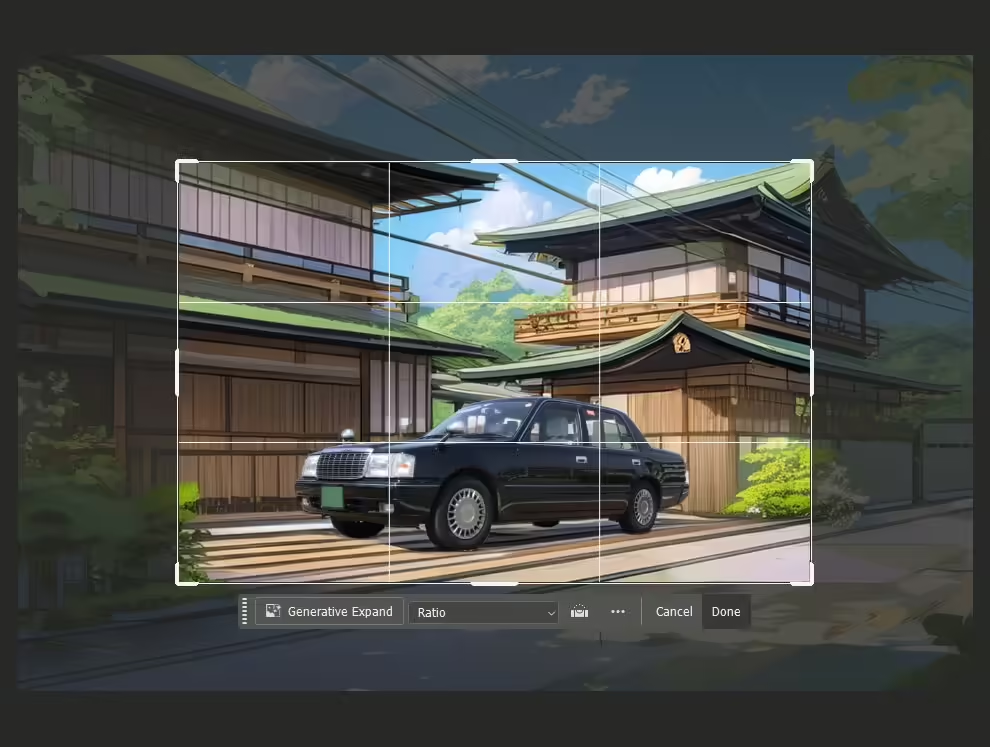
Once you’ve found a background you love, crop back down to finalize your artwork. Select the Crop tool again and ensure “Delete Cropped Pixels” is unchecked in the options bar at the top. This allows for further adjustments later on.

Final Results and More Examples
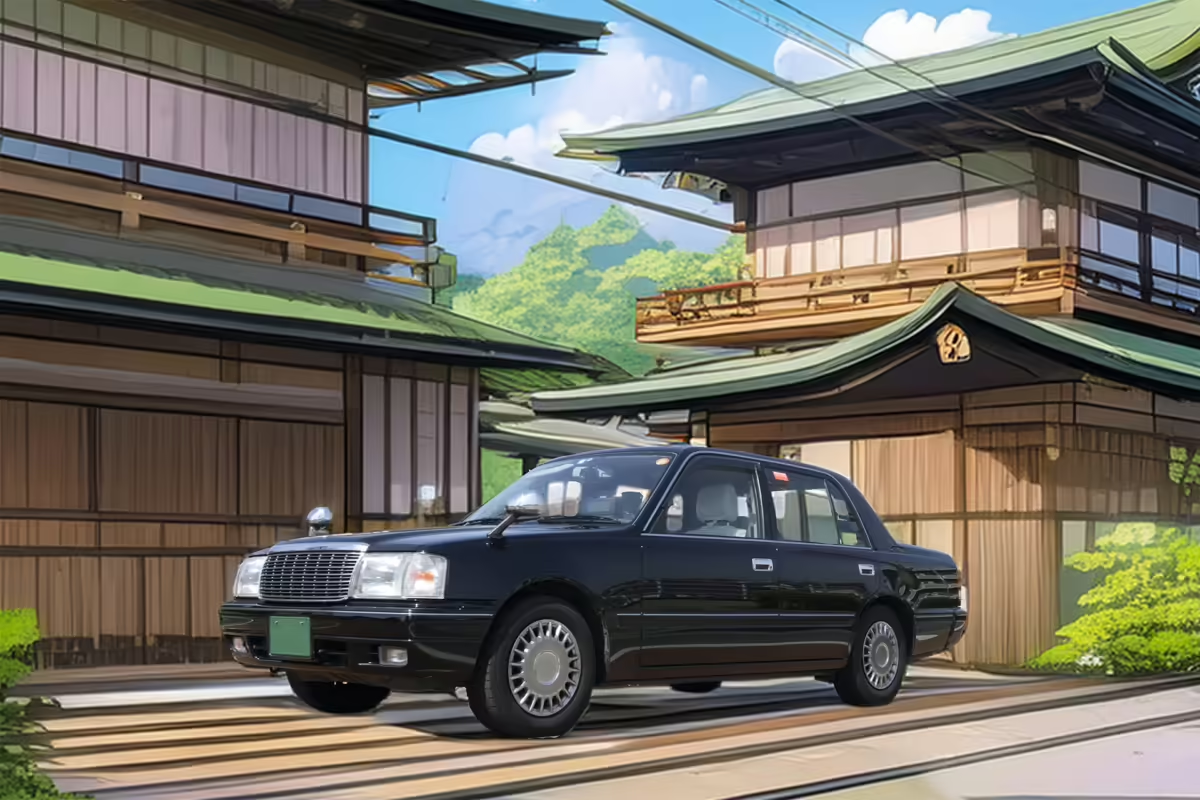
Congratulations! You’ve successfully changed the background in Photoshop! There are a lot of use cases for this, for product photography, surreal artworks, and more. Here are some more examples.


3 responses to “Changing Backgrounds in Photoshop Using Generative AI Tools”
-
Photoshop probably has the best background replacement option but it isn’t content-aware background replacement. Content-aware background replacement would be able to detect all the little missed white areas in your layer mask and wouldn’t have to crop hair off etc but would blend it intelligently. In spite of all the hype it doesn’t look like ANY current AI can do this. 9-June-2025
-
Ei ole tommosia työkaluja tai ohje on virheellinen
-
Which tool aren’t you seeing?
-

Leave a Reply