
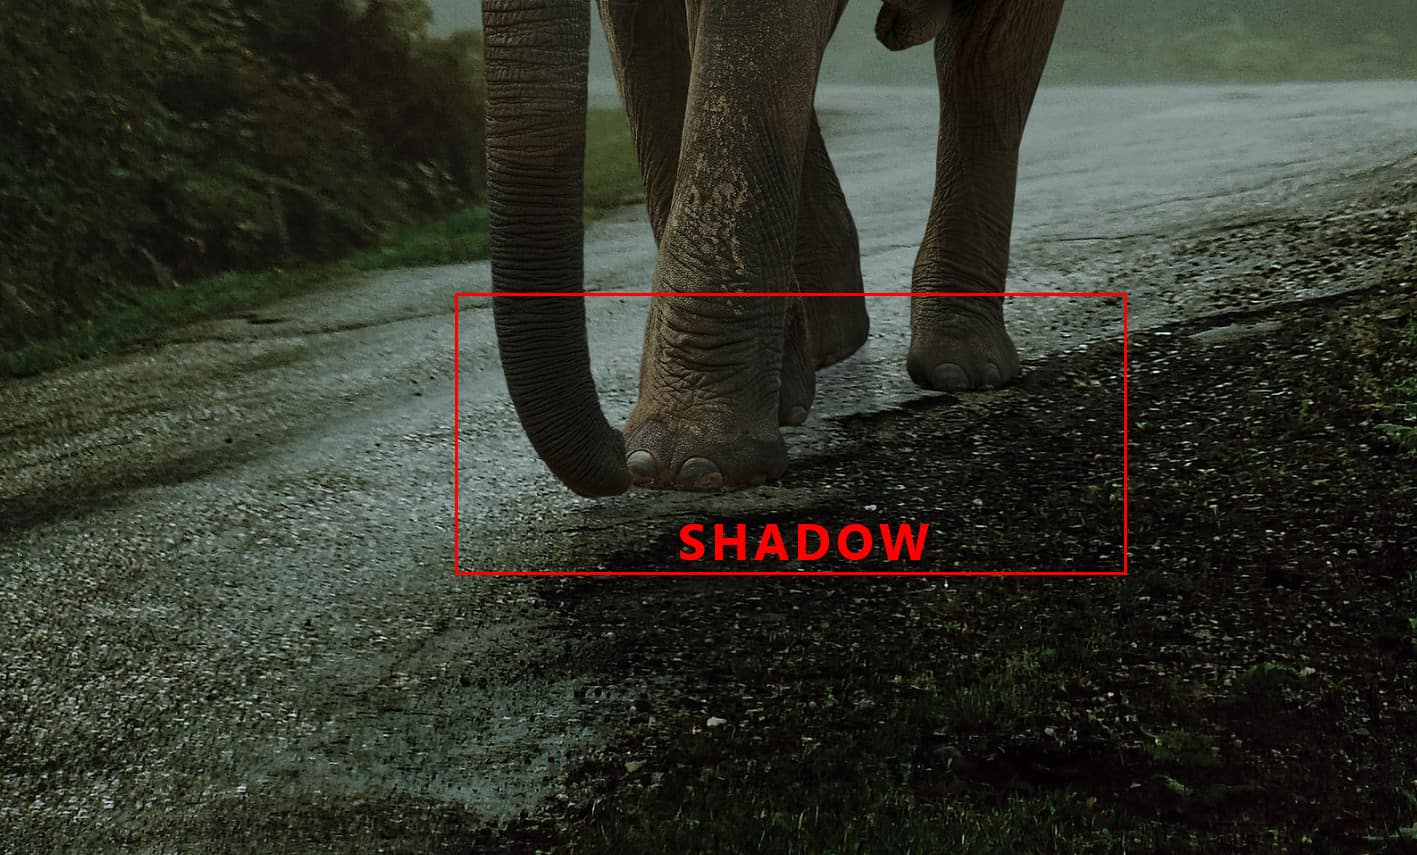
Step 11
Next, create a new layer above all to create a some fog. Use Brush Tool(B) Soft Round with foreground color #bbcdc7 and start painting. Opacity set to 40% and look at example in picture below.


Step 12
Create a new layer and use Pen Tool(P) then start selecting Tush and press right click “Make Selection” Feather Radius set to 0px, check AntiAliased and press OK. Use White color and fill it (Ctrl/Cmd + Delete).

Right click on layer and select Blending Options. We now get an Layer Style options window. 1. Inner Glow

2. Color Overlay

3. Outer Glow

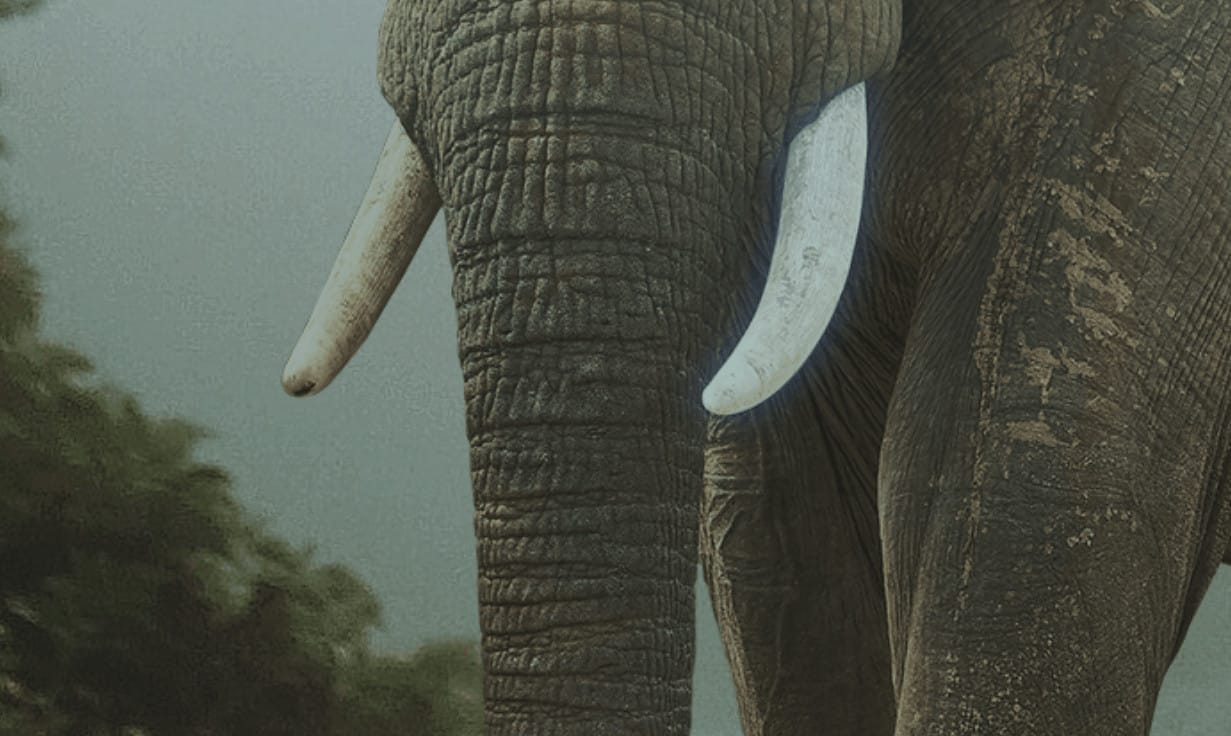
Step 13
Now repeat the same procedure on the other elephant horn only opacity set to 50%.

Step 14
Next, we add Stars but first we need to import brushes. Select a Brush Tool(B) and right click on background. Now click on the gear icon and Import Brushes (Select a downloaded brush).


Now we can paint some stars…

Step 15
Now right click on layer and select Blending Options. We now get an Layer Style options window. 1. Outer Glow


Step 16
Now, go to File > Open and select Leaves. Now that we have opened we need to remove the background, the easiest way to do that is Color Range. Go to Select > Color Range and with the pointer click on white color on image, Fuzzines set to 40 then press OK.
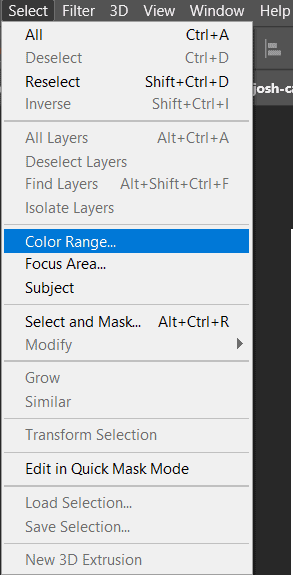

Now press Ctrl/Cmd + Shift + I to invert the selectioin and click on layes mask icon.


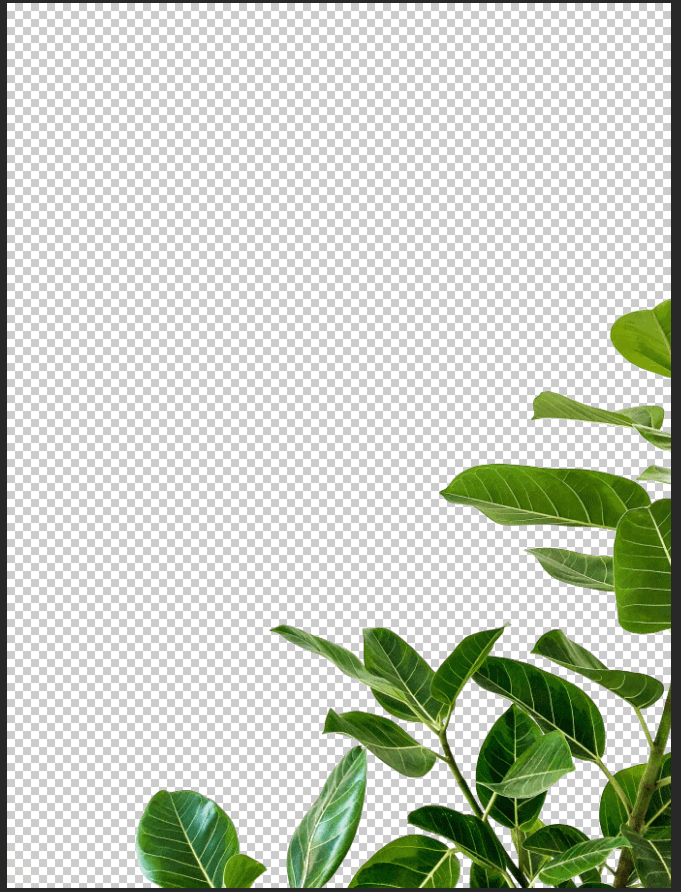
Step 17
After the selection area has been created, simply copy (Ctrl / Cmd + C) and Paste (Ctrl / Cmd + V) it to our work canvas. Then position the image with the transform tool (Ctrl / Cmd + T). Hold Alt + Shift and resterize and Rotate like image below. In Photoshop CC only hold Alt to resterize al sides together.

Then go to Filter > Blur > Gaussian Blur set radius to 8px.


Step 18
Add Adjustment Layer “Levels”

Step 19
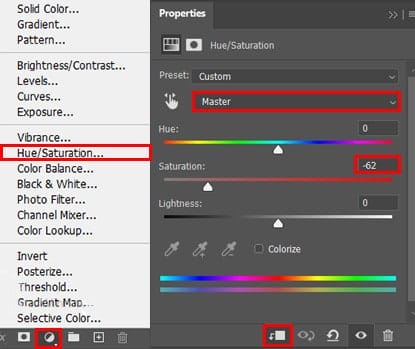
Add Adjustment Layer “Hue/Saturation”
Step 20
Open Ivy and hold Ctrl/Cmd and click on layer and after the selection area has been created, simply copy (Ctrl / Cmd + C) and Paste (Ctrl / Cmd + V) it to our work canvas. Then position the image with the transform tool (Ctrl / Cmd + T). Hold Alt + Shift and resterize like image below. In Photoshop CC only hold Alt to resterize al sides together. Now add some blur, go to Filter > Blur > Gaussian Blur and set Radius to 8px.


Leave a Reply