

Step 29
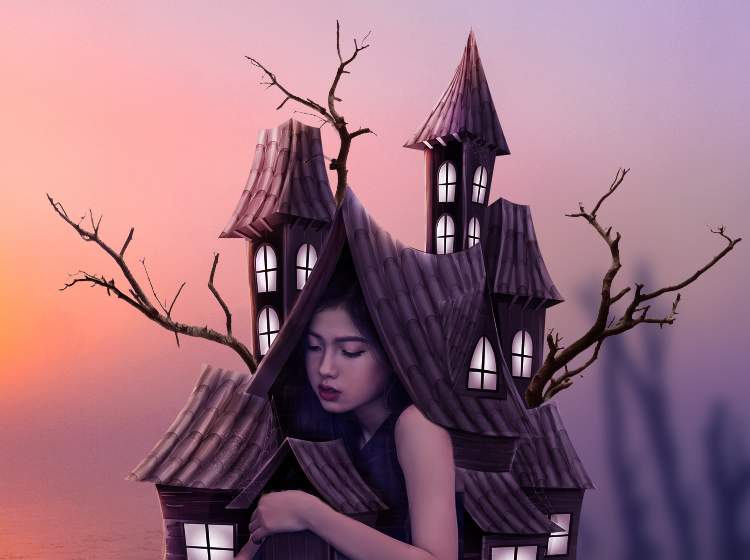
Create a group for the branch layers and make a Hue/Saturationadjustment layer within the group. Bring the Saturationvalues down to-65.

Step 30
Add a Color Balance adjustment layer and alter the Midtonesand Highlightssettings:


Step 31
Make a Curvesadjustment layer to brighten the branches. On this layer mask, use a soft black brush, the opacity about 20-25%to paint on the details on the hidden sides to remove the light effect on these areas.


Step 32
Use the Dodgeand Burn Tool to refine the light and shadow on the branch on the left.

Step 33
Make a new layer above the branch layers (except the one on the right which is hidden in the dark) and set as Clipping Mask. Use a small brush with the color #b49355to paint the light contour for the branches to fit the light from the background.

Step 34
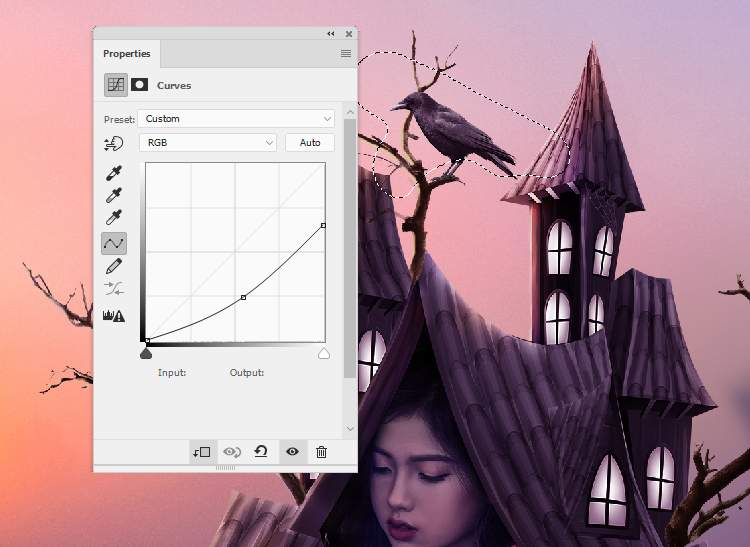
Cut out the crow and add him to the branches on the top and flip him horizontally.

Step 35
Use a Color Balanceadjustment layer and change the Midtonessettings:

Step 36
Make a Curvesadjustment layer to darken the crow’s legs. Paint on his body and head so they won’t be affected by this adjustment layer.

Step 37
Make a new layer, change the mode to Overlay 100%and fill with 50%gray. Use the Dodge Toolto paint the highlight on the crow.

Step 38
Create a new layer and use a soft brush with the color #b49355to paint on the chest of the crow. Change this layer mode to Color Dodge 100%.

Step 39
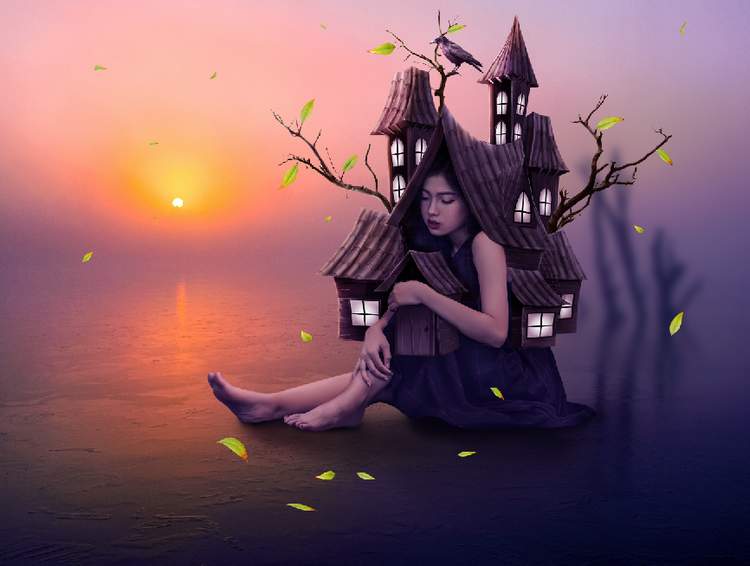
Open the leaves image and cut out them from the background. Take different leaves to add to the branches and around the model and the ground.Use Ctrl+T to resize, rotate, distort them so they appear different.

Step 40
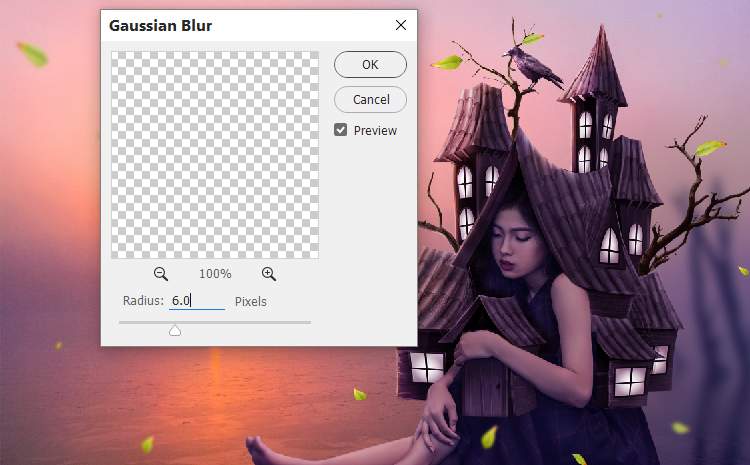
Add other leaves to the edges of the canvas and around the model. Apply the Gaussian Blurfilter of 4, 6, 9 and 12 pxto these leaves depending on their size, distance and position. This step is to increase the depth of the scene.


Step 41
Make a group for the leaves and add a Hue/Saturation adjustment layer to change the leaves’ color.

Step 42
Create a Curvesadjustment layer to darken the leaves. On this layer mask, paint on the side of the leaves which are exposed in the light.

Make another Curvesadjustment layer to increase the light on the bright sides of the leaves. Paint on the rest so they won’t be or less affected by this adjustment layer.
4 responses to “How to Create a Surreal House Photo Manipulation with Adobe Photoshop”
-
Great tutorail
-
great
-
Do you have a video
-
Lovely


Leave a Reply