Step 43
Create a new layer below the leaves’ group and use a soft brush with the color #0f0d0d to paint shadow for the leaves on and falling to the ground.

Step 44
Make a Gradient Mapadjustment layer on top of the layers and pick the colors #e10019and #00601b. Lower the opacity of this layer to 10%.

Create a Color Fill layer and pick the color#400202and later this layer mode to Exclusion 100%.

Step 45
Add a Color Balance adjustment layer and change the Midtones and Highlightssettings:


Make a Color Lookupadjustment layer and select Soft_Warming.look. On this layer mask, paint on the bottom and the middle of the canvas to remove the effect there.

Step 46
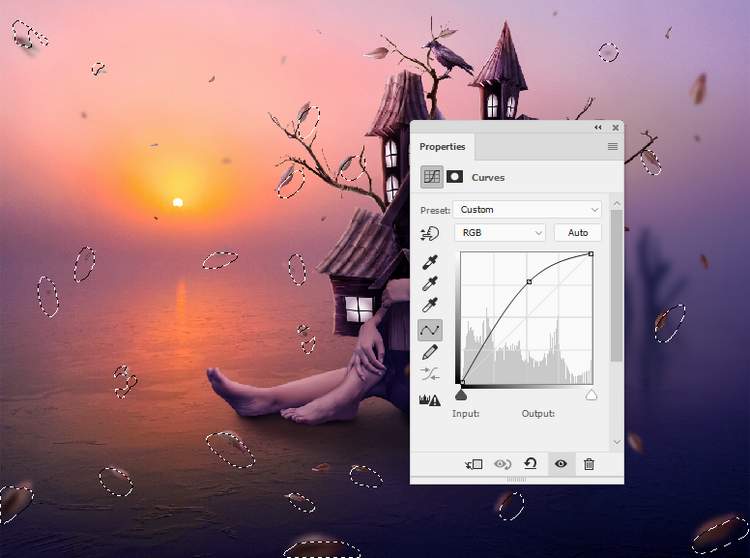
Create a Curvesadjustment layer to increase the light of the sun’s area. On this layer mask, paint on the rest to keep their lightness and contrast.

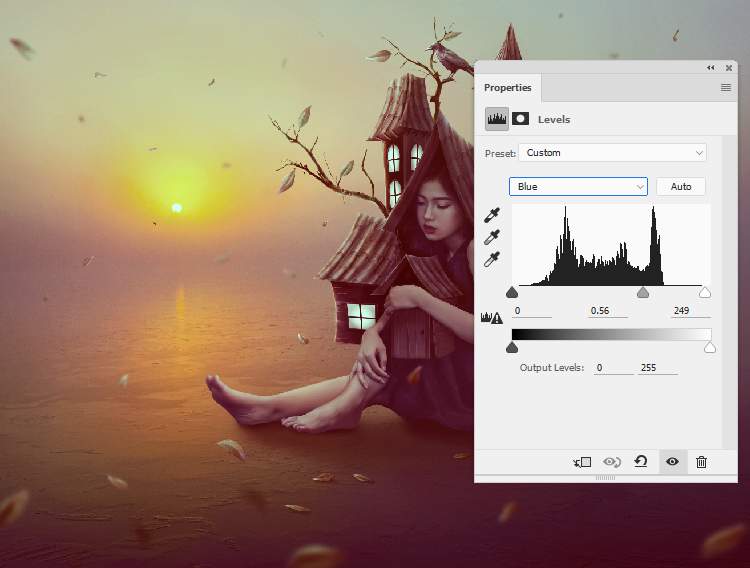
Make a Levels adjustment layer and alter the Reds, GreensandBlues values. Lower the opacity of this layer to 70%.


Step 47
Add aCurvesadjustment layer to darken the whole scene. Paint on the model’s face to reveal the lightness there.

Make a Brightness/Contrast adjustment layer to increase the light around the sun. Paint on the rest so it won’t be affected by this adjustment layer.

Use another Curves adjustment layer to darken the edges of the canvas. Paint around the sun’s area to keep its lightness and make a nice contrast for the whole scene.

Step 48
Create a Selective Color adjustment layer and change the Reds and Yellows settings:


Make a Photo Filteradjustment layer and pick the color #00ecd9to change the color of the sky a bit. Use a soft black to paint on the rest to keep the warm color of these places.

Add a Vibranceadjustment layer to enhance the final effect. Paint around the sun and the right edges to reduce the saturationthere.

Final Result

Download the PSD
4 responses to “How to Create a Surreal House Photo Manipulation with Adobe Photoshop”
-
Great tutorail
-
great
-
Do you have a video
-
Lovely

Leave a Reply