- Brush size: 1500px
- Hardness: 0%
- Opacity: 15%
- Flow: 100%
- #: 000000
Use the Brush tool (B) to the direction of the red arrow:

The result:

Step 16
Finally, let’s whiten the center part of the image and to do that, create a new layer (Ctrl/Cmd + Shift + N) above the “darken 3” layer. Once done, activate the Brush tool (B) and input the following:
- Brush size: 2000px
- Hardness: 0%
- Opacity: 15%
- Flow: 100%
- #: ffffff
Now, let’s paint:

The result of that should be similar to this:
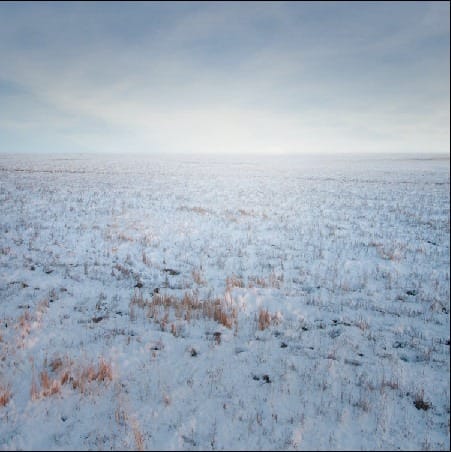
Step 17
Now, let’s group all the layers that we’ve created by selecting all the layers and pressing Ctrl/Cmd + G. Once grouped, rename it to “Background”.

Step 18
In this step, we will be creating the huge and isolated Christmas tree in this empty field. To start, open the stock image: “Frosted Christmas Tree PSD” by dbszabo1. Note that this is a PNG file, so that means, upon opening, you could simply activate the Move tool (V) and drag the tree to our canvas. Once on the canvas, make sure that the tree is positioned above the “Background” group. Position the Christmas tree as shown on the image below:

Rename the Christmas tree as “Xmas tree”. Next, activate the Transform tool (Ctrl/Cmd + T) and resize the tree as shown on the image below:
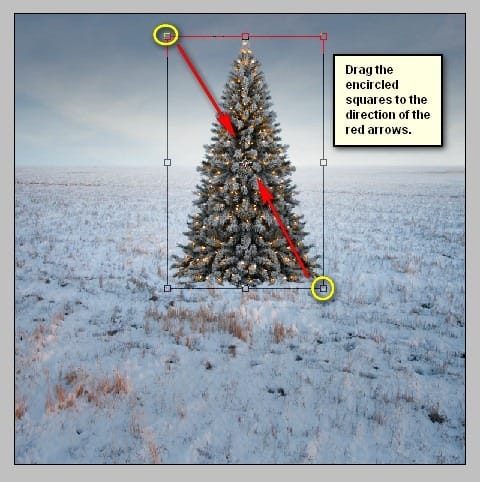
The result:

Step 19
Next, reduce the “xmas tree’s” Opacity to 90%.

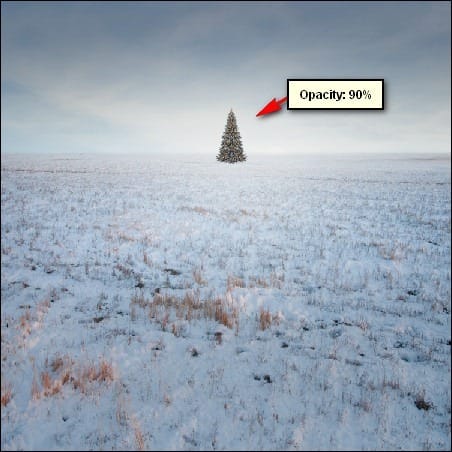
Step 20
Next, let’s activate the Eraser tool (E) because we would need to erase some parts of the Christmas tree to make it blend well with the image. Use the following settings for the Eraser tool (E):
- Brush size: 400px
- Hardness: 0%
- Opacity: 15%
- Flow: 100%
Now, let’s erase!
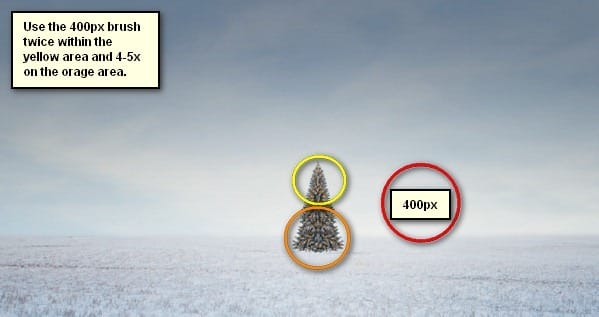
The result:

Step 21
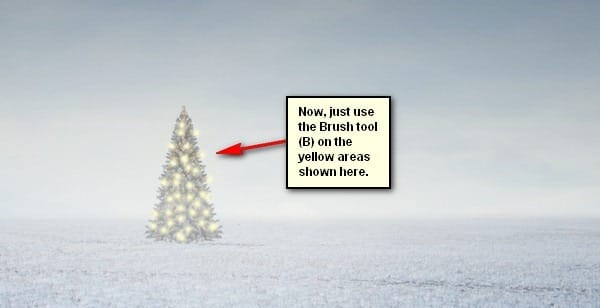
Now, we will add some decorative lights on our Christmas tree; to start, first create a new layer (Ctrl/Cmd + Shift + N) and name it “yellow lights”. Remember to put this above the “Xmas tree” layer.
Once done, activate the Brush tool (B) and input the following:
- Brush size: 30px
- Hardness: 0%
- Opacity: 100%
- Flow: 100%
- #: fffdd1
Next, use the Brush tool (B) on the following areas:
Step 22
Once done, let’s change the Blending options of these lights. To do that, right click on the “yellow lights” layer and once the contextual menu pops up, click on “Blending Options”.

Next, click on the Outer Glow tick box and then input the following:
Outer Glow:
- Blend mode: Screen
- Opacity: 75%
- Noise: 0%
- #: ffffbe
Elements
- Technique: Softer
- Spread: 0%
- Size: 90px

Step 23
After that, reduce “yellow lights” layer opacity to 70%. The result of that will be like this:
11 responses to “How to Create a Breathtaking Christmas Artwork in Photoshop”
-
i agree that they are almost the same i think the overlay is a little darker than soft light
-
Intgihss like this liven things up around here.
-
Awesome resources.Huge collection.Great job.Very useful post.Thanks for sharing.
-
That’s a shrewd answer to a tricky qutiosen
-
-
i cant download the snow feild????
-
What a great tutorial!!
Thank you so much -
nice concept and tutorial thank you !
-
very Nice Tutorial
Thank you so much -
You forgot to write about darkening sky in Step 9. Just about layer creating.
-
At step 8, “Change the Blending mode of “sky 2″ to Soft Light” but you changed it to Overlay..
Well, which one is it sir?
-
Soft light is about the same as overlay. Overlay is more contrast and saturation.
-


Leave a Reply