Now, when the Gradient Map box opens, do the following as shown on the images below:

Step 49
You’ll notice that your image is now Black and White, so let’s change the Blending mode and Opacity to the following:
- Blending mode: Luminosity
- Opacity: 60%

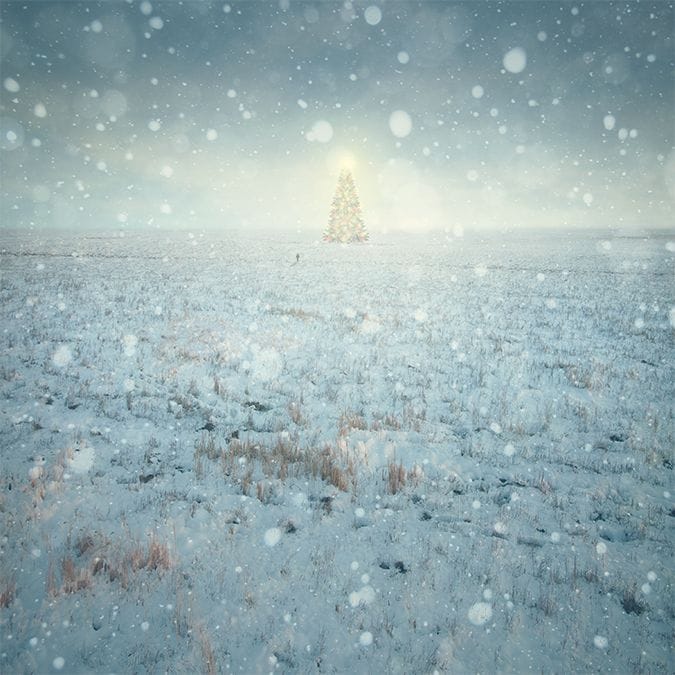
The result should be similar to this:

Final Results

Download the PSD
Tutorial by Michael Vincent Manalo

Merry Christmas and a Happy New Year to everyone! I hope this tutorial will help you in creating an artwork to amaze family/friends in this yuletide season. Thank you for visiting this page and using my tutorial, if you want to see more of my art works, give me a shout at my website: https://www.wix.com/theflickerees/michaelVmanalo
– Michael Vincent Manalo
11 responses to “How to Create a Breathtaking Christmas Artwork in Photoshop”
-
i agree that they are almost the same i think the overlay is a little darker than soft light
-
Intgihss like this liven things up around here.
-
Awesome resources.Huge collection.Great job.Very useful post.Thanks for sharing.
-
That’s a shrewd answer to a tricky qutiosen
-
-
i cant download the snow feild????
-
What a great tutorial!!
Thank you so much -
nice concept and tutorial thank you !
-
very Nice Tutorial
Thank you so much -
You forgot to write about darkening sky in Step 9. Just about layer creating.
-
At step 8, “Change the Blending mode of “sky 2″ to Soft Light” but you changed it to Overlay..
Well, which one is it sir?
-
Soft light is about the same as overlay. Overlay is more contrast and saturation.
-


Leave a Reply