Make your artwork look like they're from an alternate universe. These Cyberpunk presets work with Photoshop (via the Camera Raw filter) and Lightroom. Download all 788 presets for 90% off.
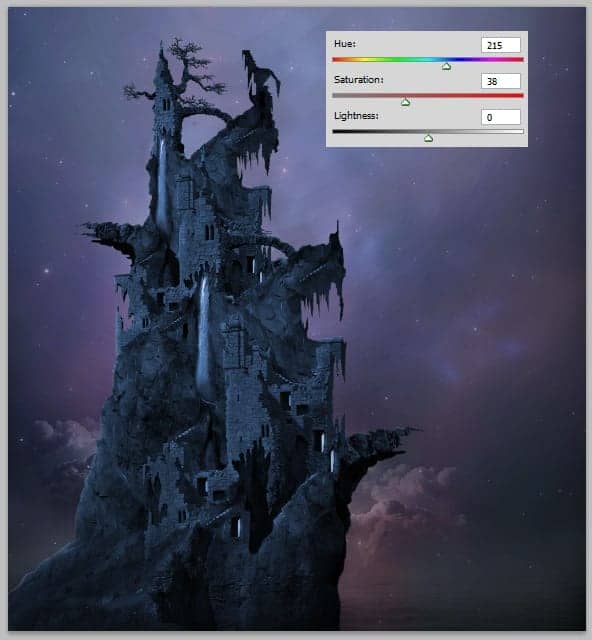
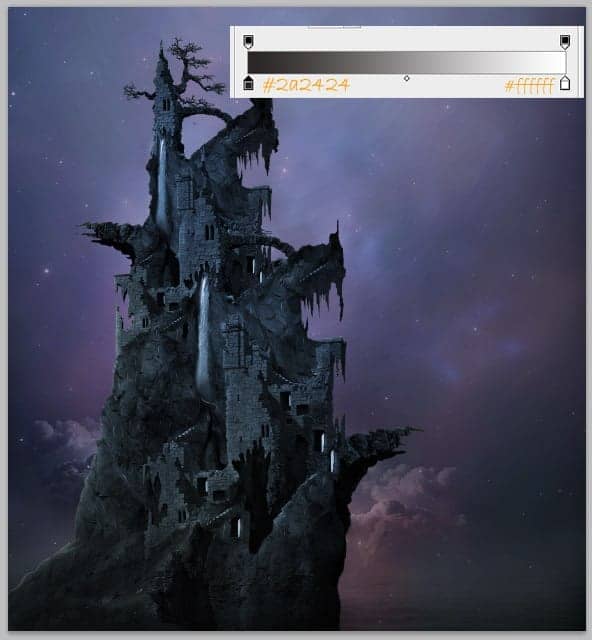
And another adjustment layer with a clipping mask: gradient map. Set this layer to soft light at about 40% opacity
Step 20
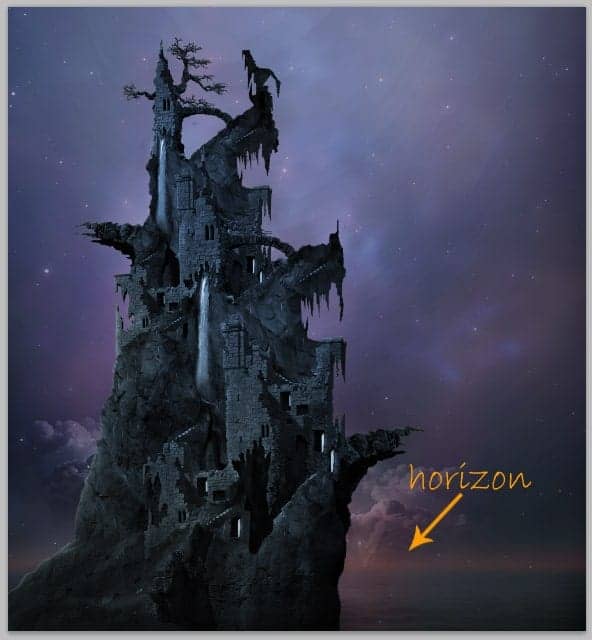
Proceed to create horizon line for the scene. Create again a new layer behind the pirate house folder. Take a very soft round brush with opacity of about 20%. On this new layer, paint orange (#fe9703) horizon. Set this layer to color dodge. To make the line more subtle, we can give it a bit Gaussian blur filter accordingly.
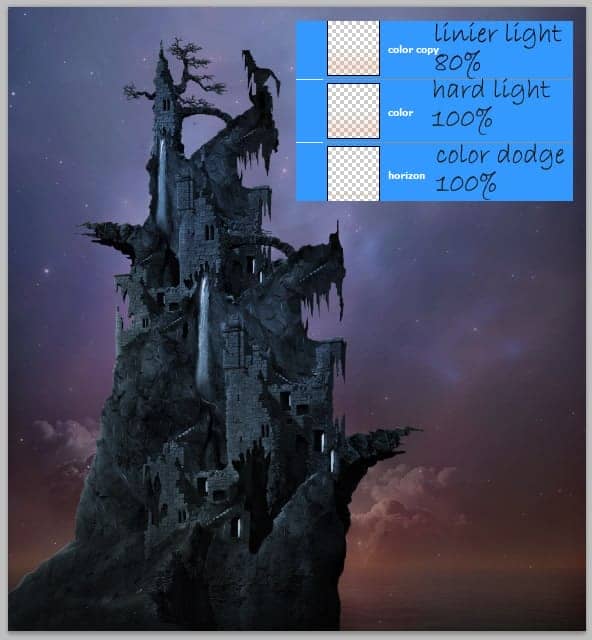
Again create a new layer above the horizon layer, on this layer paint subtle orange color to add more color to the scene. Duplicate the new layer and play around with blending mode to get best result. As illustrated in the screenshot, we use hard light and linier light for the blending mode with set to the values accordingly.
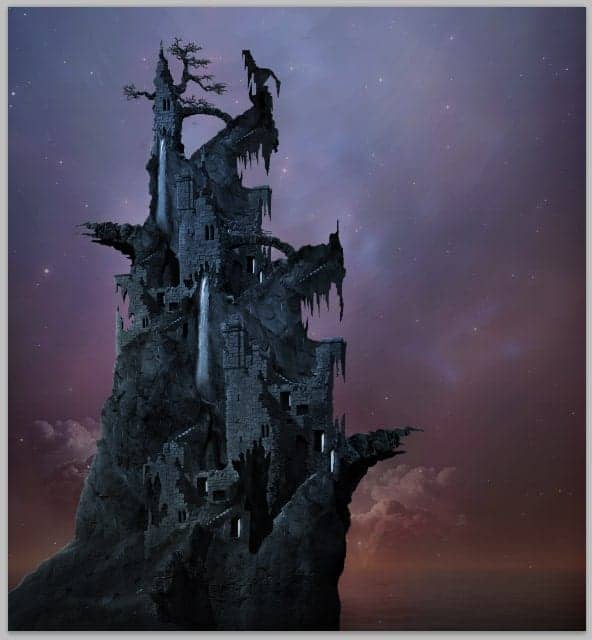
Step 21
Now create again a new layer below the horizon. On this new layer, paint soft yellow on the cloud. Set this layer to overlay at 100% opacity.
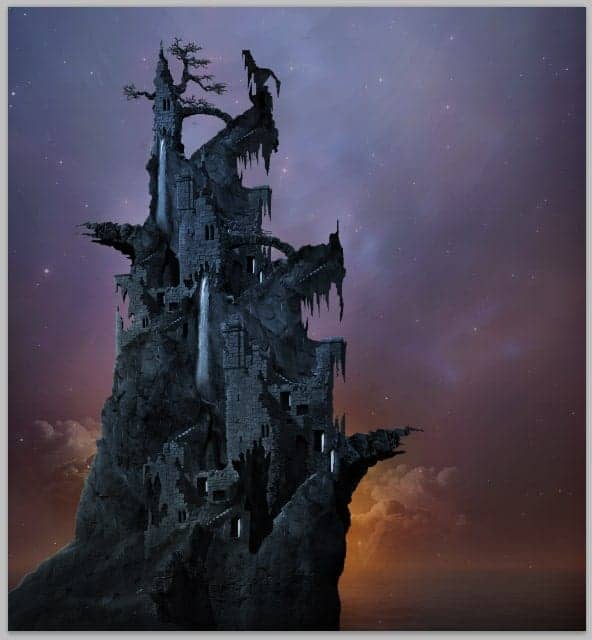
Step 22
On this step, we will add distant rock to the scene. Create again a new layer (remember press Shift+Ctrl+N). On this new layer paint a dark rock shape as below.
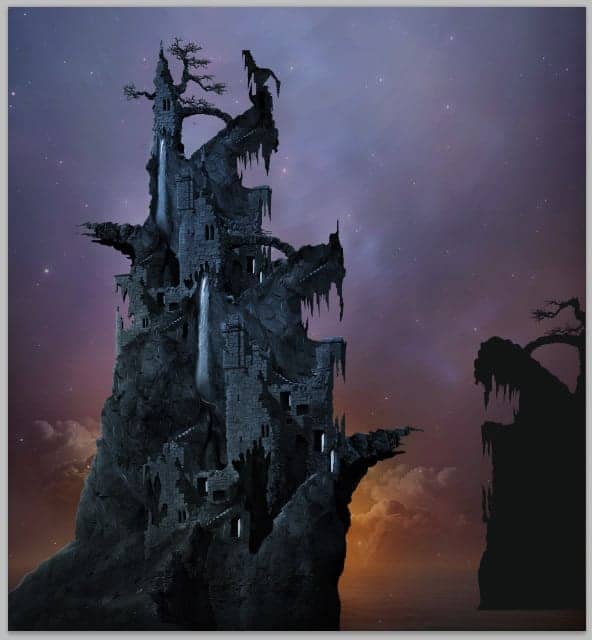
With combination use of dodge and burn tool, paint highlight and shading on the rock to define dimension to the rock so it does not look flat:
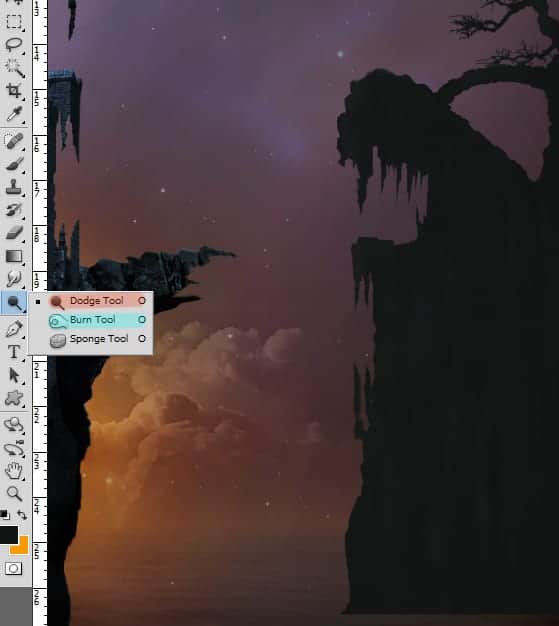
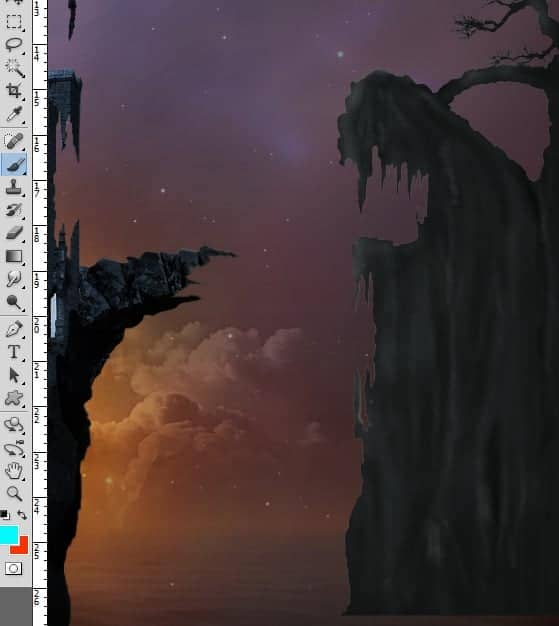
Give this layer a layer mask and mask the lower part of it. Set this layer’s blending to normal at about 40% opacity.
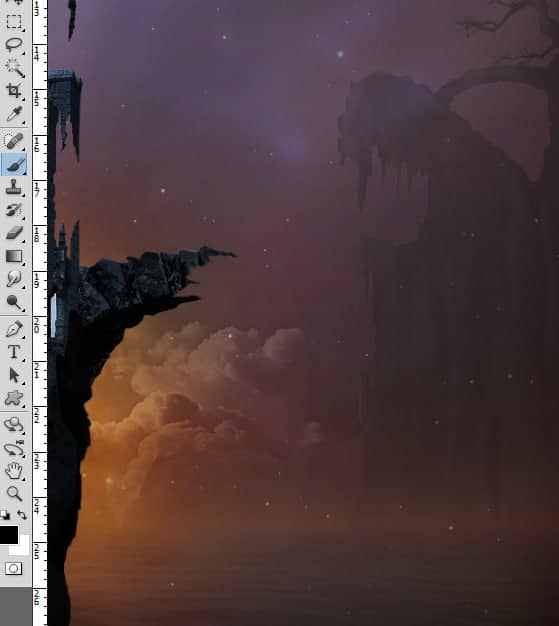
Finally, give this layer color adjustment with a clipping mask. Go again to layer > new adjustment layers > hue/saturation. Check Colorize.
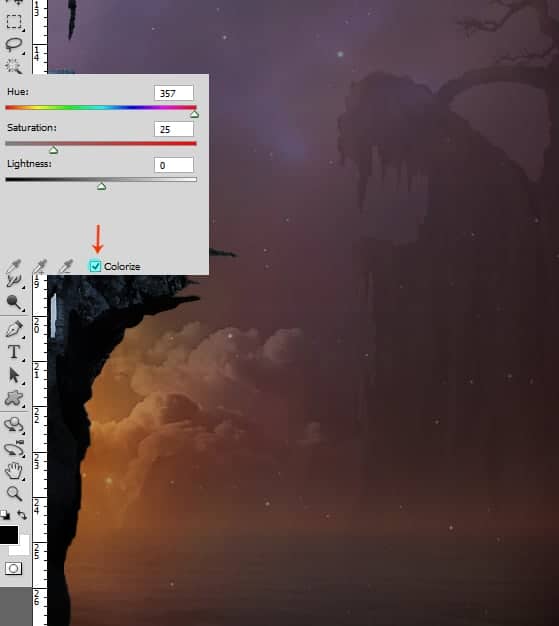
Give the other distant rock on the left part of the scene.

Step 23
Give another object to the scene. We will add ships. Open the ship image and add it to the document. Take free transform tool (Ctrl+T). Scale the size of the ship accordingly.
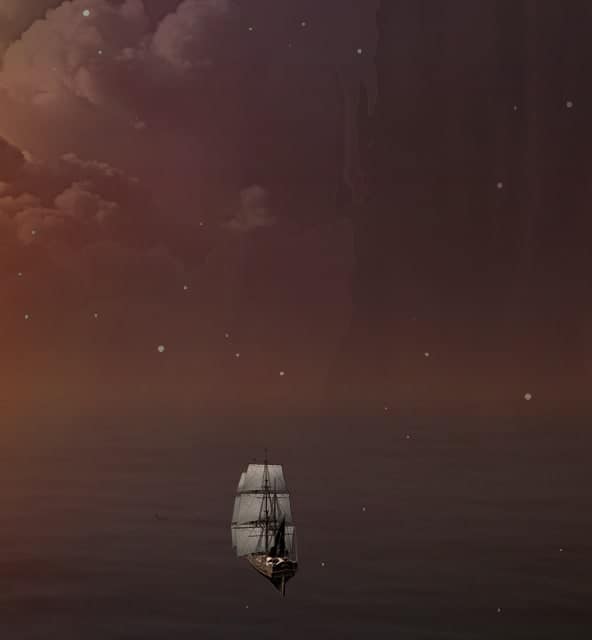
Here is the ship after being given water lines below it and shadow.
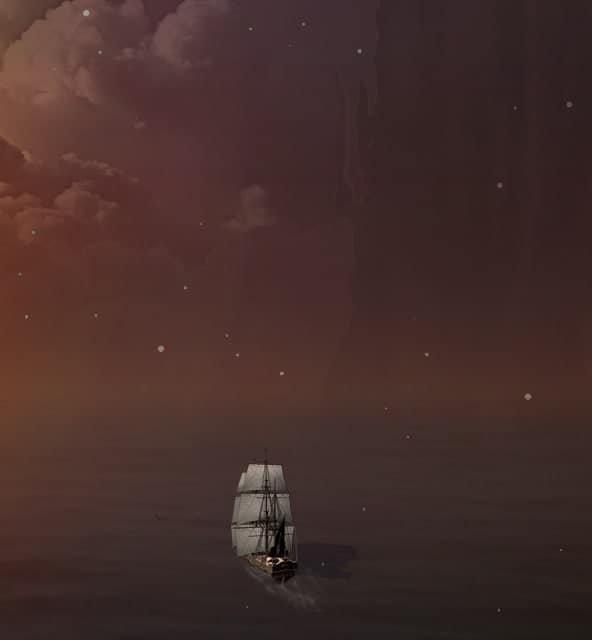
Duplicate the ship and place the duplicates where needed.
Step 24
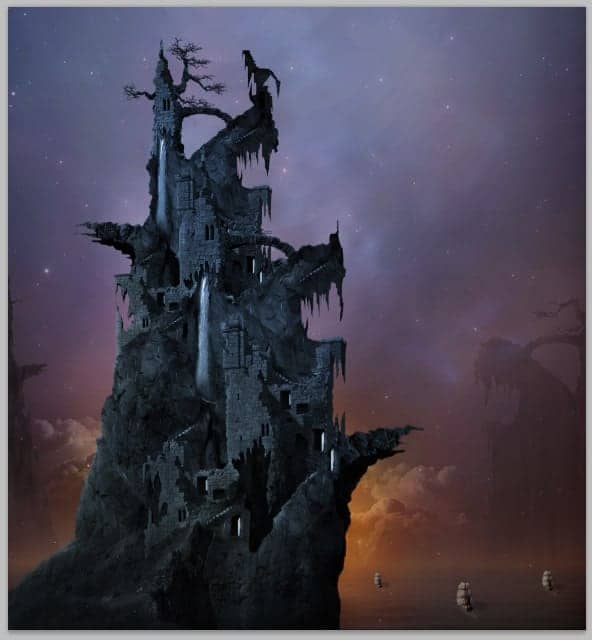
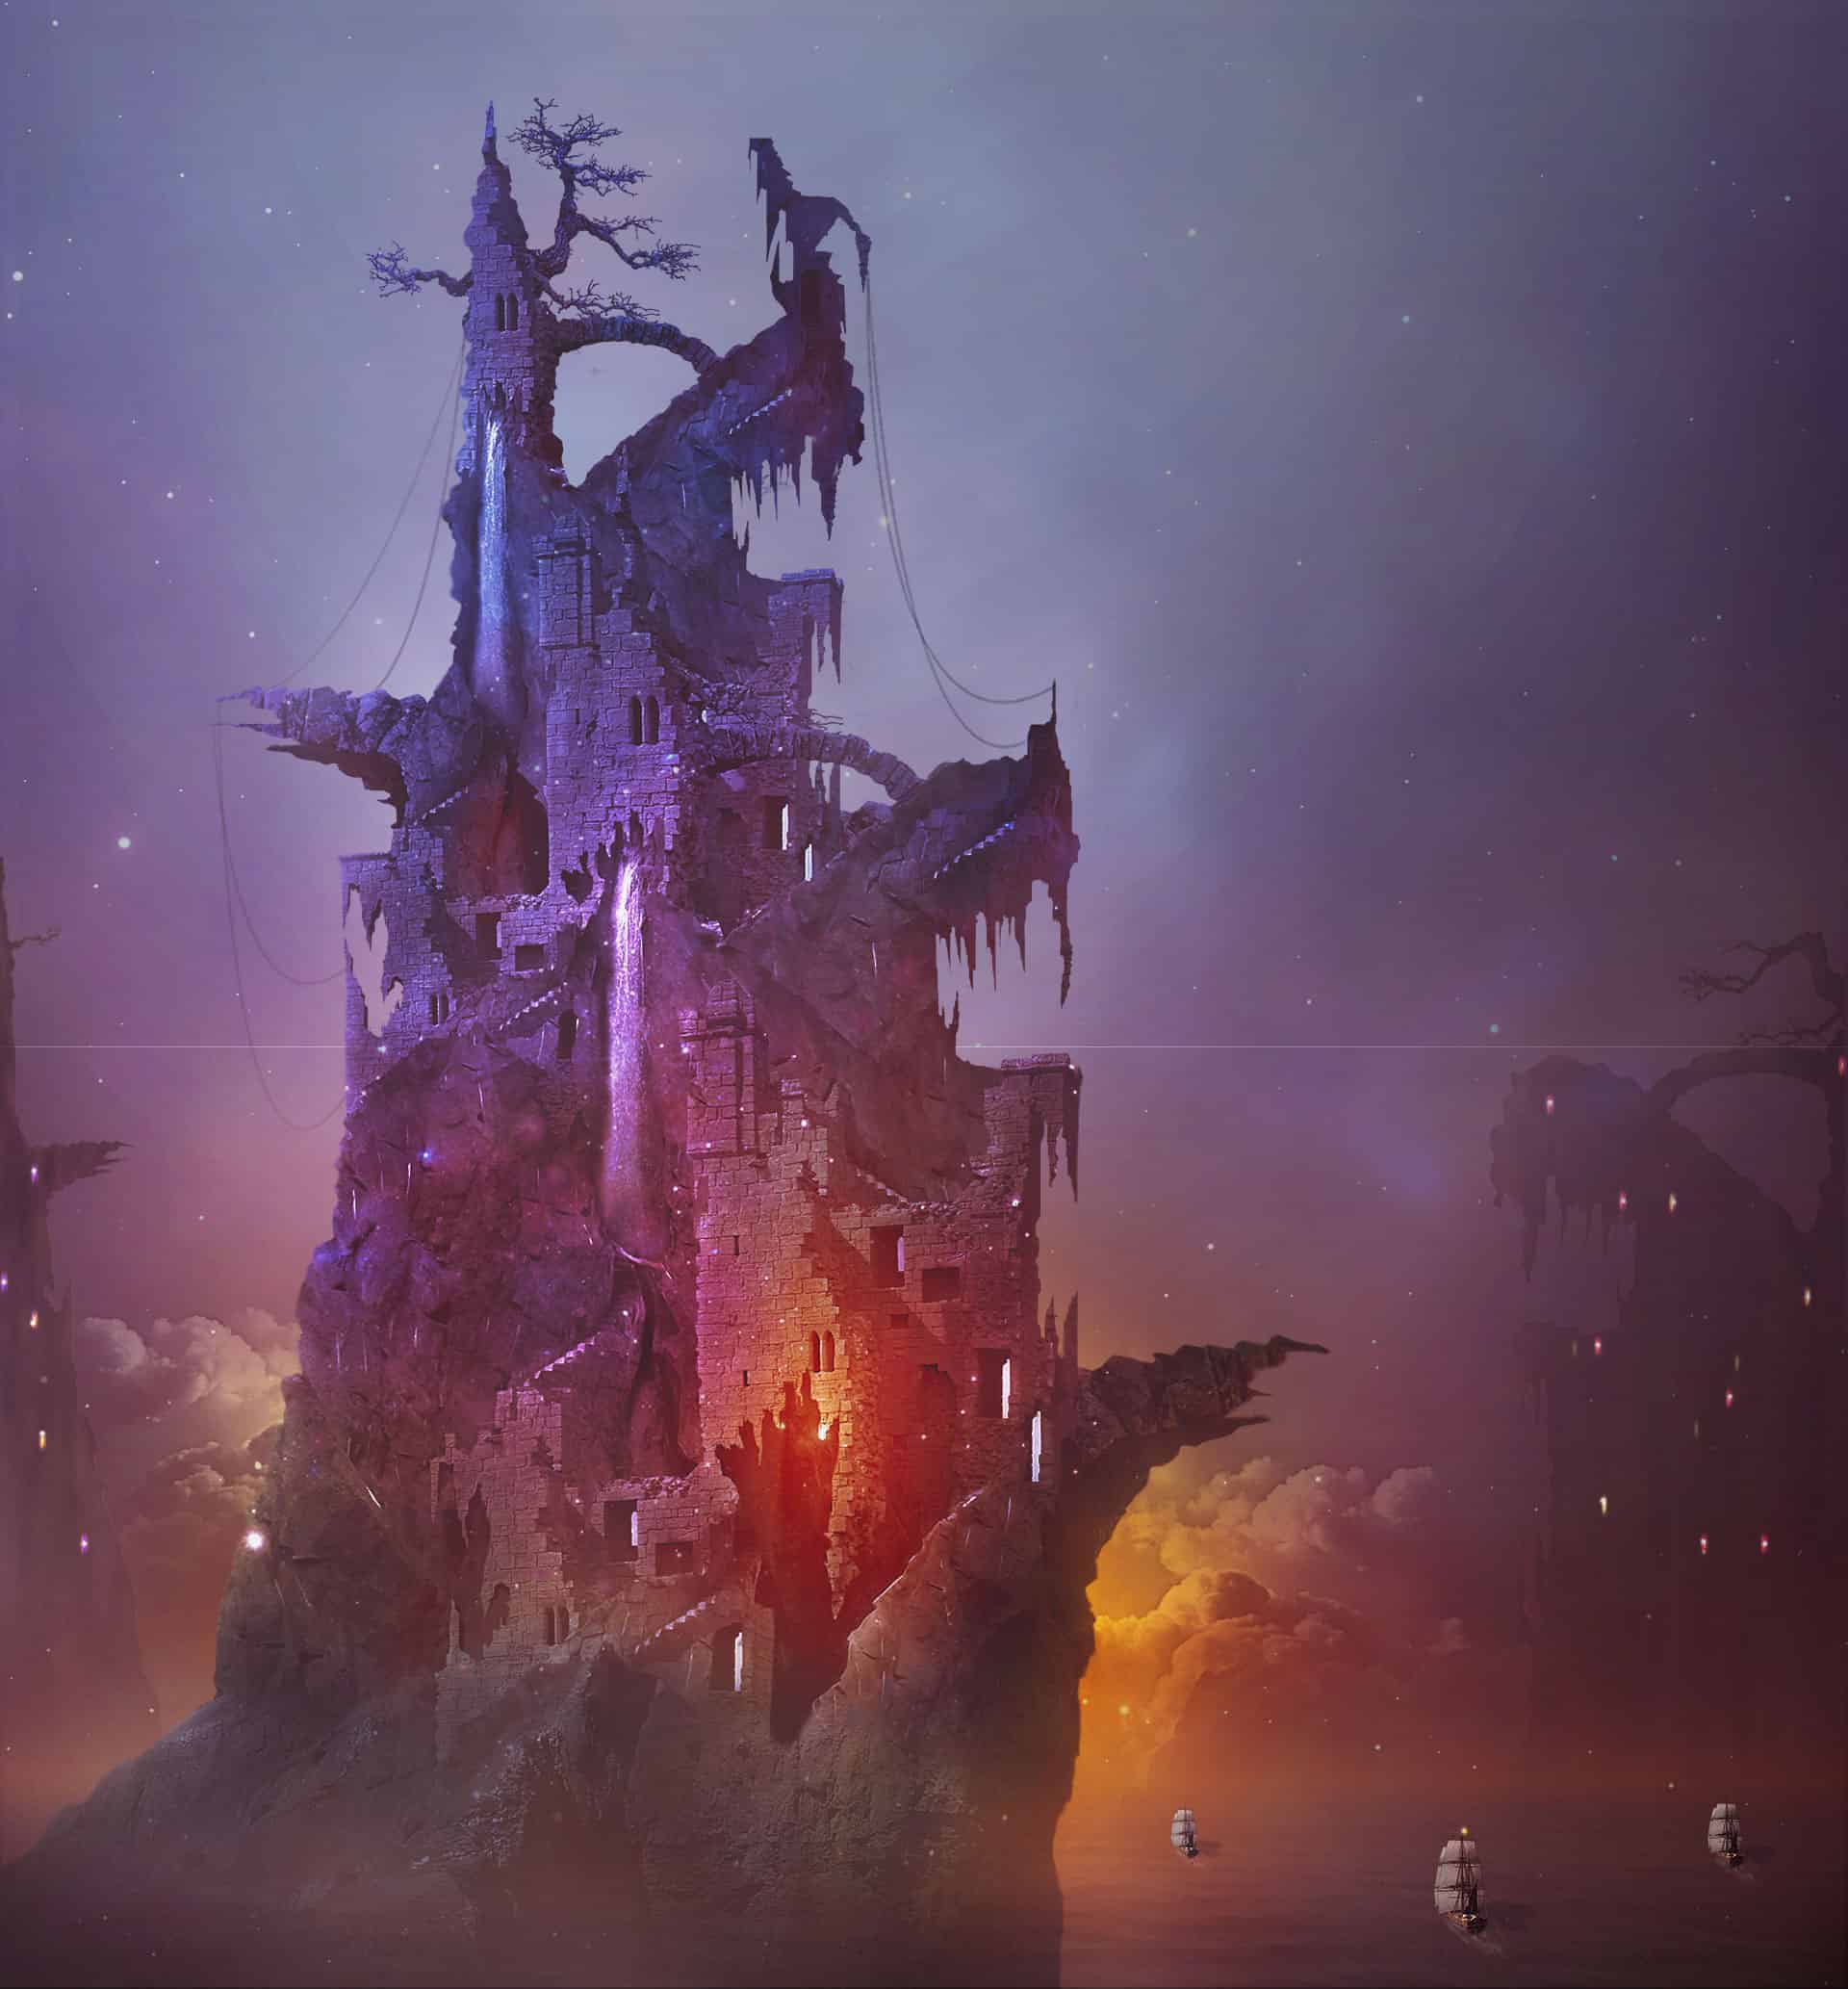
On the next last steps, we will do some tweaking for overall mode of the scene like more color adjustments and lightning. First of all, we will add some mist to the scene. Create a new layer above all the other layers. On this layer create cloud filter. Go to filter > render > cloud.


10 comments on “How to Create a Surreal Pirate House Photo Manipulation in Photoshop”
The way tutorial has been illustrated by the pictures it gives easy learning tips. Awesome!
Fantastic & original concept.Very inspiring.Thanks for sharing.
Wow! 7 hours hard work!
Thanks :)
nothing there, just get shadowed out stuff
Ted
please give ma the authentic link for downloadin the photoshop setup
Can't get past step 2 need help :(
Woooooow
This amazing
The most inspiring web ever. I tried to sign for for subscription but couldn't. Can I do it from here? Thanks
Wonderful tutorial, thank you so much for sharing it
Awesome manipulation, Dek wid.