Step 9
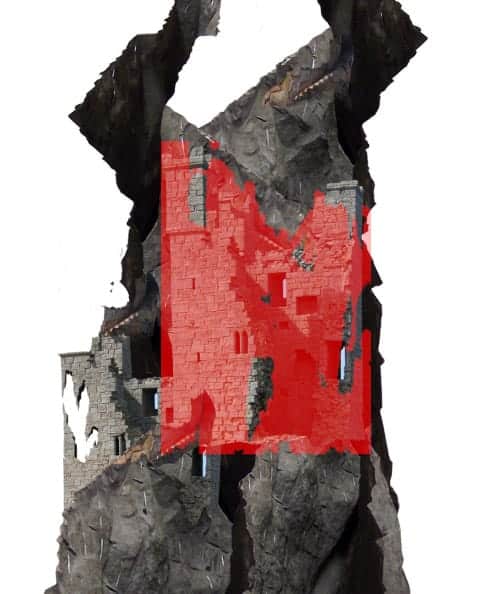
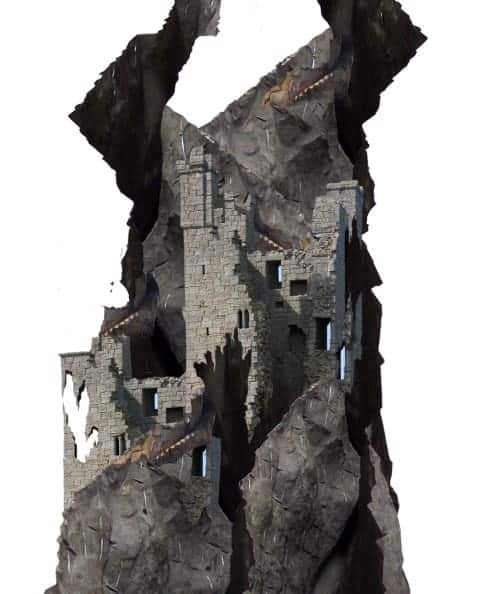
Next we will alter the shape of the third crack. Select the layer, and give it a layer mask. Mask parts as the ones highlighted in red.
Step 10
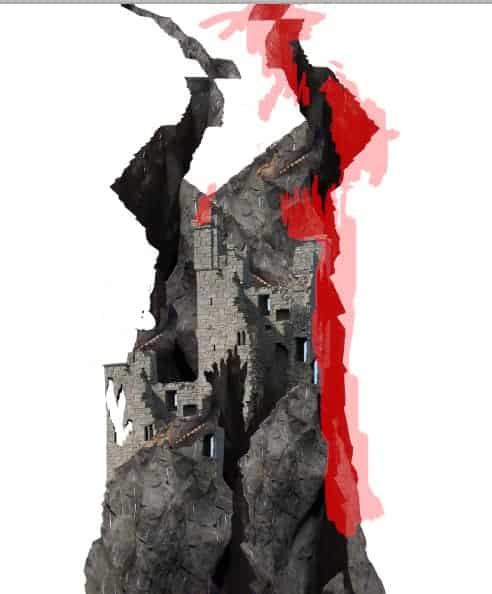
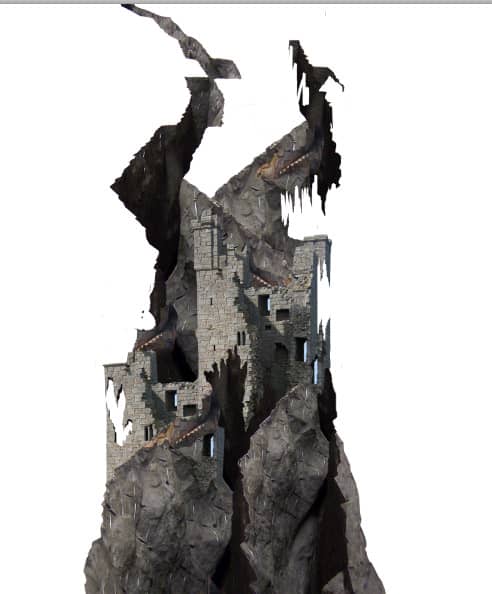
By repeating the previous step, add the other object on left top of the rock.
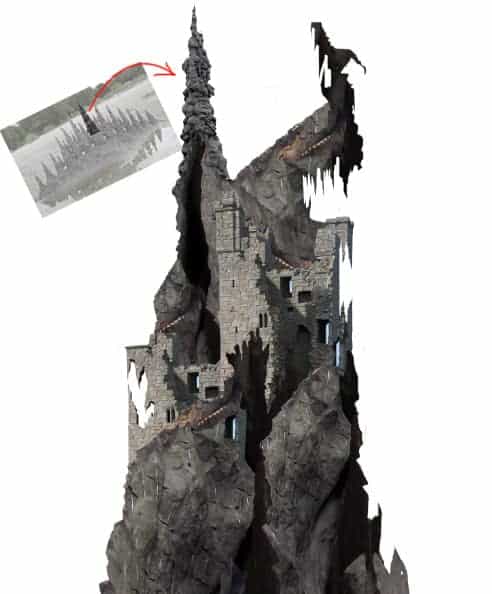
Step 11
More objects
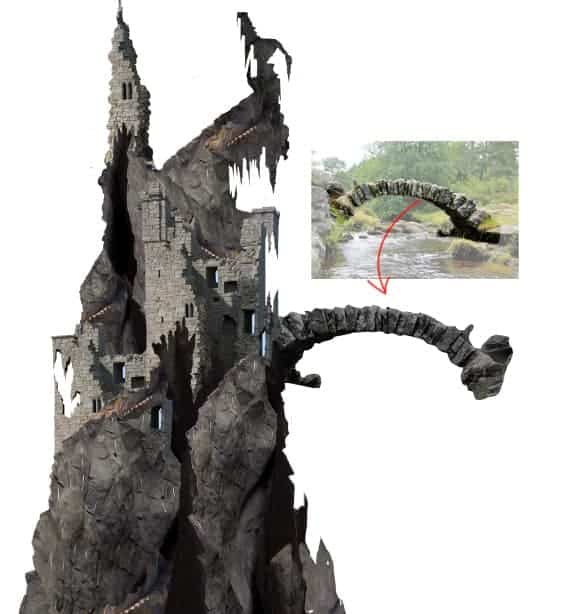
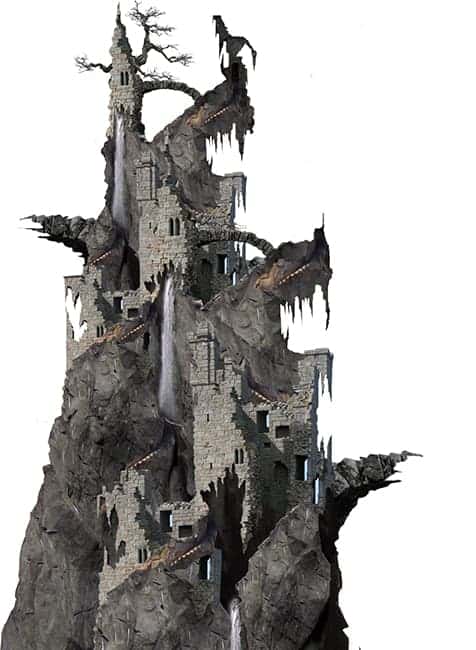
By repeating similar steps with trial and error efforts, this is the result that is finally done for our inspiration. This piece will be used as the main object in the main canvas in the next steps. We still have a long, long way to go….. a cup of coffee, please :)
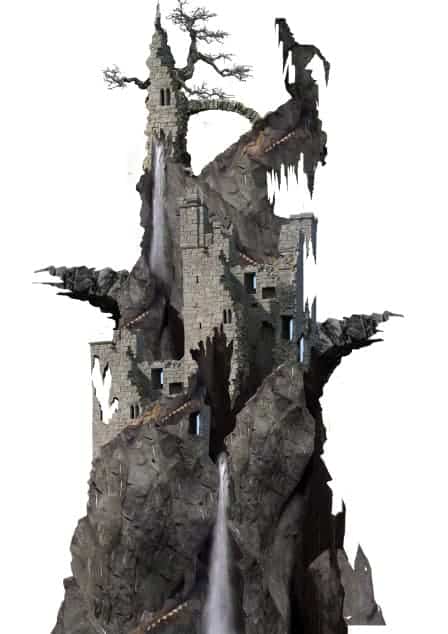
Step 12
Now we will create the main document. Create a new document/canvas (Ctrl+N).
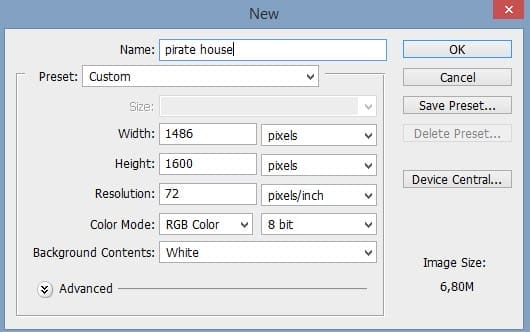
Step 13
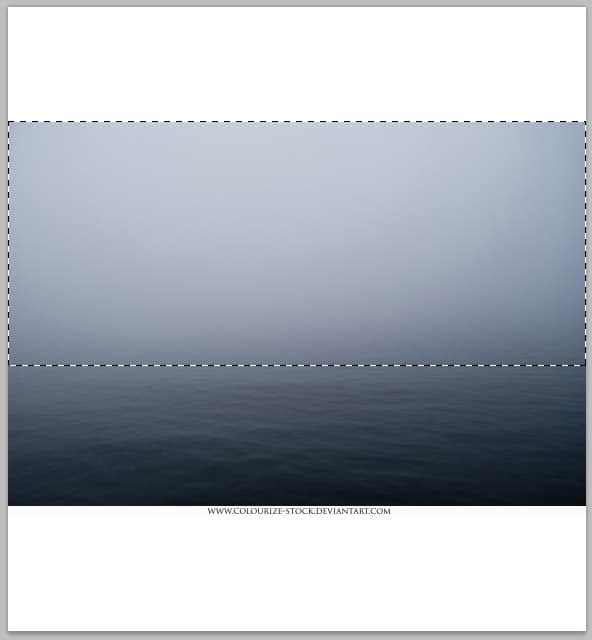
Firstly we will create background for image. To do this, open the misty sea image on the new document. Take rectangular marquee tool (M) in the tool panel. Make selection on the upper part of the image. Duplicate (Ctrl+J) the selection to make it a new single layer in the document.
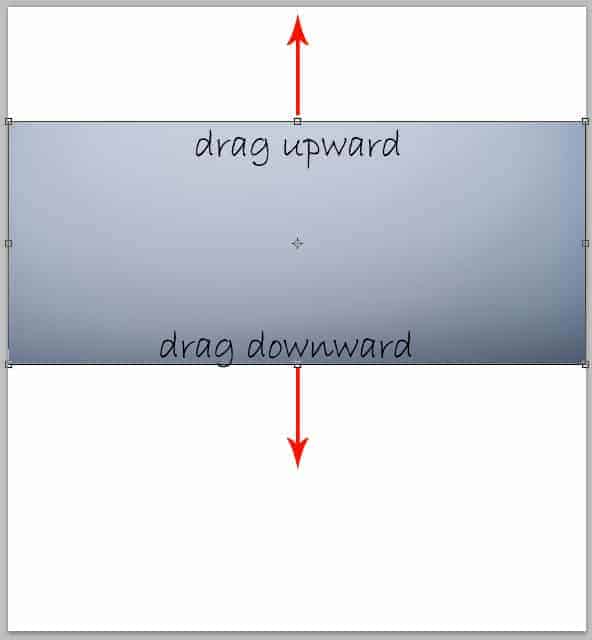
We will use this new layer to create misty texture for the background of the image. Take free transform tool (Ctrl+T). With this tool, click-hold and drag the upper middle transforming point upward and the lower middle one downward to cover the white background.

Duplicate the layer and set the duplicate to multiply blending at 100% opacity.

Step 14
Next, place the original misty sea image above the two misty layers in the layer panel.
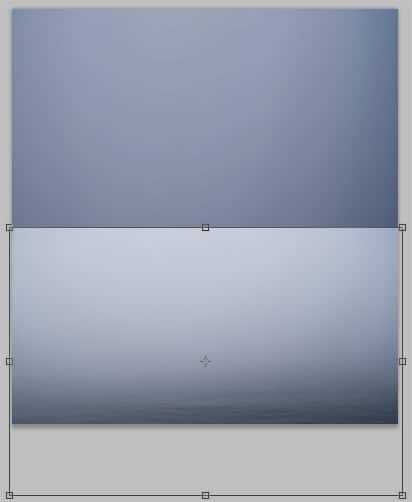
Mask the upper part of this layer to hide it. We just use the water texture of the image.
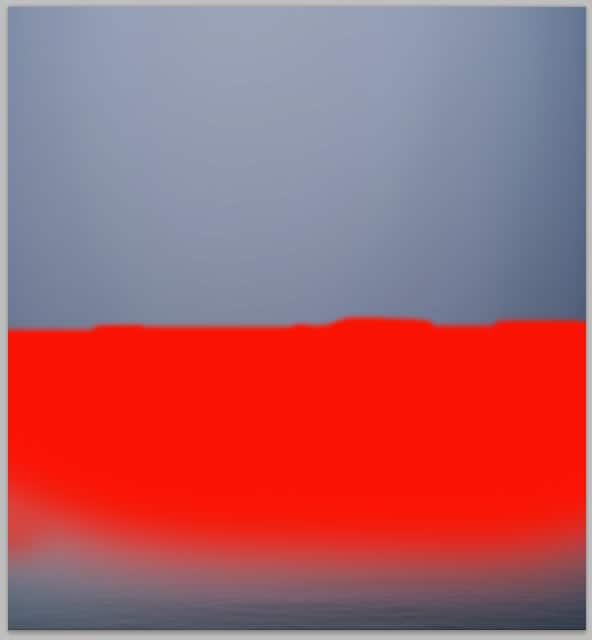
Select all the background layers and hit Ctrl+G to group them in a folder. Name this folder BG
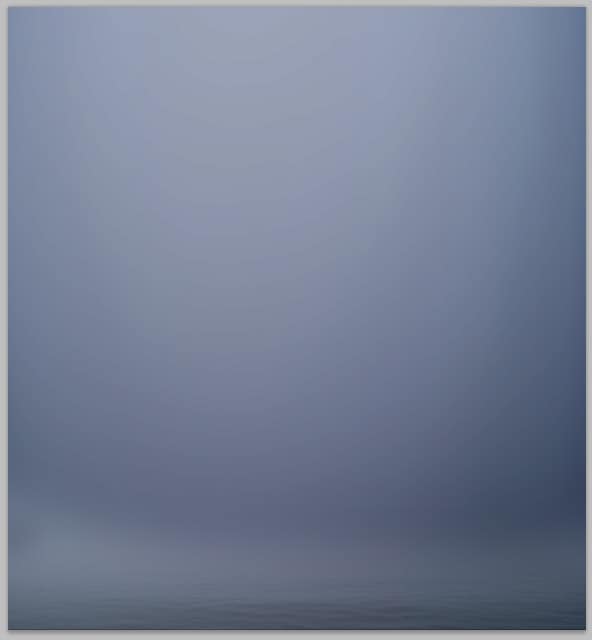
Step 15
Open the rock image stock. Cut out the rock of the image.
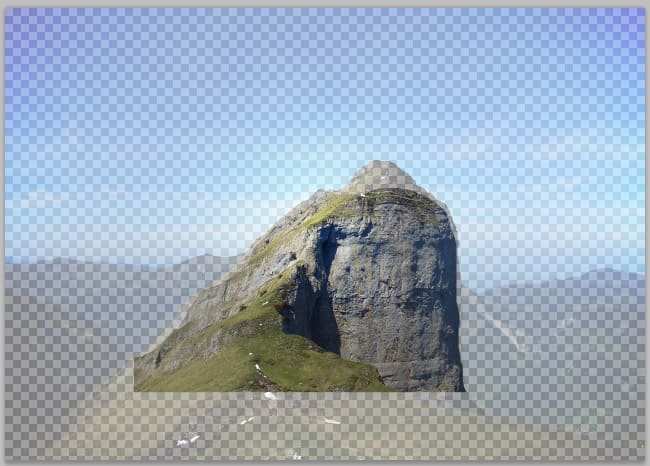
Add the cut out to the main document. We will use this cut out as the base of the rocky mountain with ruins created before.
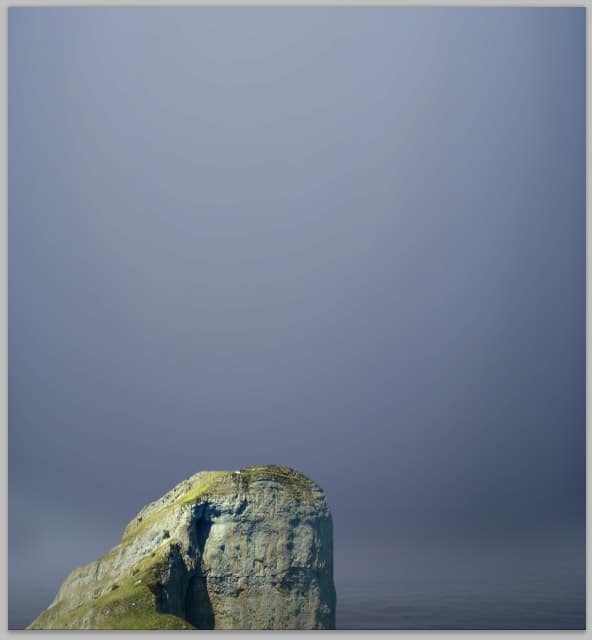
Mask the pirate house layer on the lower part to make it well blended with the rock behind it.
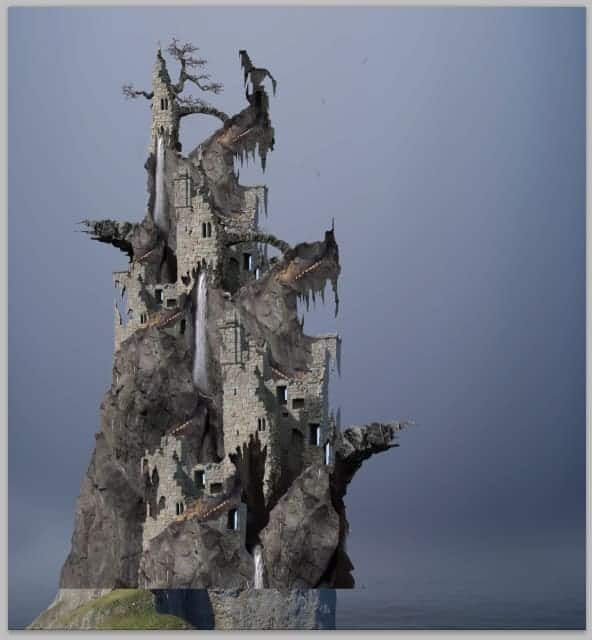
Cut out again some part of the rock image. Add the cut out to cover the lower left part of the pirate house.
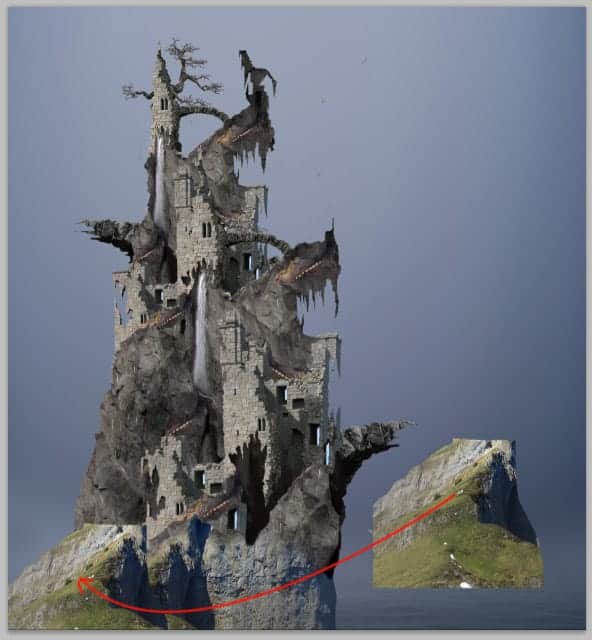
Mask the cut out to make it well blended with the pirate house. Finally select all the pirate house layers and hit Ctrl+G to group them. Name this group, say pirate house.
10 responses to “How to Create a Surreal Pirate House Photo Manipulation in Photoshop”
-
The way tutorial has been illustrated by the pictures it gives easy learning tips. Awesome!
-
Fantastic & original concept.Very inspiring.Thanks for sharing.
-
Wow! 7 hours hard work!
Thanks :) -
nothing there, just get shadowed out stuff
Ted -
please give ma the authentic link for downloadin the photoshop setup
-
Can’t get past step 2 need help :(
-
Woooooow
This amazing -
The most inspiring web ever. I tried to sign for for subscription but couldn’t. Can I do it from here? Thanks
-
Wonderful tutorial, thank you so much for sharing it
-
Awesome manipulation, Dek wid.


Leave a Reply