
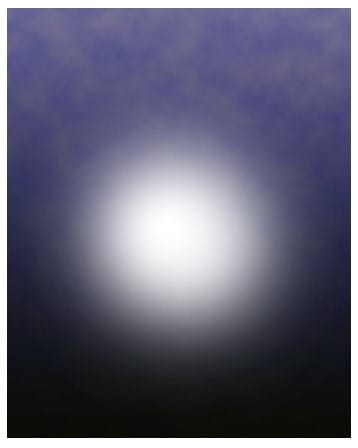
Create again a new layer. Take brush tool in the tool panel. Set the brush to normal mode at 100% opacity. Choose a very soft round brush and then, with white color set to foreground, click the brush on the new layer to create a white soft circle on it. I named this layer white. Keep it at 100% normal blending.
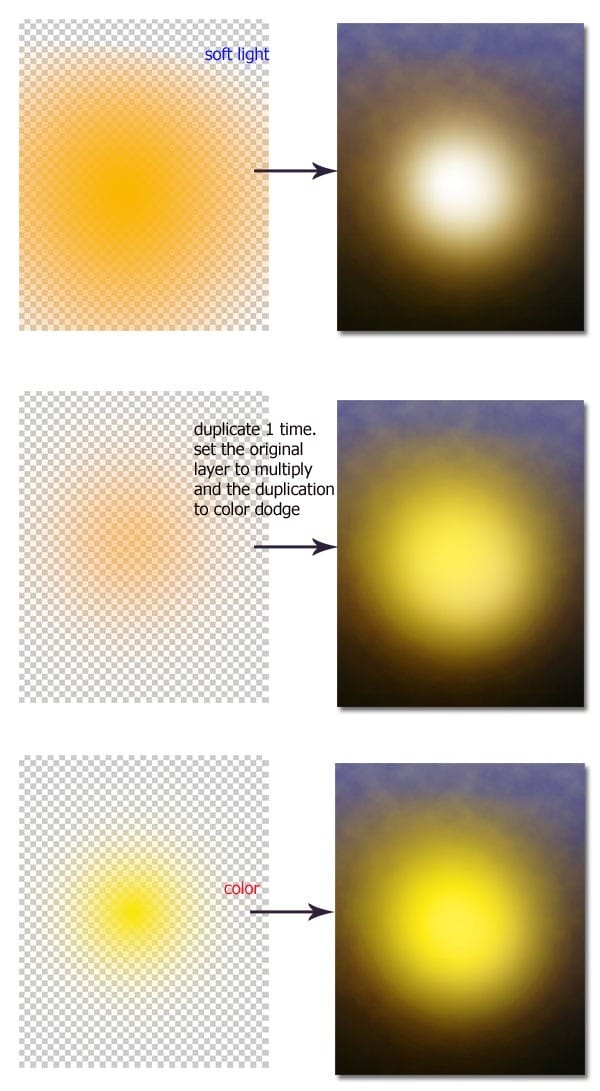
In this step we will proceed in setting color of the background. Firstly, create another new layer on which we will paint color of # fab730. Use a very soft round brush for this step. I named this layer orange. Set it to soft light at 100% opacity. Next, on another new layer, paint another color of #fcb305. Use a very soft round brush set to 40-50% opacity. I named this layer soft orange. Set this soft orange layer to multiply at 100% opacity. Duplicate it one time and set the duplication layer to color dodge blending at 100% opacity. Finally, create another new layer on which we will also paint another color of light yellow (#fae603). I named this layer yellow. Set this layer to color blending at 100% opacity.
Step 9 (Adding Moon)
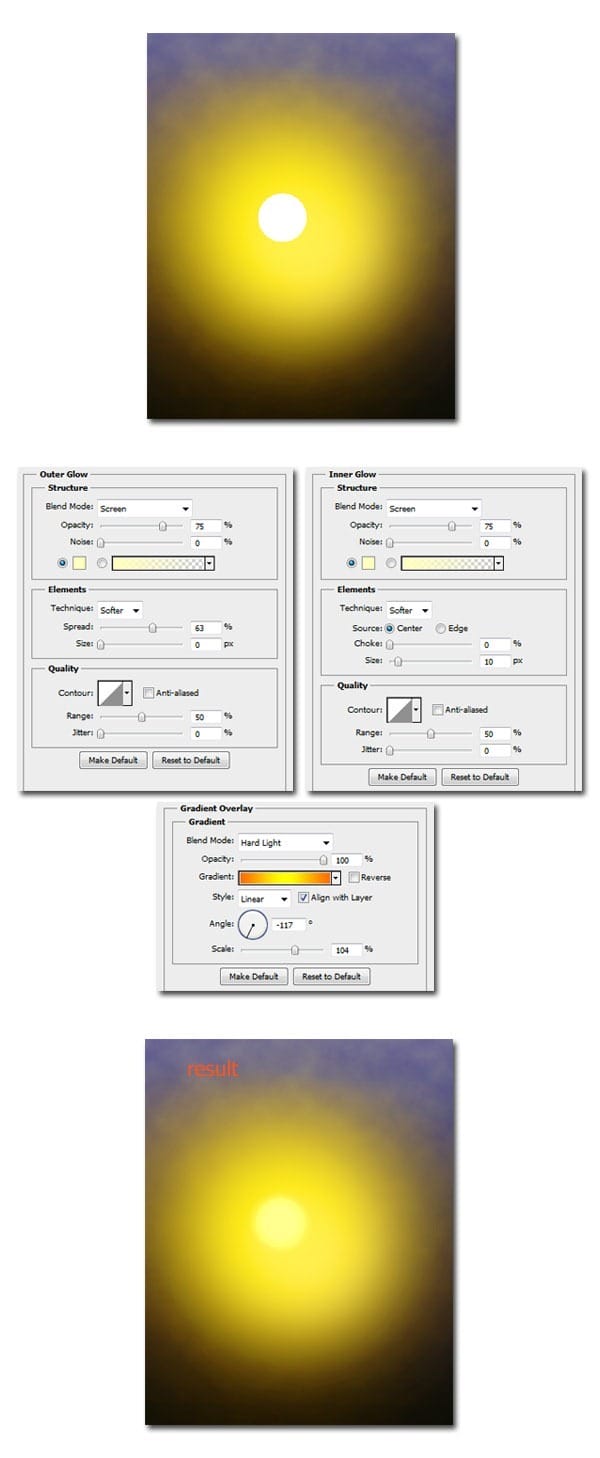
We will create moon on the scene. To do this, create again a new layer. With white color, paint a circle almost in the mid of the scene. Set this layer to normal at 25% opacity. I named this layer moon.

Duplicate the moon layer. Then go to layer > layer style. Please see the illustration picture for setting of layer styles used. Then, set this layer to normal. Reduce its opacity to 52%.
Step 10
Finally, we will give an adjustment layer to the scene. Go to layer > new adjustment layer > color balance.

Step 11
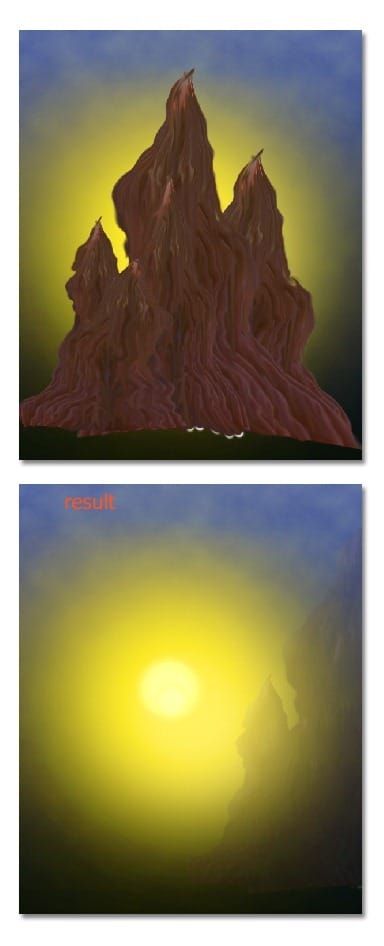
After creating the background, we will add the objects we have created in previous steps. Firstly, we add the hill. Scale the hill to fit the size we want. Place it to fill the composition on the right. Finally set it to normal at 19% opacity.
Step 12
Duplicate the hill and place the duplication on the left

Step 13
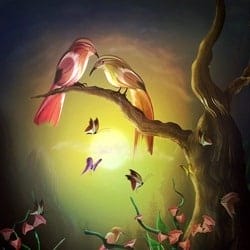
Now add some trees on the canvas. Use the given tree brush to paint them.

Step 14
Add another object to the canvas: tree. Give more highlight to some parts of the tree. Use dodge tool to do this step. Please refer back to previous steps for the setting of the dodge tool.
46 responses to “How to Paint a Lovely Pair of Birds in Photoshop”
-
please update the files
-
love it thank’s
-
super dicas
-
very cool
-
anyone else love tips as much as me
-
Yeah:D
-
nice
-
the files need to be updated the textur file is no longer there
-
I just finished it. I’m happy enough with my version. Thanks.
-
wow … great tutorial
-
These are amazing. Super creative and imaginative and all things that are good.
-
Do You have video tutorial of this post????
This is really a outstanding work. I just loved it. Thanks :)
-
Awesome! Nice and clean, very creative Photoshop tutorial thank for sharing.
-
It’s a Fantastic Work!Thanks a million.
-
awesome man :)
-
i realy love this photoshop, and one thing more whoever did this , he was genus
-
This tutorial once again proves what can be done when the versatility and power of Photoshop and the creativity of the human brain join forces. Great job! All of that splendor created with one umbrella………….Who would have imagined. The best part is that only basic tools were used to create the wonderful work of art. Adobe Instructors should use tutorials like this to illustrate what the tools are capable of………..Amazing. I love photoshop even more.
-
nice but so …….
-
man tat was Highly Creative\m/
THUMBS UP -
What a wonderful tutorial you made… amazing
-
Dek Wid, Really nice this is something new technique to draw objects for me. keep your good work.
-
Genius would be an understatement for this tutorial
-
Your work is awesome…. i love the way u use elements…. got brains :)
-
This is amazing and I really like your trick. Very clever!Thank you!!
-
genius
-
realy gr8………………
suprbbbbbbbbbbbbbbbbb -
Awesome
-
Lakse mi je nacrtat sve pa onda ici dalje,izgubih vrijeme trazeci alat!
-
das coo
-
Mr.Dek Iam very happy to visit your site because I got new ideas from your wonderful work. so thank you, thank you very much. please continue tutorials like this.
-
Awesome!
Most tutorials on this site feel like it’s basically the same techniques over and over again (no offense to the guys who write these)
But this was really creative, great! I wish I would come up with ideas like that :) Thumbs up
-
you are amazinggg
-
Great….I really like your trick.
-
great~
-
Wow! Not only is it the artwork nice, but how do did it with an umbrella picture. So creative. I wish I mastered Photoshop like that.
-
Wow! I jst love the creativity. Inspiring
-
i really love this photoshop, and one thing more whoever did this , he was genuse.
-
A bird from an umbrella? Would would have thought of that! Brilliant!!
-
This is brilliant conceptually, and I love how everything’s from an umbrella. Beautiful.
-
very good…
-
Thank you!! This is amazing and I really like your trick. Very clever!
-
funny concept… :)
-
i liked the umbrella twisting part. Really a creative one. Just got messed up in the last step. Great one indeed.
-
very good tutorial!
-
Good job Dek! This is a very good tutorial!
-
w0w! i really like the way you use that umbrella and the color blending is awesome too.
Thanks for this great tutorial.
Keep up the good work!

Leave a Reply