
Everything you see exists together in a delicate balance. As king, you need to understand that balance and respect all the creatures, from the crawling ant to the leaping antelope. In this Photoshop tutorial, we will learn how to create a King Lion photoshop tutorial. First, we created a background Sky, Moon, Stars, Clouds then added Lion. Next, blended lion with background and add shadow and light. Also for the final touch added some Gradient maps and apply Camera Raw Filter.
Preview of Final Image

Tutorial Resources
Step 1
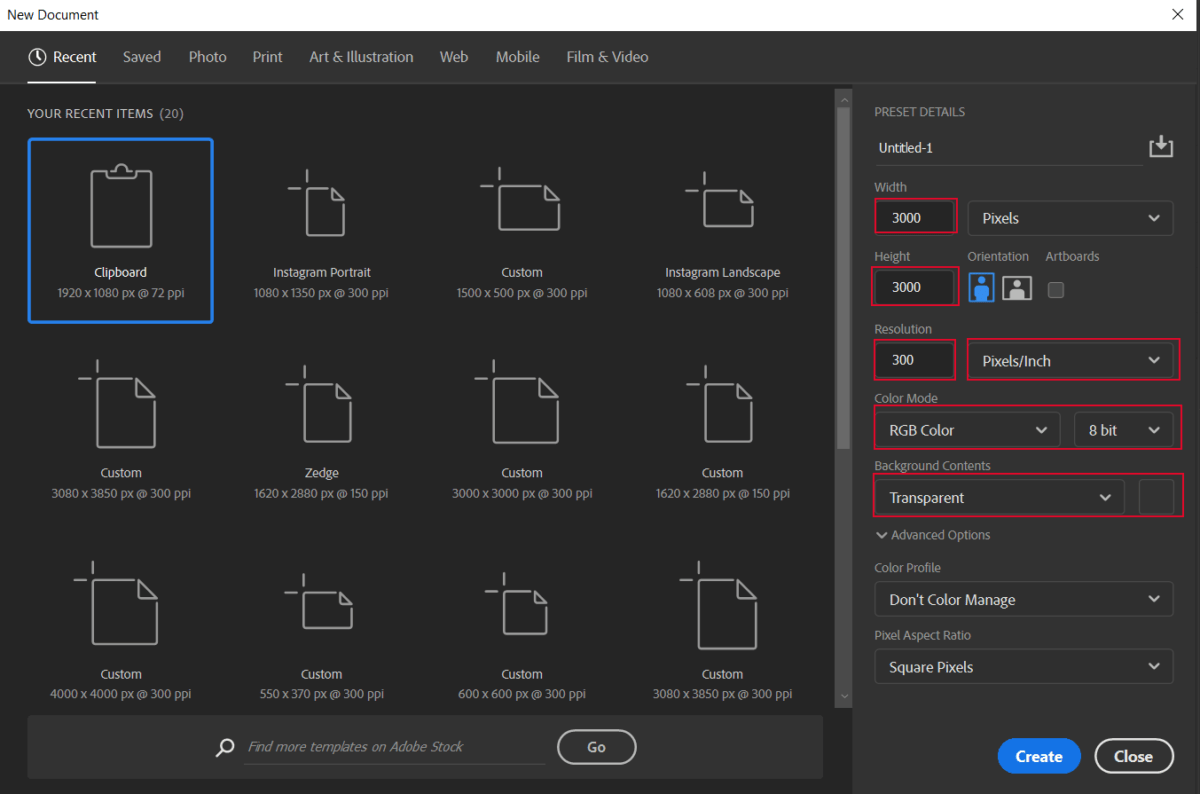
Now, let’s start by creating a new image file, go to the Menu bar and click File > New, and then input the following values on their respective fields
- Preset: Custom
- Width: 3000px
- Height: 3000px
- Resolution: 300px
- Color Mode: RGB Color 8 bit
- Background Contents: Transparent
Step 2
Now, place Moon Go to File > Place and select Moon, then place it to our work canvas and position the image with the transform tool (Ctrl / Cmd + T). Hold Alt + Shift and rasterize like the image below. In Photoshop CC only hold Alt to rasterize all sides together.


Step 3
Add Adjustment Layer “Hue/Saturation” Blend mode change to Hue with Opacity 30%.

Step 4
Add Adjustment Layer “Selective Color”

Step 5
Add Adjustment Layer “Curves” and use Soft Round brush tool with the foreground color black and paint on Moon.


Step 6
Add Adjustment Layer “Curves” and again use Soft Round brush tool with the foreground color black and paint on Moon.


Step 7
Next, we add Clouds but first, we need to import brushes. Select a Brush Tool(B) and right-click on the background. Now click on the gear icon and Import Brushes (Select a downloaded brush).

Now we can paint Clouds. Create a new layer and Foreground color use White.


Step 8
Next, create a new layer and use the Soft Round brush tool with the foreground color black and paint on right side. Opacity reduce to 90%.

Step 9
Go to File > Open and select Birds, then hold Ctrl/Cmd and click on the layer and after the selection area has been created, simply copy (Ctrl / Cmd + C) and Paste (Ctrl / Cmd + V) it to our work canvas. Then position the image with the transform tool (Ctrl / Cmd + T). Hold Alt + Shift and resterize like the image below. In Photoshop CC only hold Alt to resterize al sides together.
One response to “King Lion Photoshop Tutorial”
-

Suggestion…. Use “Place Embedded” because your PSD will have issues if you “Place Linked” and you delete the JPG file.
Also, why do you rasterize the layers? It is better to keep as smart layer.
Leave a Reply to ErdalCancel reply