Turn any photo into a dot grid artwork with these Photoshop actions. You'll get great results with dots that change size. They get larger in brighter areas and smaller in darker areas. Free download available.
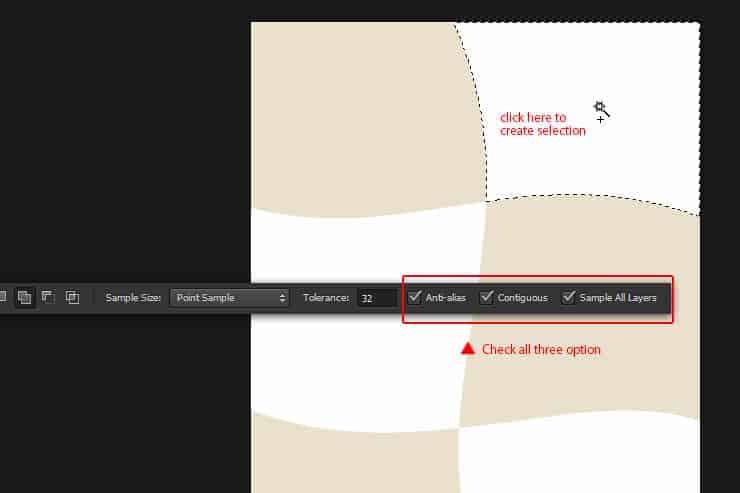
Step 86
Go to Select > Modify > Expand Selection. Set the Expand value by: 10 pixels, then click OK. This will expand the selection area by 10px.
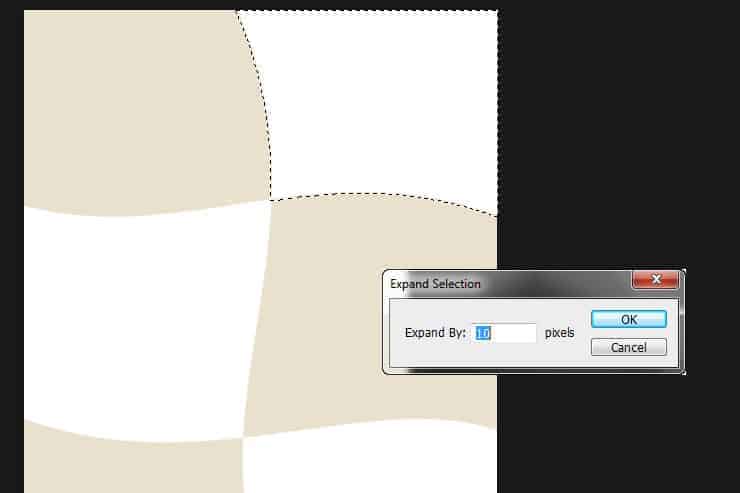
Step 87
Add a new layer beneath Rectangle shape, fill it with grey color (#f0ebdc). Press Ctrl+D to deselect.
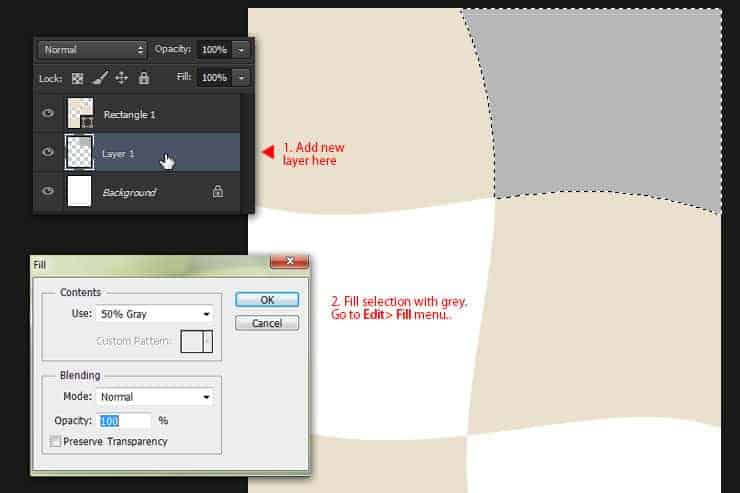
Step 88
Repeat Step 86 and Step 87 in two new layers. All the white space shall filled with grey color right now.
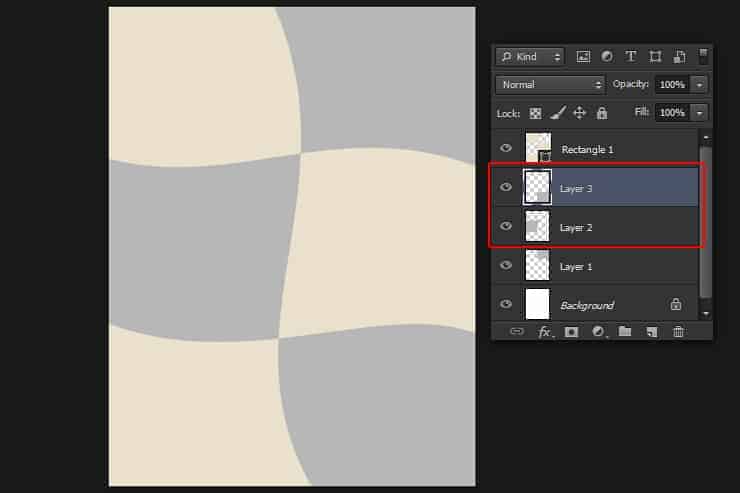
Step 89
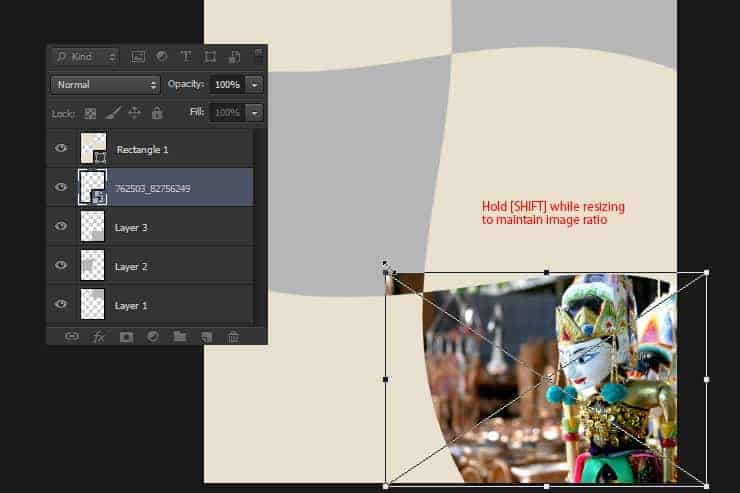
Insert wayang puppet picture from the File > Place menu. Adjust its size and position to fill the bottom right grey colored area.
Step 90
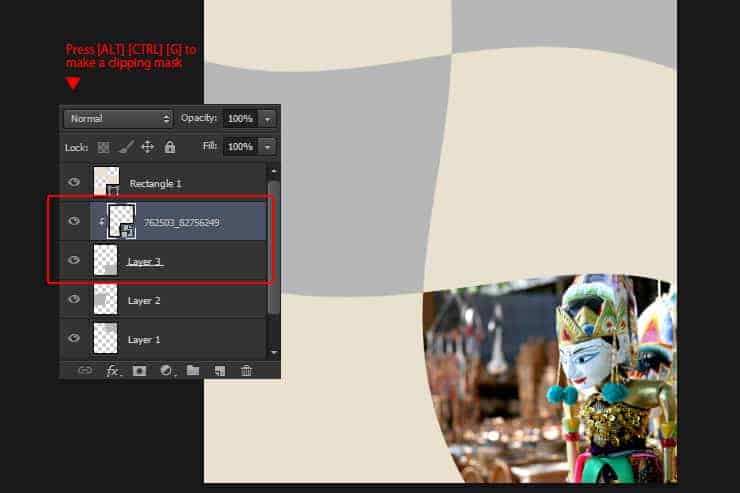
Drag the wayang puppet layer on top of the bottom-right grey layer ( in this case; it was Layer 3 ). Pres Alt+Ctrl+G to make a clipping mask layer.
Step 91
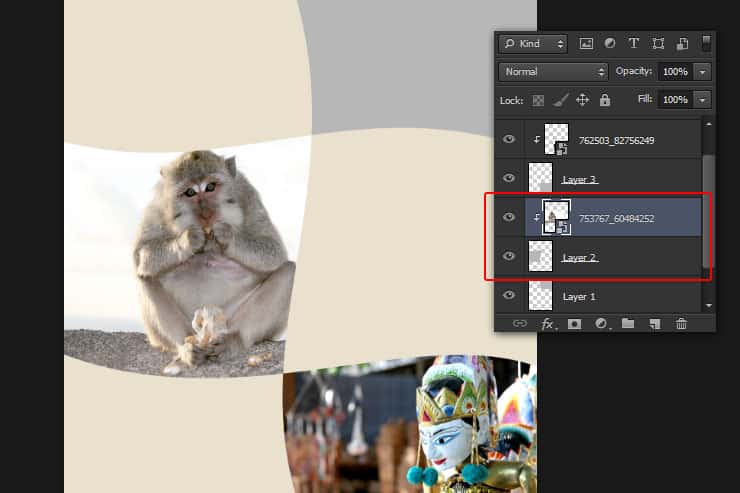
Repeat the same process as step 89 and step 90 to insert the monkey picture.
Step 92
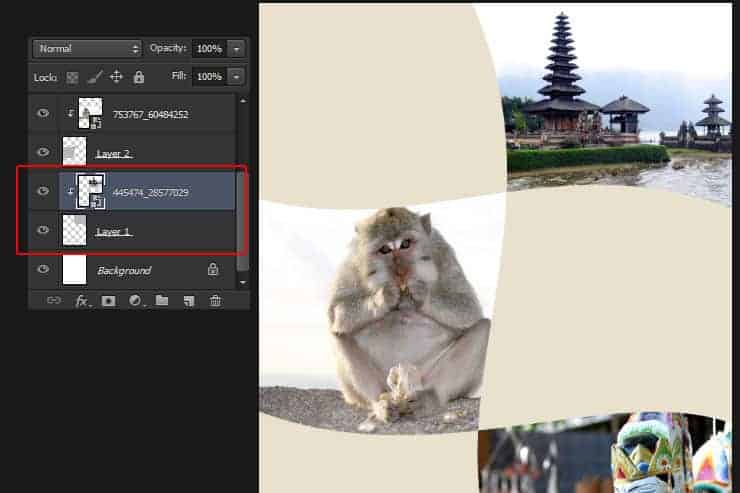
Repeat the previous steps, add one last picture, which is the shrine temple.
Step 93
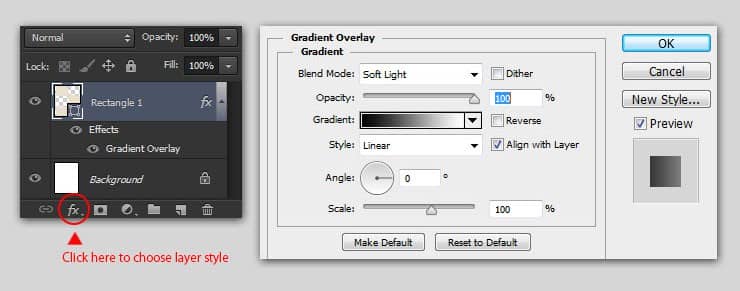
Go back to rectangle shape layer. Add Gradient Overlay layer style, follow the setting shown in the image below.
Step 94
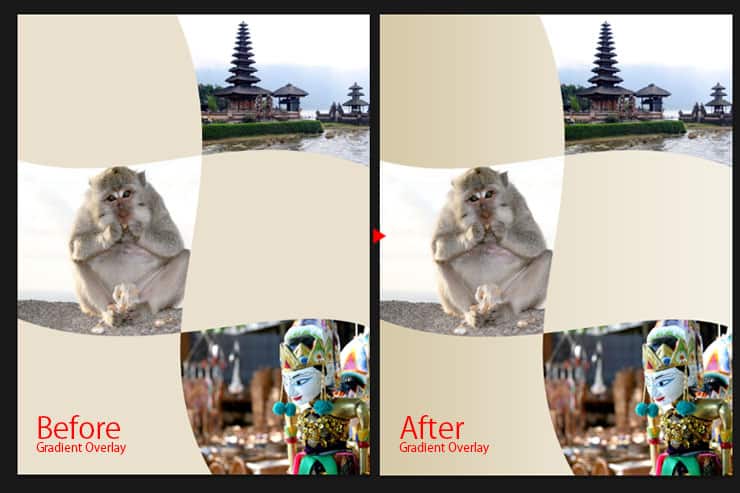
Click OK to apply the gradient overlay, resulting a nice brown gradient color for the rectangles.
Step 95
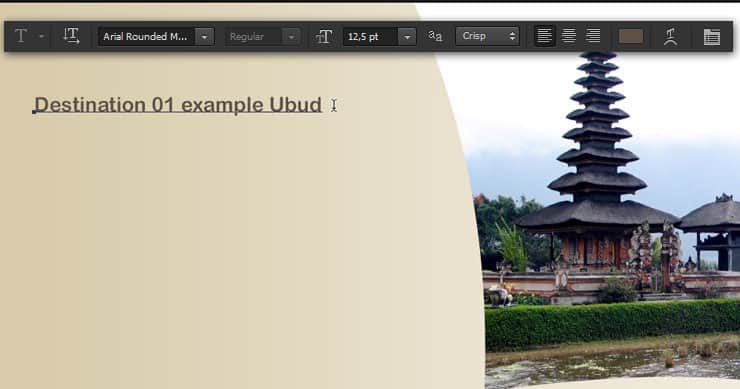
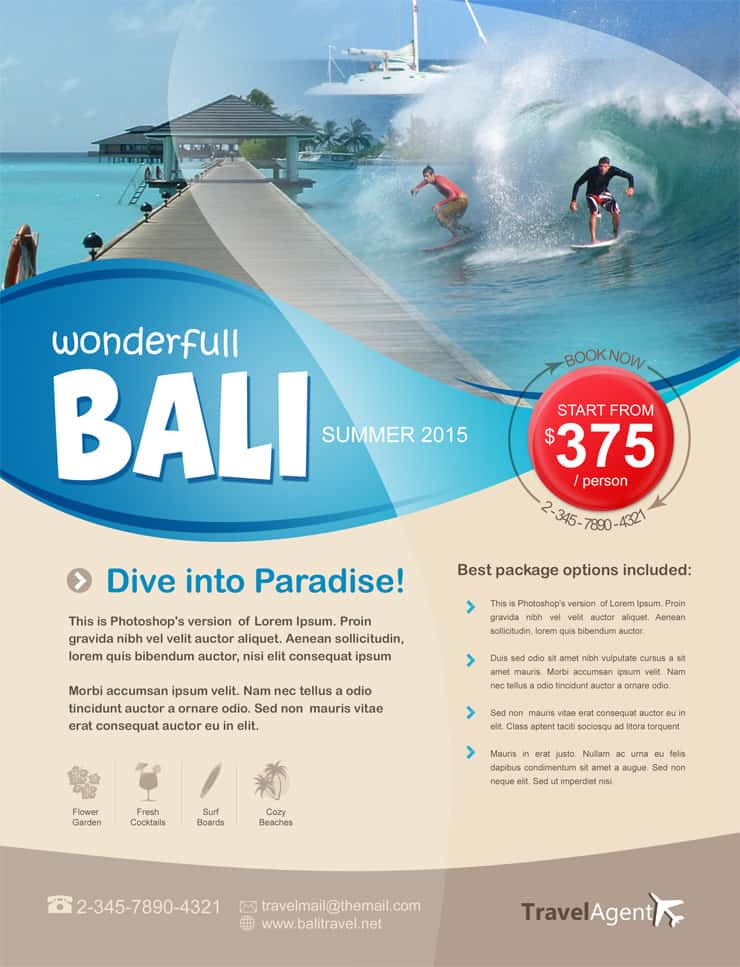
Grab the Horizontal Type tool and add some descriptive paragraph about the travel destination or perhaps the travel itinerary. Start from the Paragraph title, which text color is dark brown (#605146).
Step 96
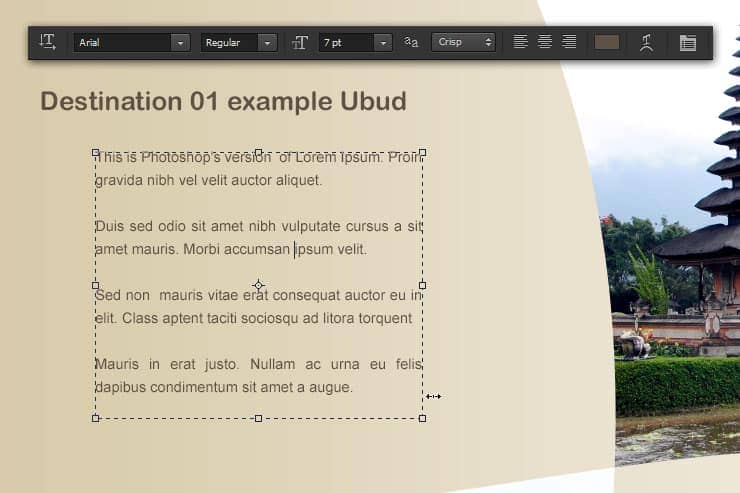
On the left side of the Shrine temple picture, add a text box and write around four placeholder paragraph. Use smaller font size for this paragraph.
Step 97
Remember the metro arrow shape we created before? Draw the metro arrow shape again, using Custom Shape tool. This time, set the shape color to blue (#26afd8).
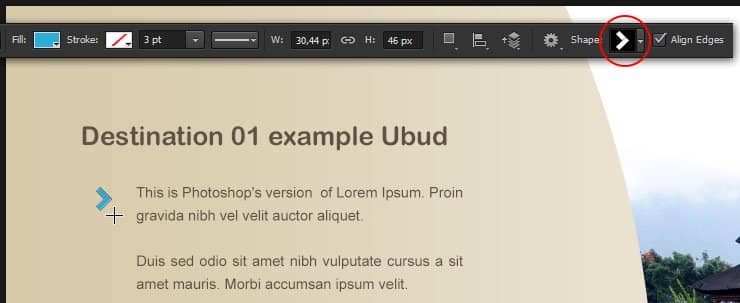
Step 98
Easily add more metro arrow (with the same size and color as before) by holding Alt while drag the first metro arrow using Direct Selection tool. Repeat this step until we get four metro arrows.
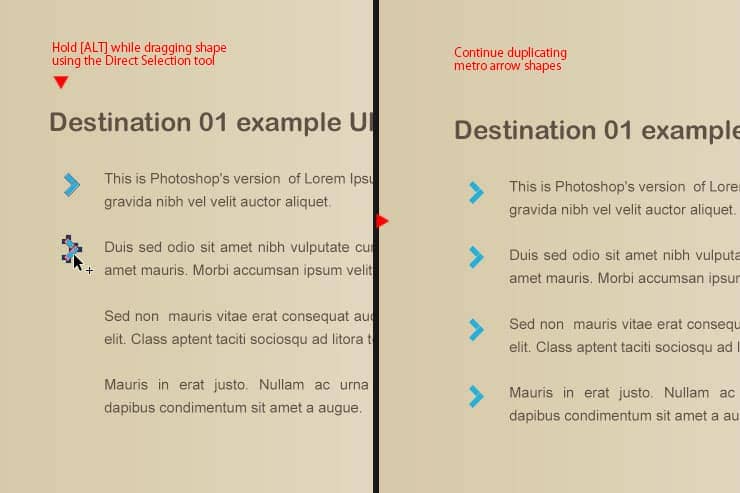
Step 99
Select the title text, paragraph text and metro arrows shape. Group it by pressing Ctrl+G. Double click on the group name to change it.
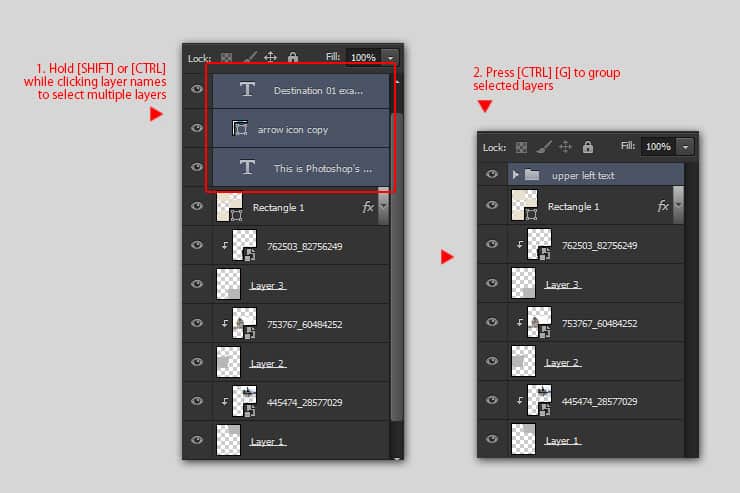
Step 100
Press Ctrl+J to duplicate the group. Use the Move tool to drag its content to the right side of the monkey picture. Edit the title text.
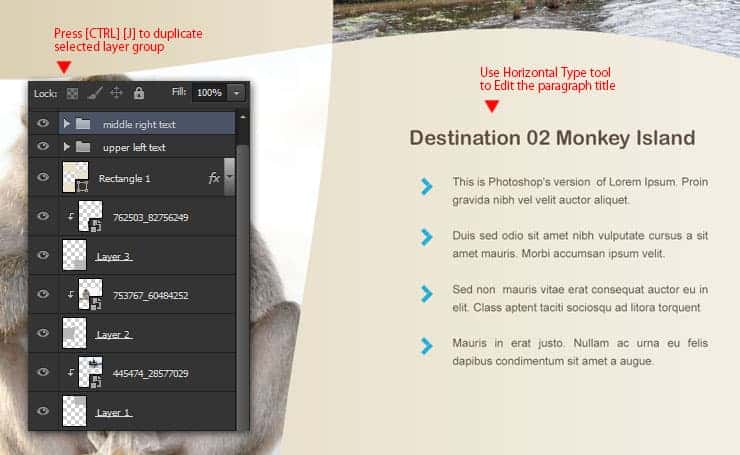
Step 101
Repeat the previous step, then drag the group to the left side of the wayang puppet picture. Don't forget to edit the Paragraph title text.


14 comments on “Create Your Own Travel Brochure Using Only Photoshop”
hi every one lol XD ヅ
hi every one
hey
who dis
legendary Austin
HI I WOULD LIKE TO KNOW HOW TO CREATE A SHAPE ON TOP OF ANOTHER LAYER ON THE TUTORIAL IS NOT CLEAR WHAT TO DO.
Fantastic tutorial. Love your work you are truly talented
ok
This tutorial go against Alaluh,,,, Very not good. You will pay ffore this,,,
Day is now,,, ready for achmed you bete
First of all how dare you make this awful tutorial. I just thirty minutes of my life making a gosh darn arrow that's small /:(
Thanks, very helpful!!!
Hi, Wayang Puppet link takes me to 410-Image Not Available. Do you have another link to the image? Thanks.
Sorry, I meant Shrine Temple link takes me to a 410 page.