Luminar AI lets you turn your ideas into reality with powerful, intelligent AI. Download the photo editor and see how you can completely transform your photos in a few clicks.
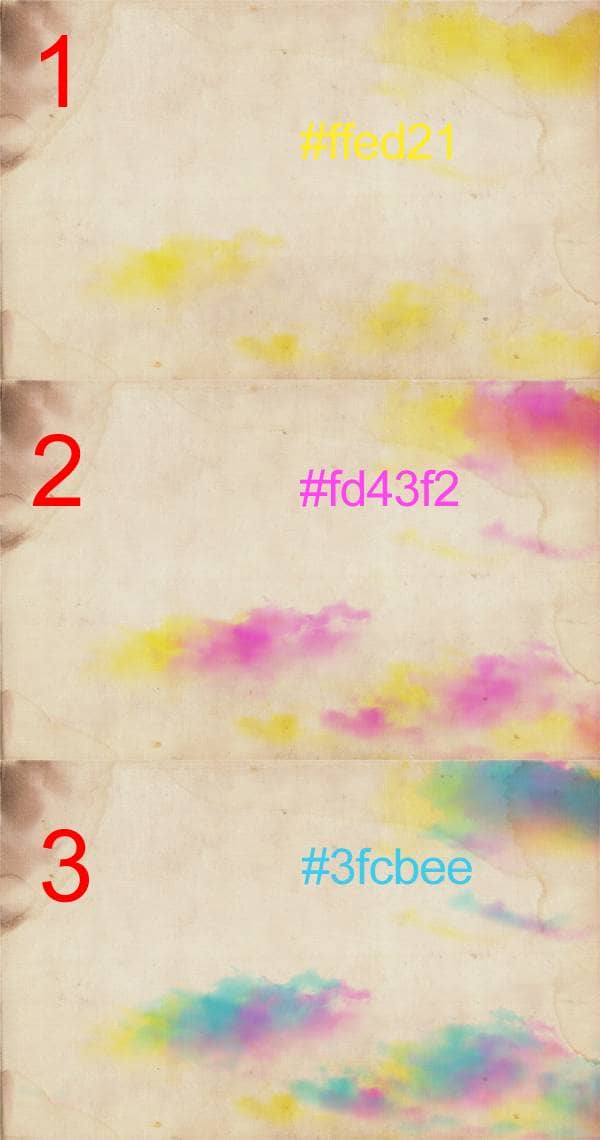
After finishing the background create a new layer. Select the Type Tool (T) and write "iDeitch" with the settings below. Then, type "NEW APP" with the other settings below, on a different layer. Use the color #ffed21. Then group the two text layer and name them "Yellow". Duplicate "Yellow" and rename it to "Blue". Move the Blue group a little to the right and up and apply on the layers the following Layer Styles:

After applying the Layer Styles group the groups Yellow and Blue and name their group "Title".
Step 11: Create the "Made By Ofek Deitch" Sign
Create a new layer and group it. Name the group "Made By". select the layer we have just created, and using the Type Tool (T), write "Made By" with the settings below. Then, Create another layer and type "OFEK" (The settings are found below). Create another last layer and type "DEITCH" with the setting below.
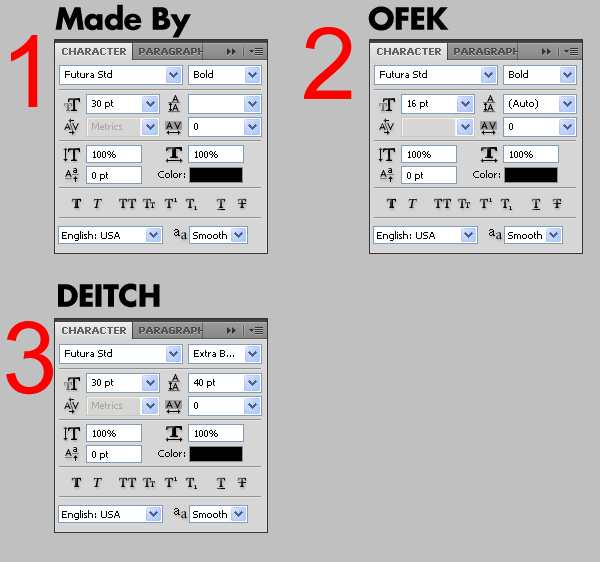
Rotate the layer that says "OFEK" 90 degrees CCW (Counter-Clockwise). Arrange the layers like this:

Step 12: Putting the Copyright at the Bottom
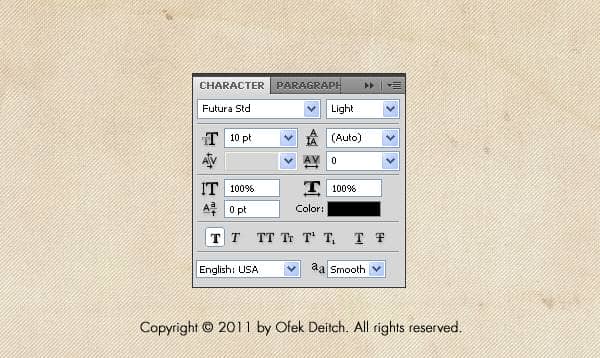
Create a new layer. Select the Type Tool (T) and type: "Copyright © 2011 by Ofek Deitch. All rights reserved.". Before typing, change the Type Tool's settings to the following ones:
Step 13: Arranging the Layers
Before we even start organizing our layers, have a look on how our layers are supposed to be ordered:
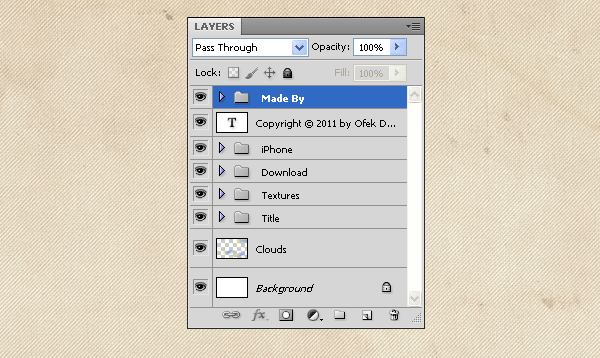
Let's start! First things first, hide all the layers except Background and Textures. Then, show the layer Clouds. After that, show the iPhone group. Make sure the iPhone is aligned to the left guide and is vertically aligned to the center of the document. Afterwards, show the Download group but hide all the layers and groups inside it. Show the group Button. Align it to the bottom guide and near the right guide. Then, show the iTunes Store group and align it to the the right guide and align it, vertically, to the center of the group Button. After that, show the text layer inside the Download group. align it to 50px above the Button group and align it, also, to the same X value (so they start together). Then, show the App group. Align it, horizontally, to the center of the text layer, and vertically to the center of the iTunes store group.
