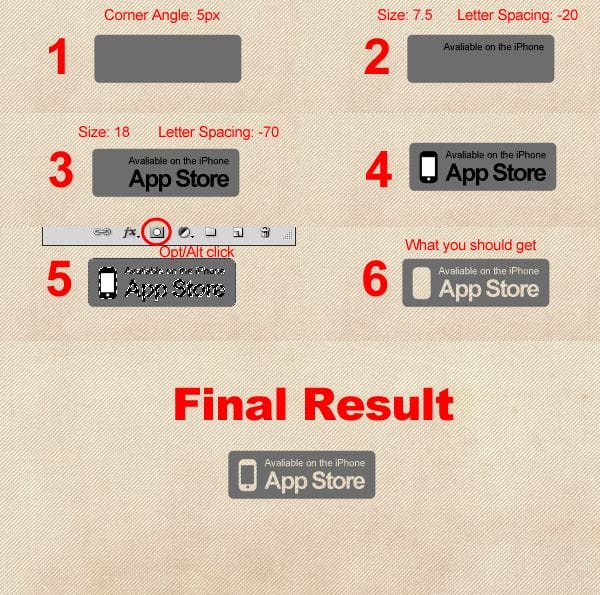
Now just group the layers and groups: “iTunes Store”, “Download the new iDeitch App for FREE.”, “Button”, and “App”. Name the group “Download”.
Step 8: Place our Icon in the iPhone
Open the iPhone file. Before dragging the whole iPhone document to our project I want you to hide the following layers:
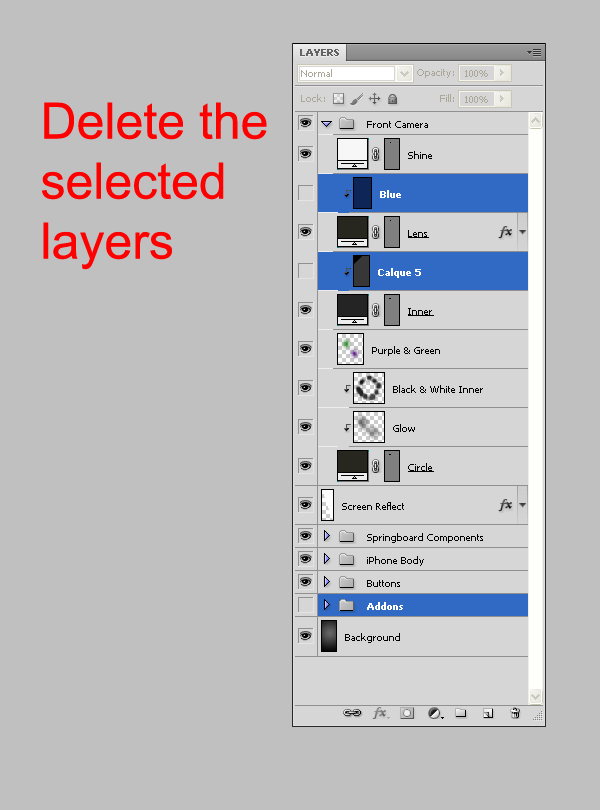
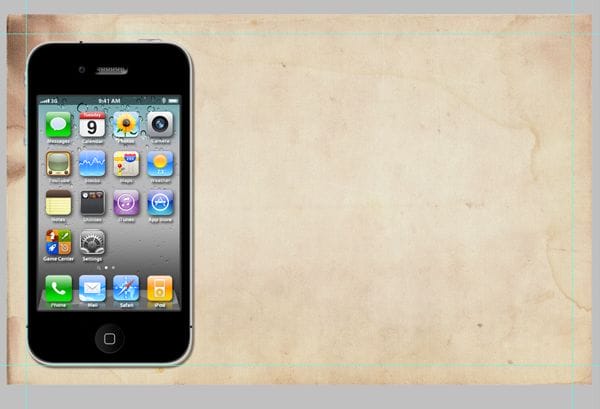
After deleting the layers I showed you, group the layers left (without the background) and name the group “iPhone”. Then, drag the iPhone group to our document and decrease its size to 348px on 680px and drag it until it lays besides the guides on the left.
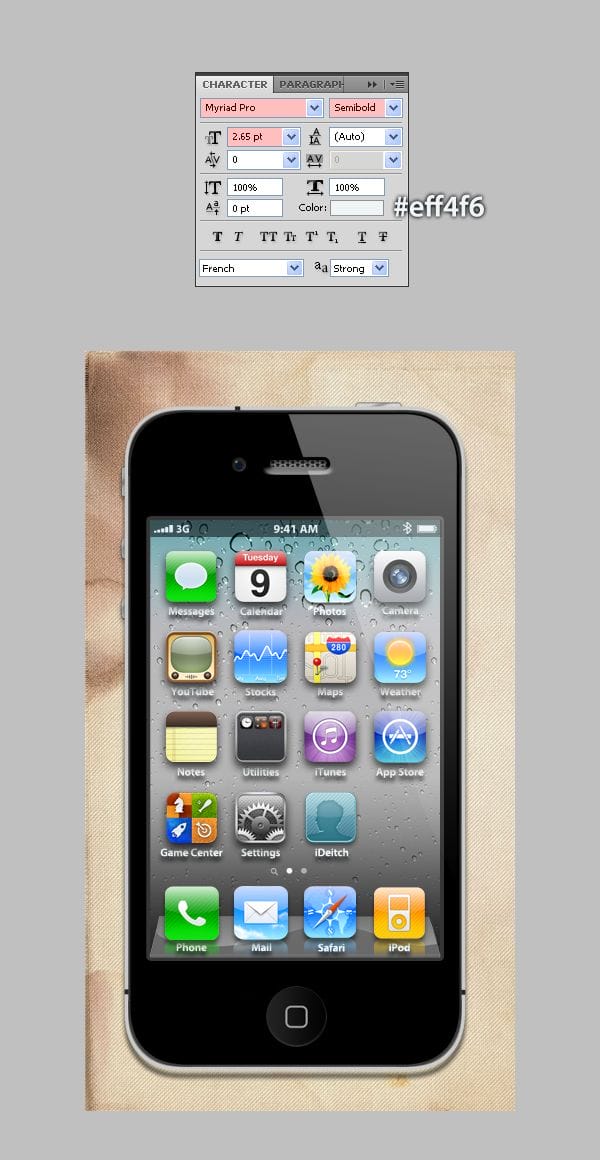
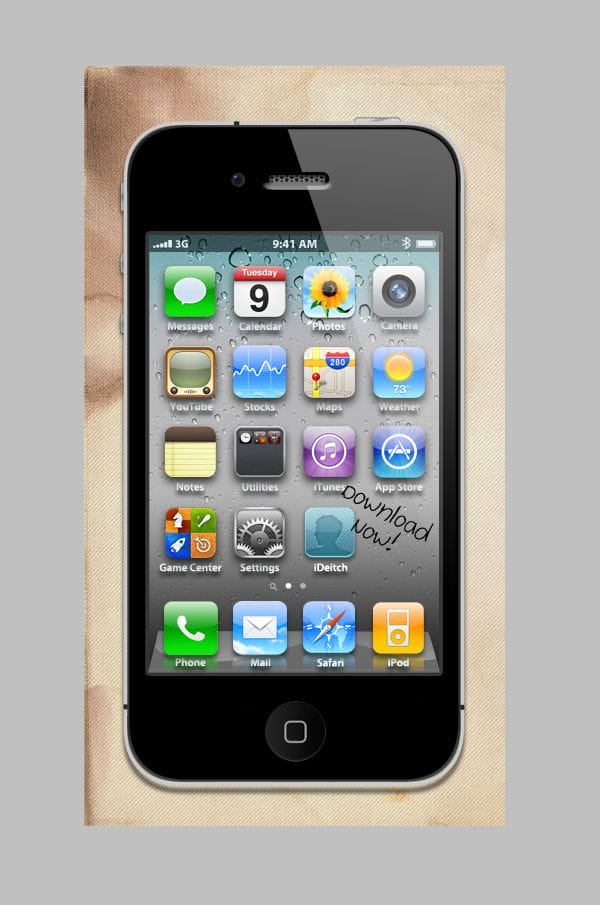
Duplicate the group App and drag it into the iPhone Group, then into “Springboard Components” and then into “Springboard Icons”. Then, decrease the group “App copy” by 45% (till 55%), hide the Drop Shadow effect from the bottom layer, merge all of the App copy group, and apply the Drop Shadow effect again. After that, write “iDeitch” with the following settings, and then apply the same Drop Shadow effect to the text:
Rename the app icon to iDeitch and group the app icon and the text which says “iDeitch”. Name the group iDeitch.
Step 9: Add the comment on the iPhone
Select the type tool. type “Download Now!” with Cheyenne Hand Font, font size 16pt. Then rotate the text layer 25 degrees clockwise.
Now we’re going to create the arrow. Create a new layer. name it “Arrow”. Select the Pen Tool (P) and create the following path:

Now select the Brush Tool (B) and select the default round hard brush. Change its size to 2px. Make sure the Hardness is 100% and that your Foreground Color is black. Switch back to the Pen Tool and right click the path we have created a second ago. A new menu is supposed to open up where you have right clicked. Pick “Stroke Path”. Now we have finished the arrow itself. Let’s create the head of the arrow: Create the following path and repeat the steps we did to create the body of the arrow:

Group the “Download Now! comment and the Arrow. Name the group “Comment” and drag it into the top of the group iPhone.
Step 10: Create the Colorful Title and Background
Open the Cloud Brushes brush set. Create a new layer under the group Textures. Name it “Clouds”. Select the first brush in the brush pack and paint the layer as shown below, with the colors #ffed21, #fd43f2, #3fcbee:


Leave a Reply