
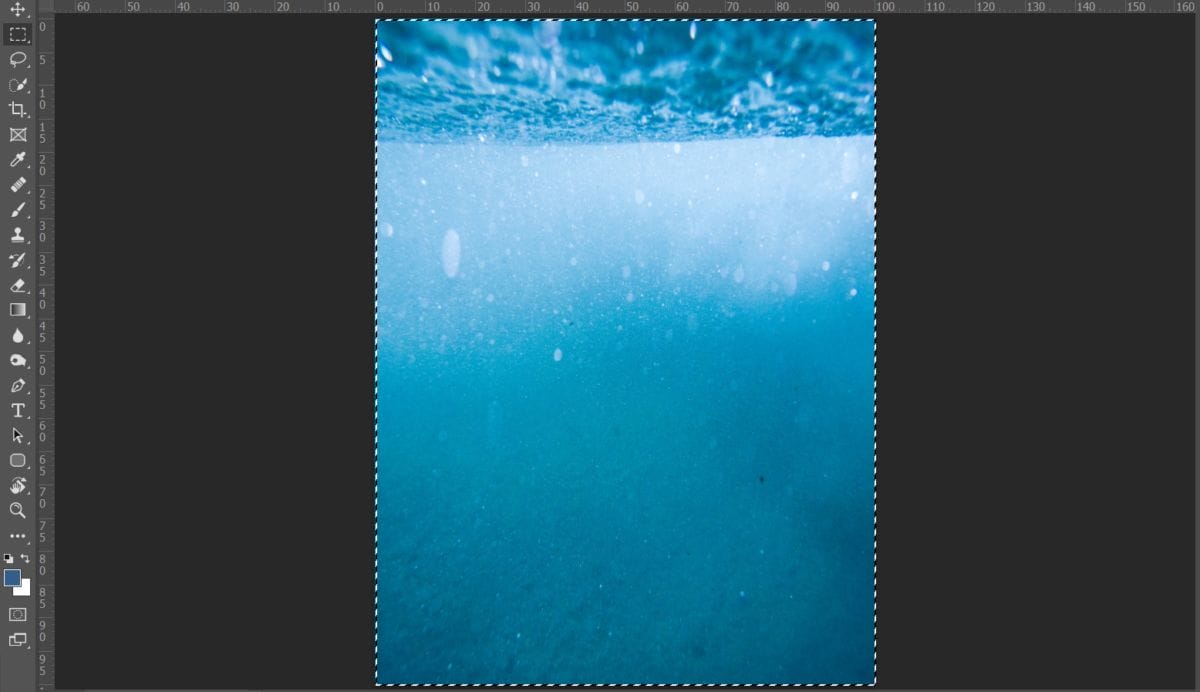
After the selection area has been created, simply copy (Ctrl / Cmd + C) and Paste (Ctrl / Cmd + V) it to our work canvas. Then position the image with the transform tool (Ctrl / Cmd + T). Hold Alt + Shift and resterize like image below. In Photoshop CC only hold Alt to resterize al sides together.
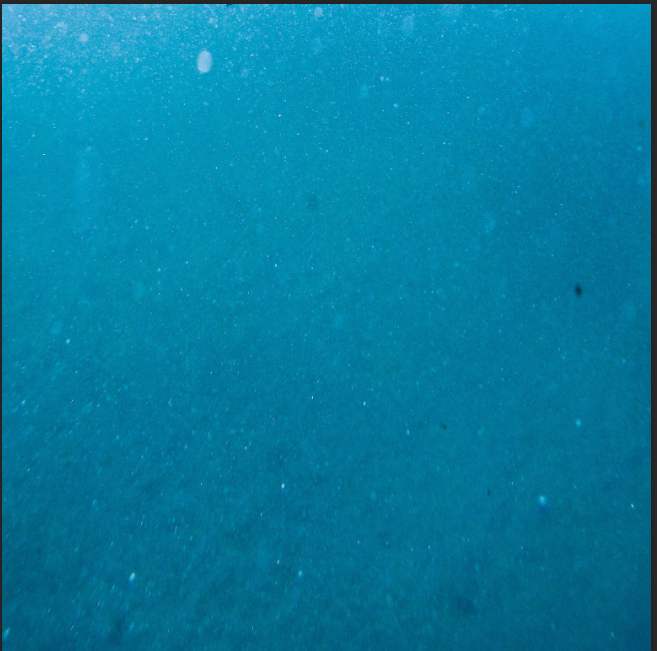
Blend mode change to Soft Light with Opacity to 30%.
Step 31
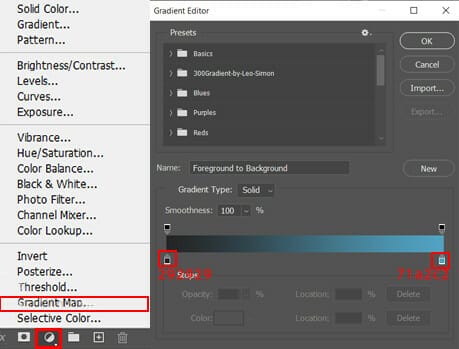
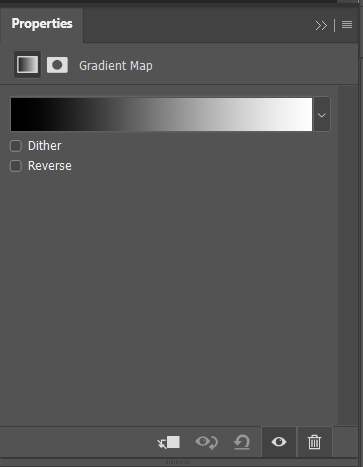
Add Adjustment Layer “Gradient Map” and Blend mode change to Soft Light with Opacity 15%.
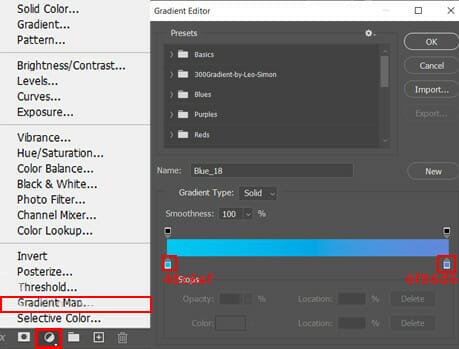
Next, add another Adjustment Layer “Gradinet Map” with blend mode Hue and Opacity 40%.
And last Adjustment is Gradient Map, default Black & White. Blend mode change to Soft Light with Opacity 20%.
Step 32
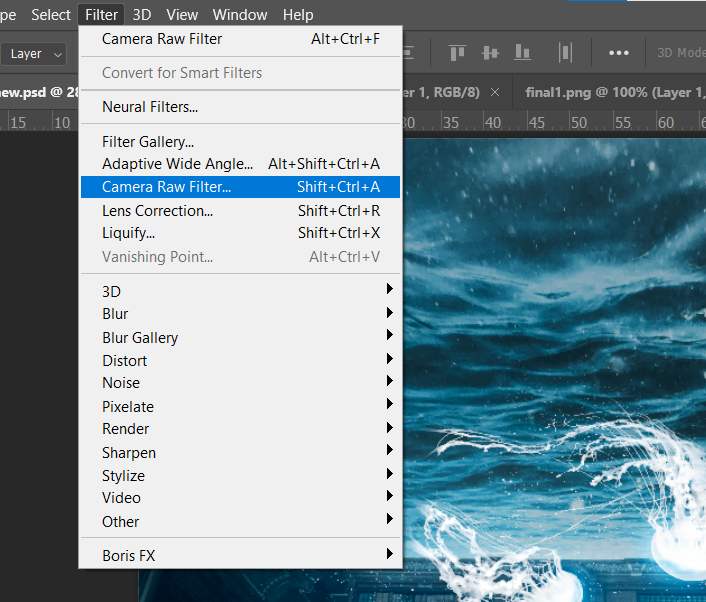
When we finished all this, now merge all layers to one. Slecet the last layer and hold CTRL/CMD + SHIFT + ALT + E. Now we have a final layer, right click on mouse and select Convert to Smart Object. Then go to Filter > Camera RAW Filter. At its most basic, the Photoshop Camera Raw filter allows you to use the functions of the ACR interface at any time within Photoshop. This allows you to make any adjustments within ACR at any time during your workflow instead of just limiting its usage to the raw processing stage.While it would be possible to import your working file into Lightroom to make the same sets of adjustments, doing this in Photoshop saves you from that cumbersome step. It allows you the use of these tools without any extra effort.
Step 33
Now in Camera Raw Filter, set the Value: Basic
- Temp: -10
- Exposure: -0.10
- Contrast: +8
- Highlights: +10
- Shadows: -10
- Whites: +7
- Blacks: -5
- Texture: +5
- Clarity: +10
- Vibrance: +8

Curve
- Highlights: +5
- Lights: +5
- Dark: -5

Detail
- Sharpen: +10

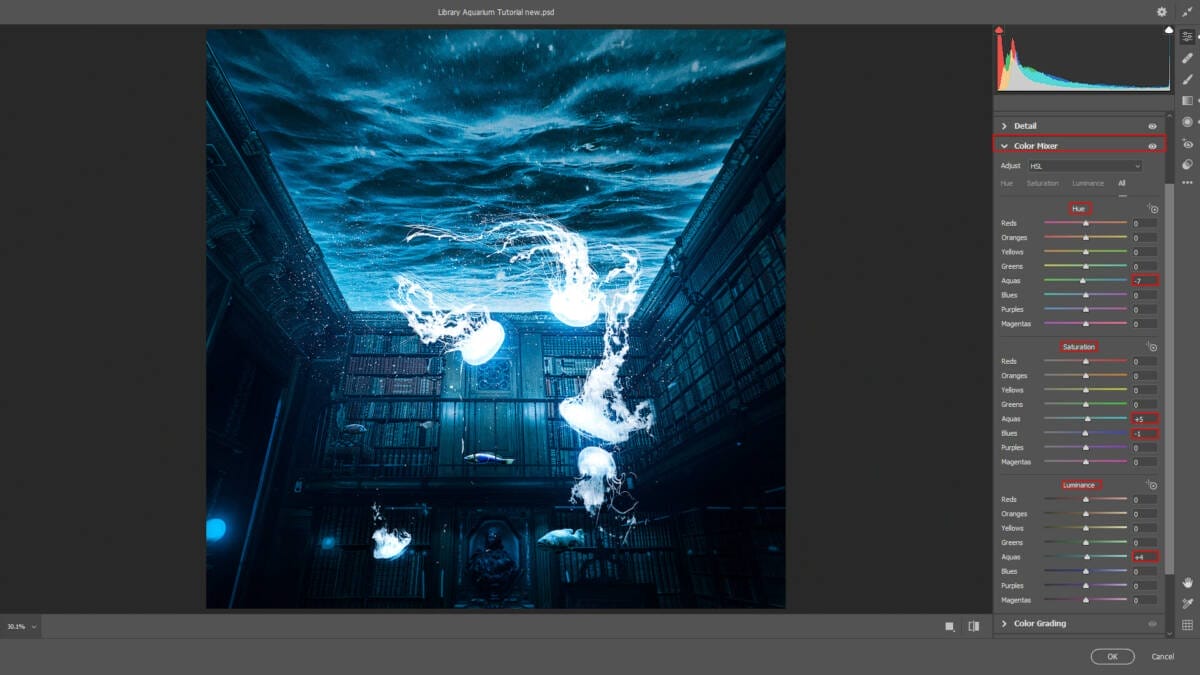
HSL Adjustments Hue
- Aquas: -7
Saturation
- Aquas: +5
- Blues: -1
Luminance
- Aquas: +4
Effects
- Vignetting: -15

Radial Filter
- Exposure: +0.05
- Highlights: +11
- Whites: +7

Gradulated Filter
- Highlights: +13
- Shadows: -21
- Whites: +19

Gradulated Filter
- Highlights: +13
- Shadows: -21
- Whites: +25

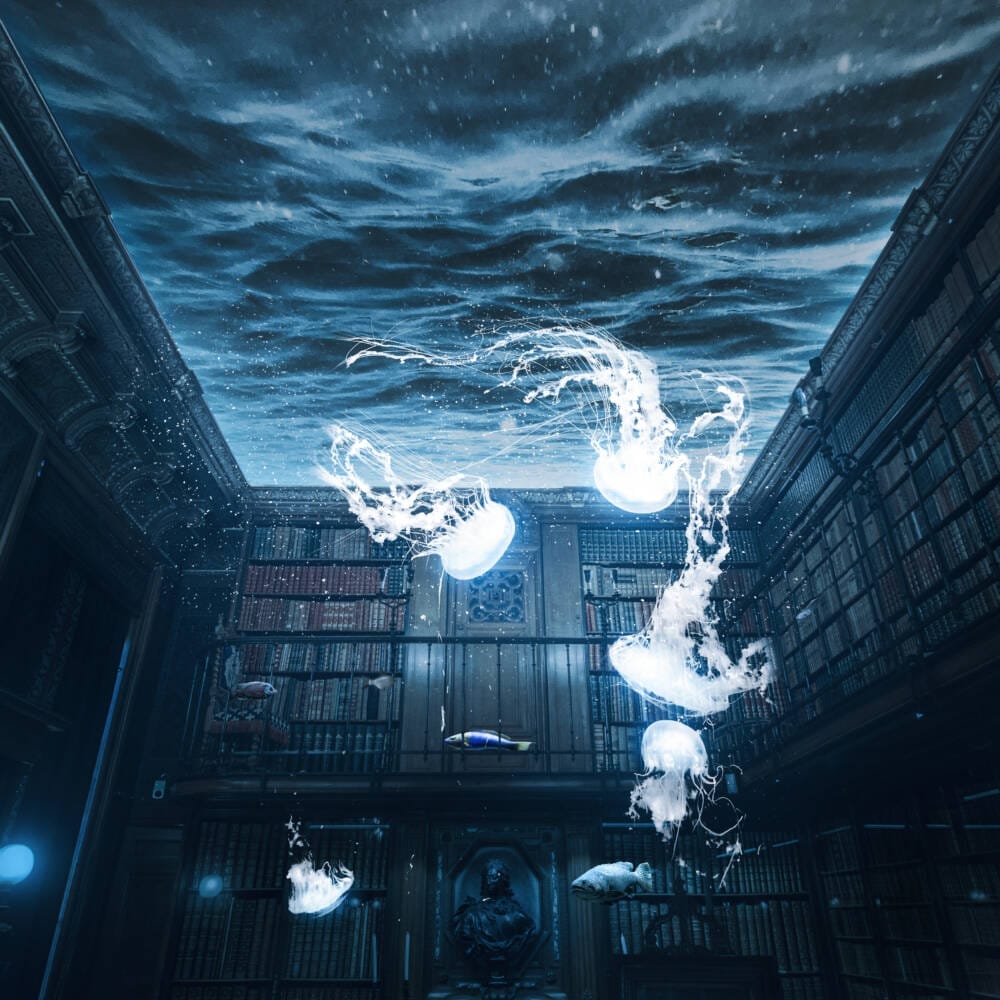
And finally, everything should look like this.

Final Results
Download the PSD
8 responses to “Create a Library Aquarium Photomanipulation”
-

It made me super happy! I can’t wait to show my family.
-
Hi you………
-
hi
-
hello
-
it made me happy!!
-
GRRRRRR
-
so beautiful ,thank u
-
its gorgeous
-
Leave a Reply