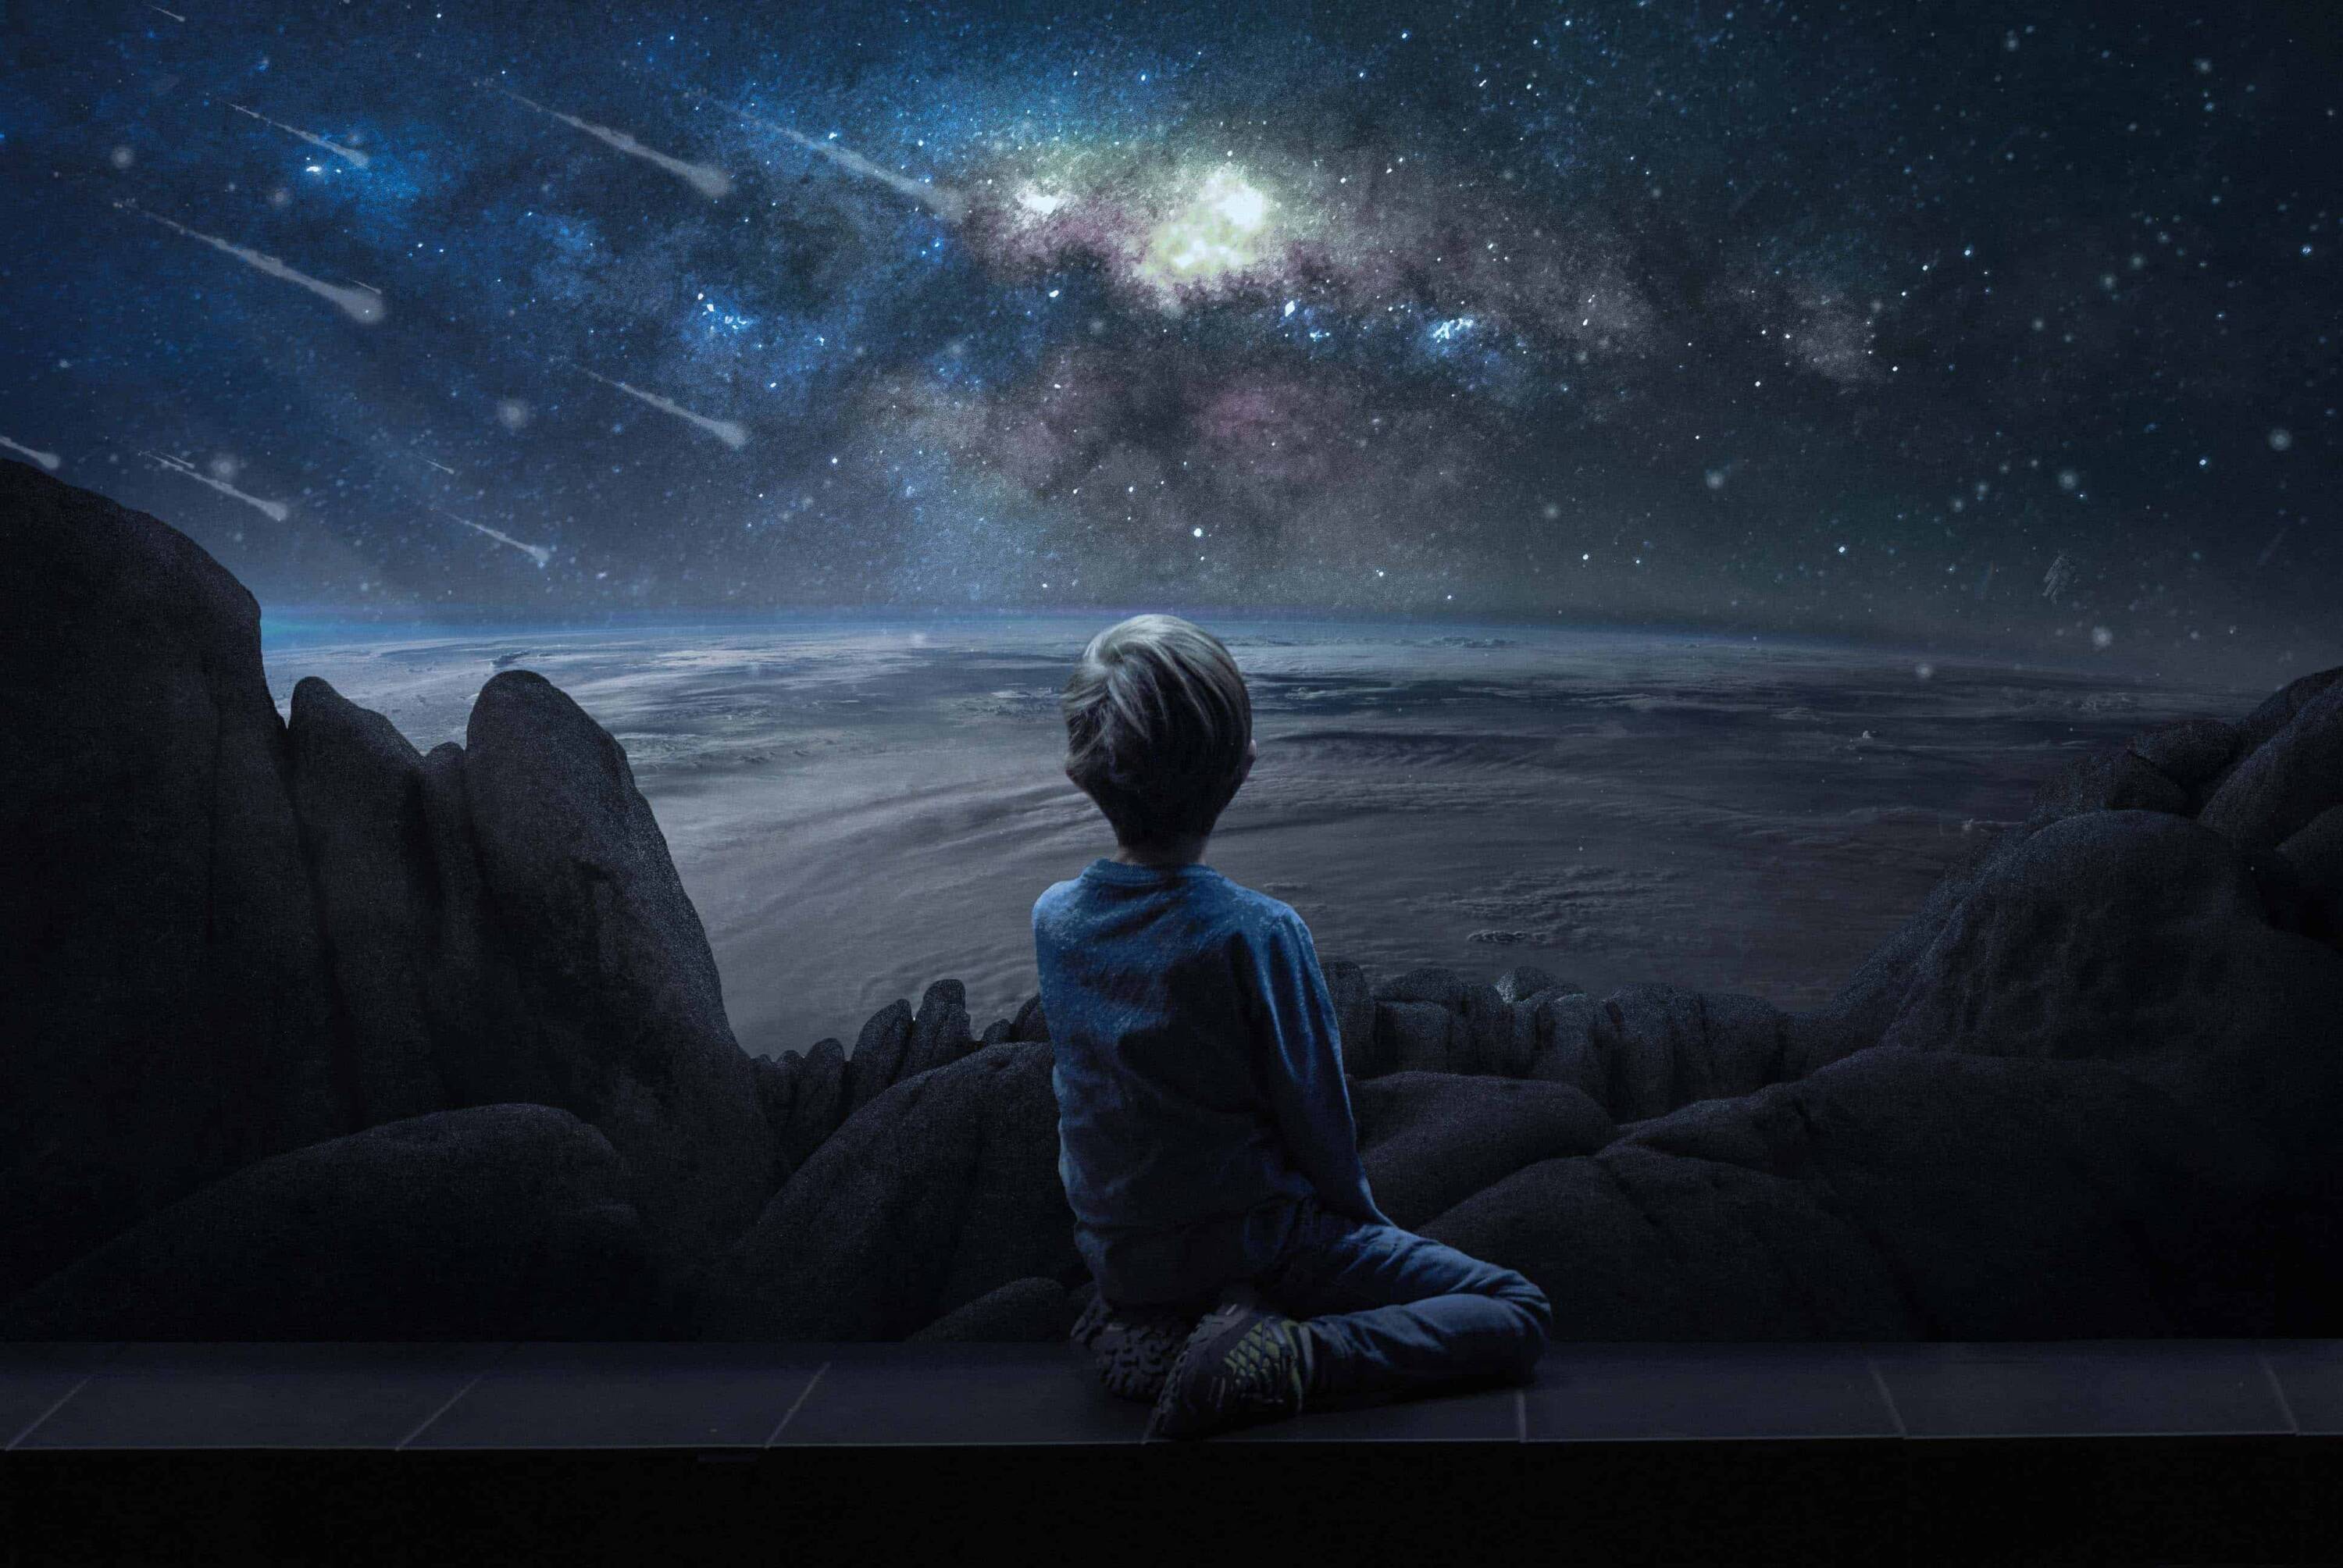
“The Earth was small, light blue, and so touchingly alone, our home that must be defended like a holy relic. The Earth was absolutely round. I believe I never knew what the word round meant until I saw Earth from space.” In this Photoshop tutorial, we will learn how to combine multiple stock photos into unreal scenes using Adjustment layers, masking, and brush. Finaly we used Camera RAW Filter for color grading and lights…
Preview of Final Image

Tutorial Resources
Step 1
Create a new document in Photoshop with the following settings:

Step 2
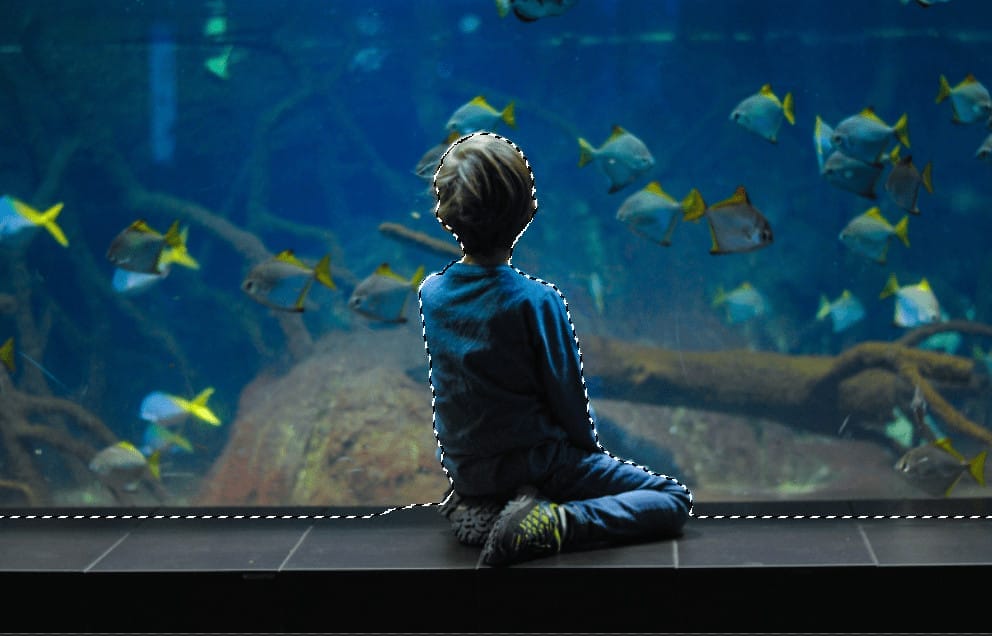
Now, go to File > Open and select Model. Then use a Pen Tool(P) and start selecting the Boy. When we finish the selection press right click on mouse and “Make Selection”.
The simplest path you can draw with the standard Pen tool is a straight line, made by clicking the Pen tool to create two anchor points. By continuing to click, you create a path made of straight line segments connected by corner points.
- Select the Pen tool.
- Position the Pen tool where you want the straight segment to begin, and click to define the first anchor point (do not drag).
- Click again where you want the segment to end
- Continue clicking to set anchor points for additional straight segments.
- The last anchor point you add always appears as a solid square, indicating that it is selected. Previously defined anchor points become hollow, and deselected, as you add more anchor points
- Complete the path by doing one of the following:
- To close the path, position the Pen tool over the first (hollow) anchor point. A small circle appears next to the Pen tool pointer
 when it is positioned correctly. Click or drag to close the path.
- To leave the path open, Ctrl-click (Windows) or Command-click (Mac OS) anywhere away from all objects. To leave the path open, you can also select a different tool.


Feather Radius set to 0px and check Anti-alliased.
After the selection area has been created, simply copy (Ctrl / Cmd + C) and Paste (Ctrl / Cmd + V) it to our work canvas. Then position the image with the transform tool (Ctrl / Cmd + T). Hold Alt + Shift and resterize like image below. In Photoshop CC only hold Alt to resterize al sides together.
Step 3
Next, create a new Adjustment Layer “Levels”


Step 4
Add Adjustment Layer “Hue Saturation”

Step 5
Add Adjustment Layer “Curves”

Step 6
Add Adjustment Layer “Brightness/Contrast” and press Ctrl/Cmd + I to invert. Now use Brush Tool(B) Soft Round with foreground color white and paint only the beam on which the boy sits.

Step 7
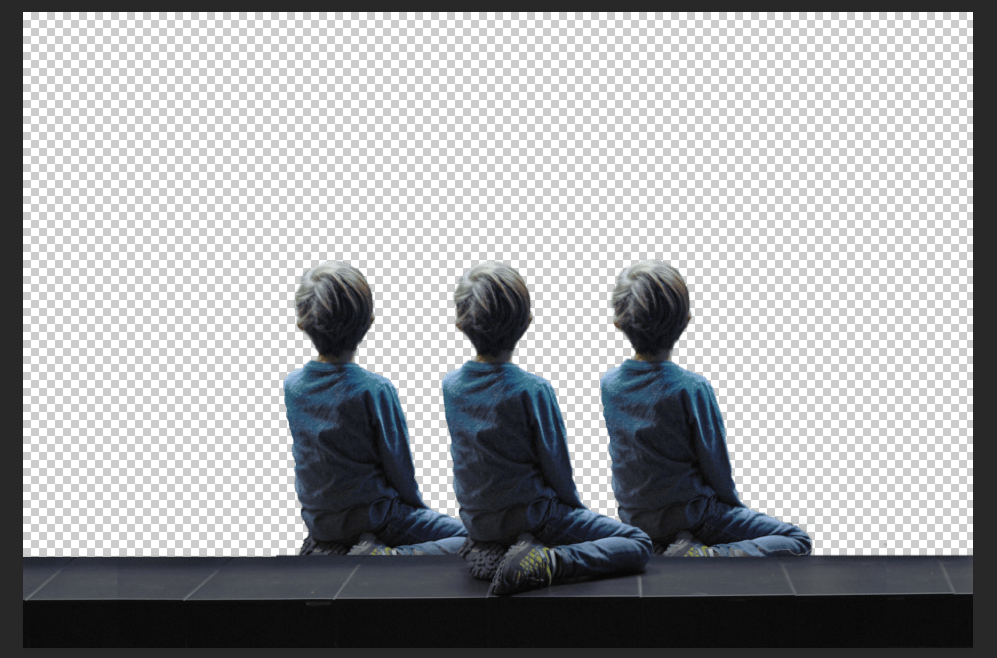
Now put in all in group (Ctrl/Cmd + G) and make copy of group (Ctrl/Cmd + J) . Then use Move Tool(V) and move the first copy of group a little to the right. Now make another copy of group (Ctrl/Cmd + J) and move a little to the left.

Now select a original group and create a layer mask. We created a layer mask so we could remove the lines at the ends of the image. Take a look at the pictures below. Use Brush Tool(B) Soft Round with foreground color black and paint on the lines.
6 responses to “Look at Earth Surreal Photomanipulation Tutorial”
-
this is crazy and not teaching. Get real yall terrible
-
This is a super unclear tutorial. You can’t even see step 5… Horrible UX and technical writing.
-
Tutorial is very claer , well done !!! Thanks for sharing . 👍👍👍😉
-
This tutorial could have been a good one if the steps were all visible
-
-
Thank you very much! This is neat!
-
Hi a great tutorial, It would have helpful to see all the layers from start to finish, and even see the PSD file which is not available your link is not there, the missing layers would answer a lot of questions, many thanks

Leave a Reply to Yves PeetersCancel reply