
Just feel the magic in the air and the power in the breeze, Feel the energy of the plants, the bushes and the trees. Let yourself be surrounded by nature at its best. Calm yourself, focus and let magic do the rest. In this Photoshop tutorial, we learn how to create a magical atmosphere in the sky. First, we added an Ocean and Mountains, then Sky. Then we added an Adjustment Layers to correct the colors, then Balloons and finally added textures and Adjustment layers. See at the bottom of the page how does it look like.
Preview of Final Image

Tutorial Resources
Step 1
Now, let’s start by creating a new image file, go to the Menu bar and click File > New, and then input the following values on their respective fields.
- Preset: Custom
- Width: 3888
- Height: 3166
- Resolution: 300
- Color Mode: RGB Color 8bit
- Background Contents: Transparent

Step 2
Go to File > Place. Select theOceanstock and place it into your document.

Step 3
Now create a layer mask and use Brush Tool(B) Soft Round with foreground color black and start painting to remove the sky above water.


Step 4
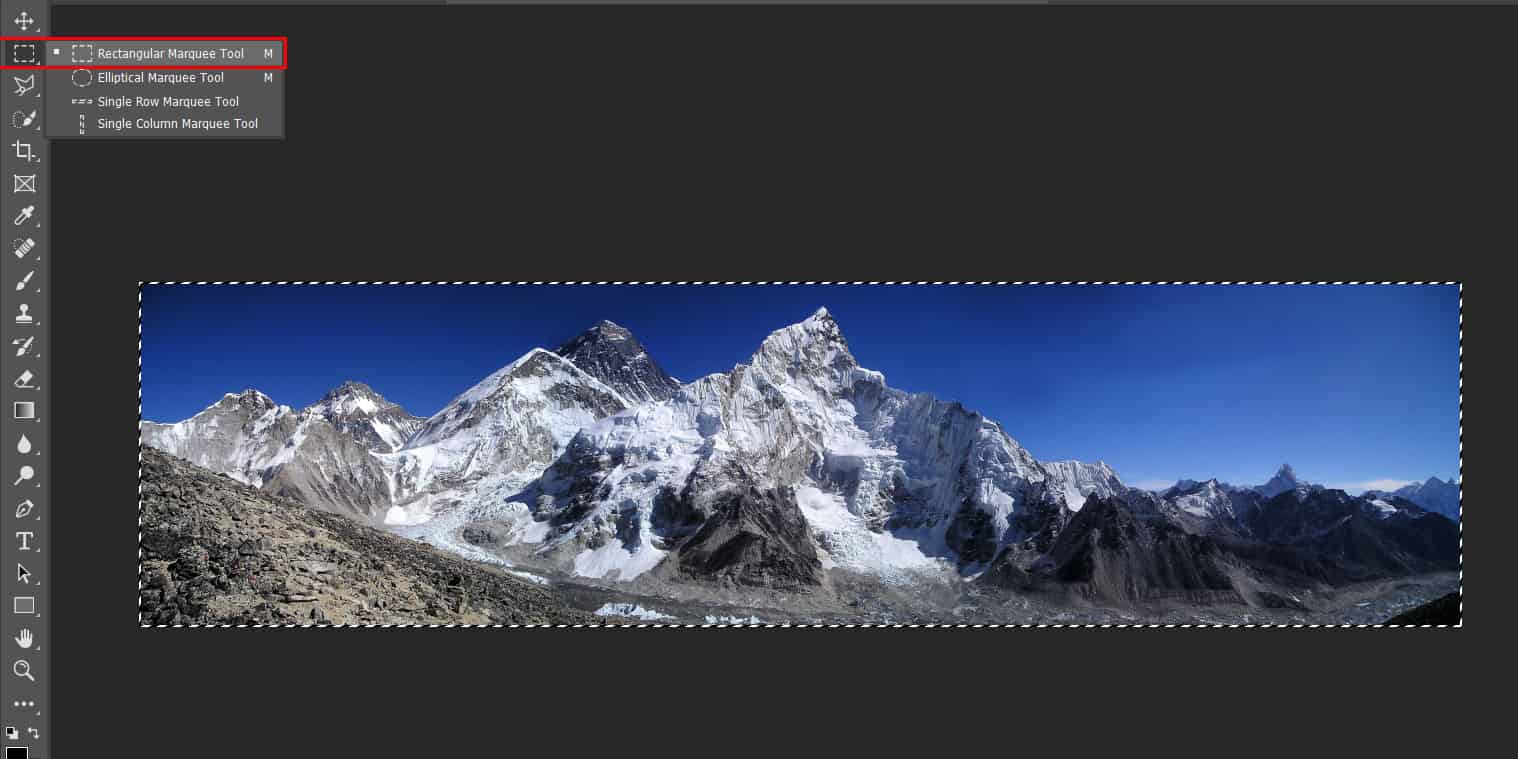
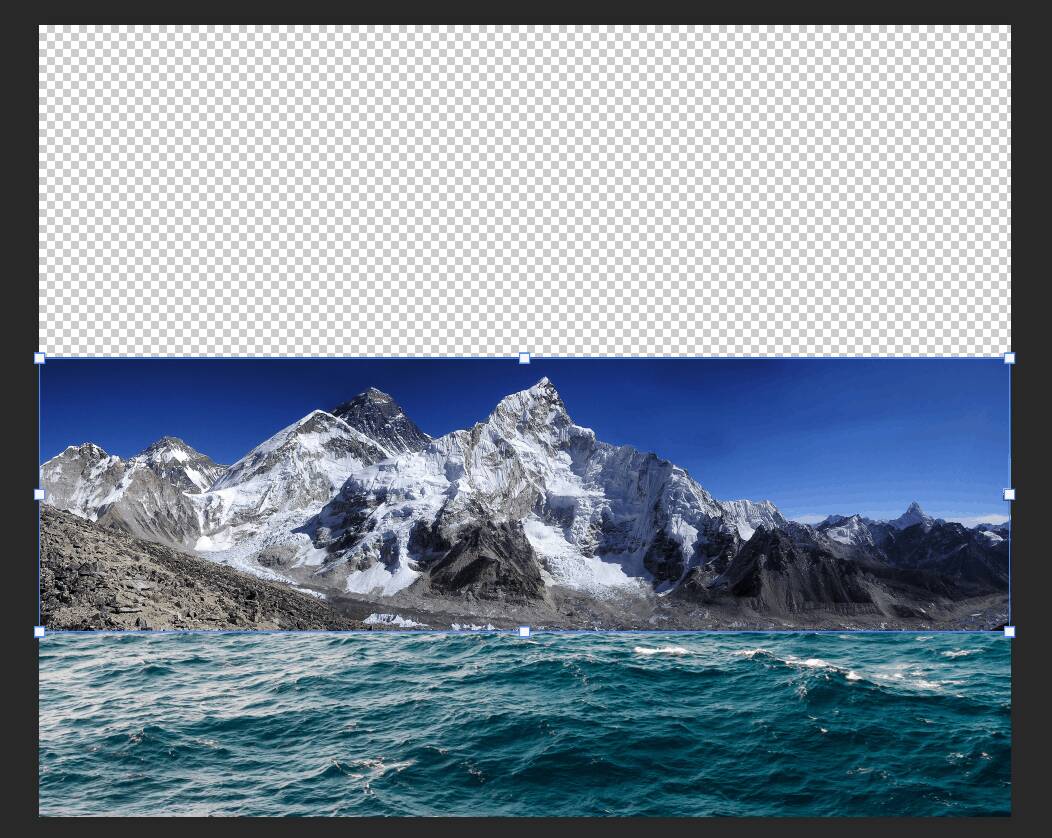
Next we will openMountains. After you open the image, use Rectangular Marquee Tool(M).
Step 5
After the selection area has been created, simply copy (Ctrl / Cmd + C) and Paste (Ctrl / Cmd + V) it to our work canvas. Then position the image with the transform tool (Ctrl / Cmd + T). Hold Alt + Shift and resterize like image below. In Photoshop CC only hold Alt to resterize al sides together.
Step 6
Next, we need to remove the sky. Use Pen Tool(P) and start marking.
You create a curve by adding an anchor point where a curve changes direction, and dragging the direction lines that shape the curve. The length and slope of the direction lines determine the shape of the curve.
Curves are easier to edit and your system can display and print them faster if you draw them using as few anchor points as possible. Using too many points can also introduce unwanted bumps in a curve. Instead, draw widely spaced anchor points, and practice shaping curves by adjusting the length and angles of the direction lines.

When you have marked everything press Right click on mouse and select “Make Selection”. Feather Radius set to 0px, Anti-aliased check and press OK.
4 responses to “How to Create Magic Atmosphere in the Sky in Photoshop”
-

Hi there. This is a great tutorial however, I am working my way through it and can’t seem to locate two of the resources you use in this tutorial. One of them is the “sky” image and the other one is the “birds” image. Neither of them are listed in the tutorial resources list. I really want to be able to replicate your image as closely as possible. Can you please provide the links for these resources? That would be greatly appreciated! Thanks again!
-
I find that with a lot of tutorials I am glad I saw this post so I don’t have to waste my time
-
Well, why don’t you then download the final PSD file? Usually there the original files are present within, since most of the time the manipulation is only done with non-destructive techniques like adjustment or masking layers.
Then you can just copy the layer you are looking for into another file and work with this image.
I would say for a copy/paste and transform the original file is not necessarily needed.
-
-
Hola.
La foto del cielo y los pájaros no la habéis puesto, pero no tiene una gran relevancia.
Lo que no comprendo es este comando
“Crea una nueva capa y haz una máscara de recorte. Haga clic derecho en la capa y “Liberar máscara de recorte”.
Me lo podéis aclarar.
Gracias.
Leave a Reply to Richard ThielCancel reply