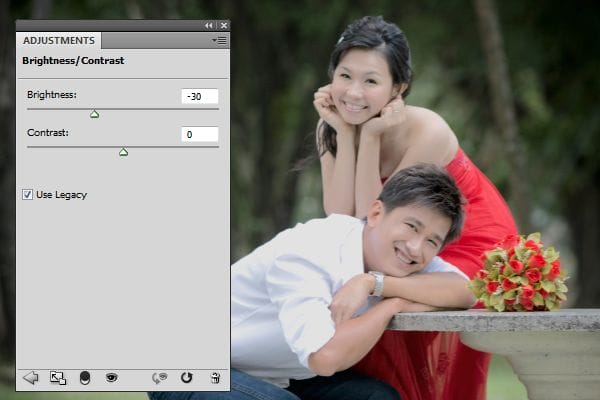
Step 4 – Darken the image
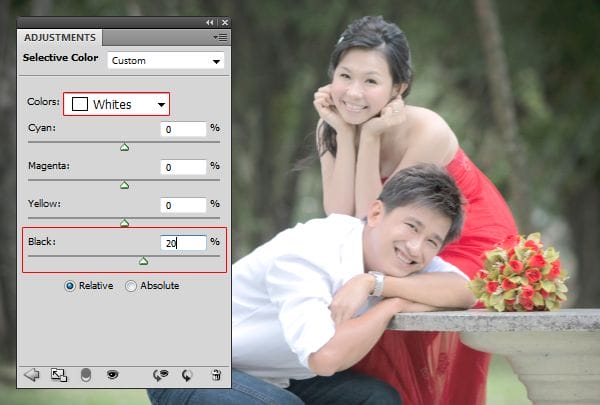
Our image looks brighter than it was before because of the selective color adjustment layer we added. To darken back the image, we’ll add a brightness/contrast adjustment layer. Choose Layer > New Adjustment Layer > Brightness/Contrast. If you are using Photoshop CS3 or newer, checkmark the use legacy option. This will let us adjust the brightness linearly. Reduce the brightness setting until the photo is back to the original brightness.
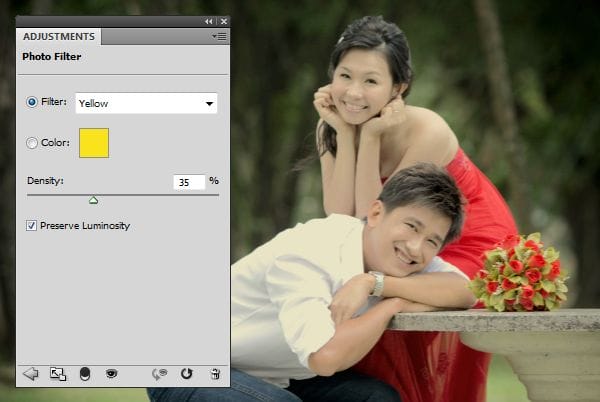
Step 5 – Add a photo filter
To give the image an aged tint, add a photo filter adjustment layer (Layer > New Adjustment Layer > Photo Filter). Set the filter to the color of your choice. A popular color choice for this type of effect is yellow.
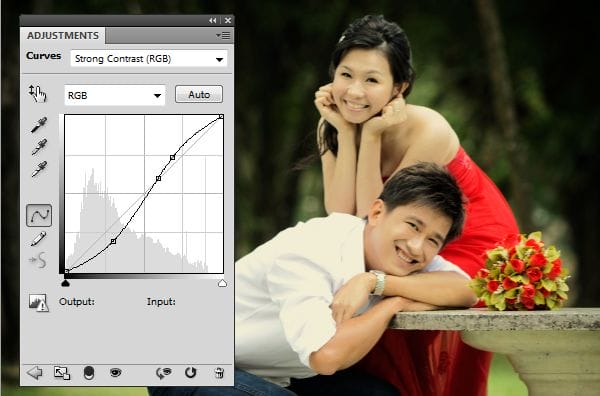
Step 5 – Increase the contrast (Optional)
Add a curves adjustment layer (Layer > New Adjustment Layer > Curves). Adjust the curves setting to add contrast.
Final Results
Here’s the final results of this photo effect. Rollover the images below to see the before and after effect.
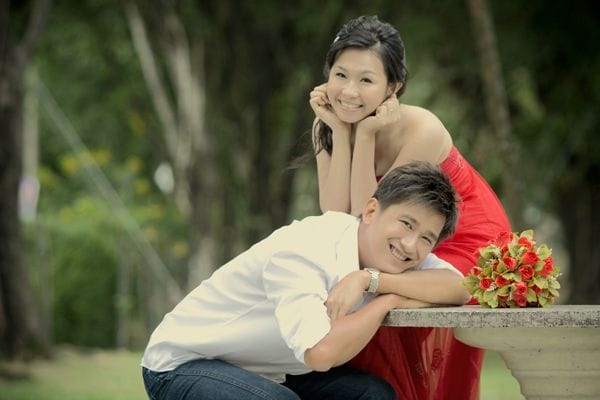
Below is an higher contrast example with a curves adjustment layer.
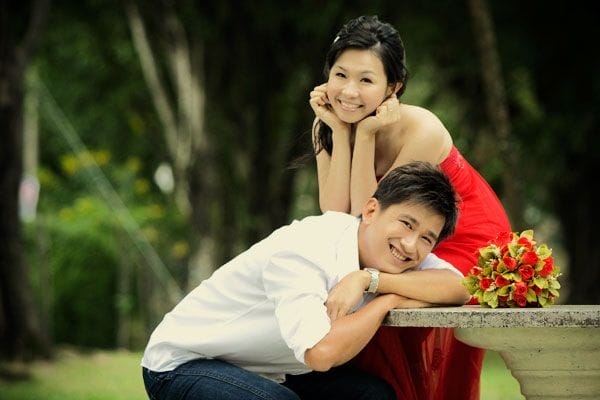
 Download the PSD
- Low resolution watermarked Photoshop document (1.33 MB)
- High resolution watermarked Photoshop document (74 MB)
 Download the Action
- Vintage photo effect Photoshop action (2.65 KB)
Other Examples
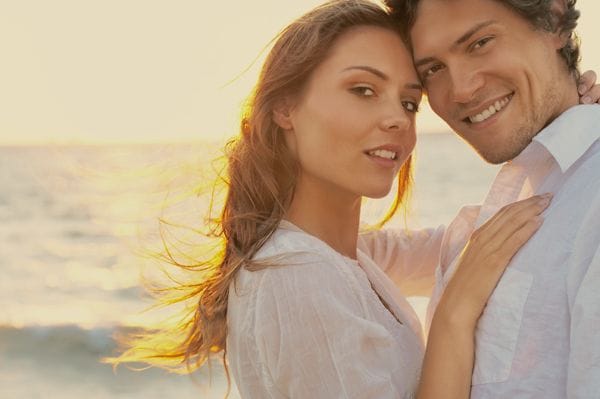
Here are two other examples using different settings. This image below used a deep yellow photo filter without the curves adjustment layer.


 Download the PSD
 Download the Action
Leave a Reply