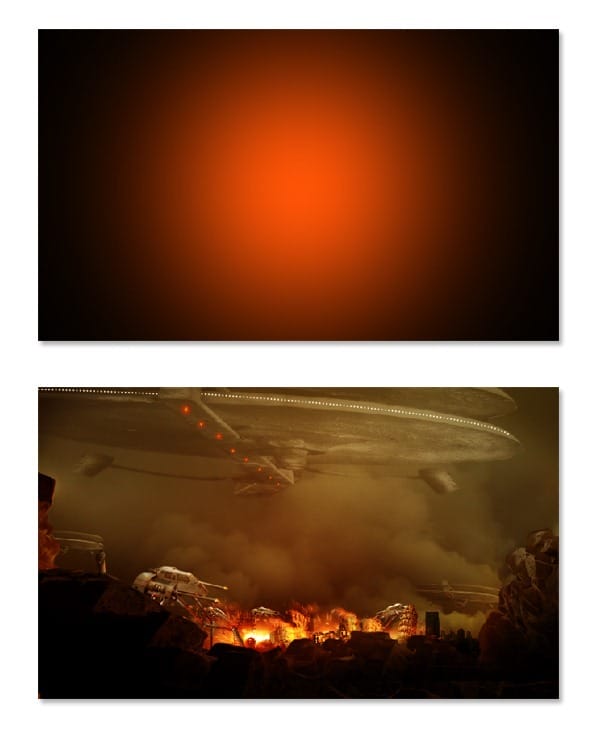
Step 38
Next, duplicate the fe5401 layer. Now set the foreground color to white. With a very soft large round brush, stroke the center of the canvas. Set the blending of this layer to soft light at 100%. I named this duplication layer fe5401+white.
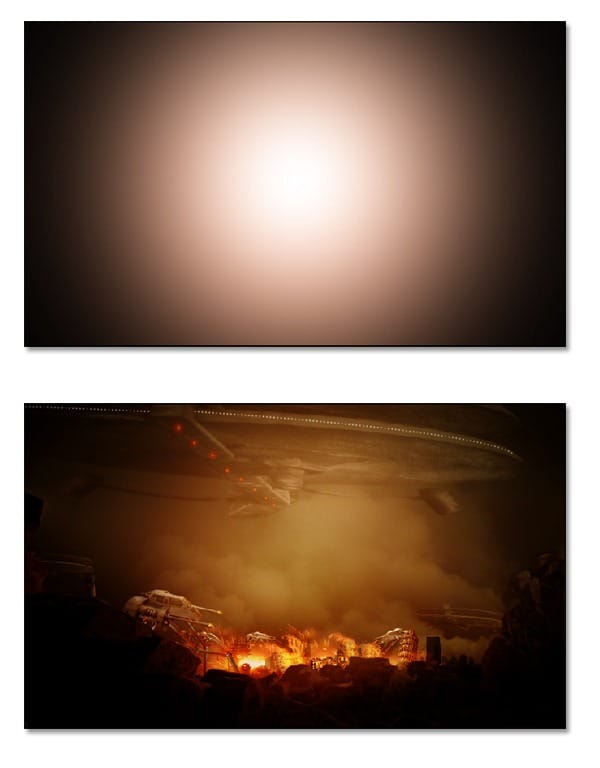
Step 39
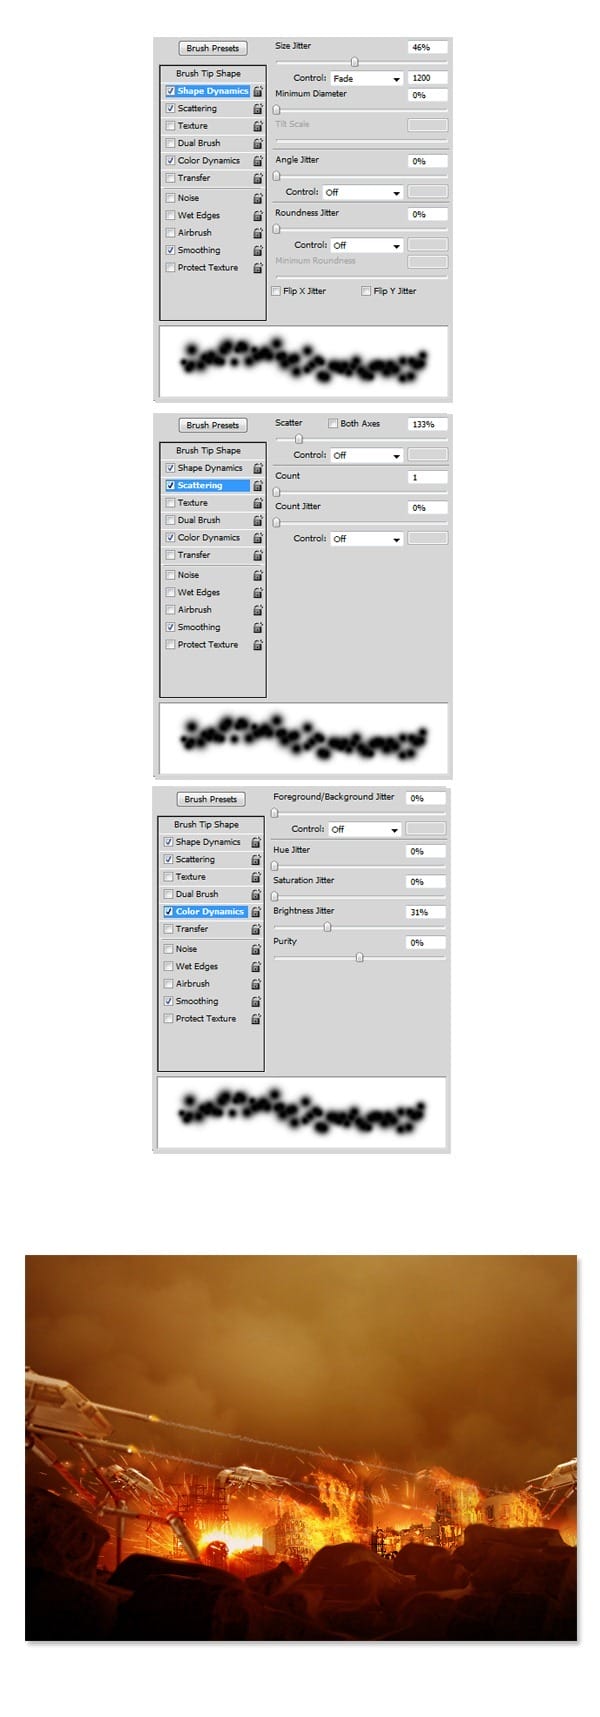
Create another new layer above the other layer. On this layer we will paint smoke coming out from the firing gun of the craft created in step 35. First, make sure to select Brush Tool and then hit F5 to show brush preset. Set the brush stroke by following the setting as in illustration picture. Make sure to set the size of the brush to a very small size 8-10. Next, with pen tool, make a straight path started from the point of the firing gun. Stroke the path with brush tool. See the result I created in the illustration picture.
Step 40
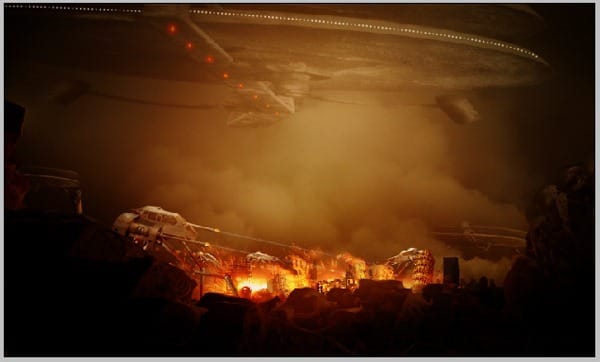
This is the composition so far.
Step 41
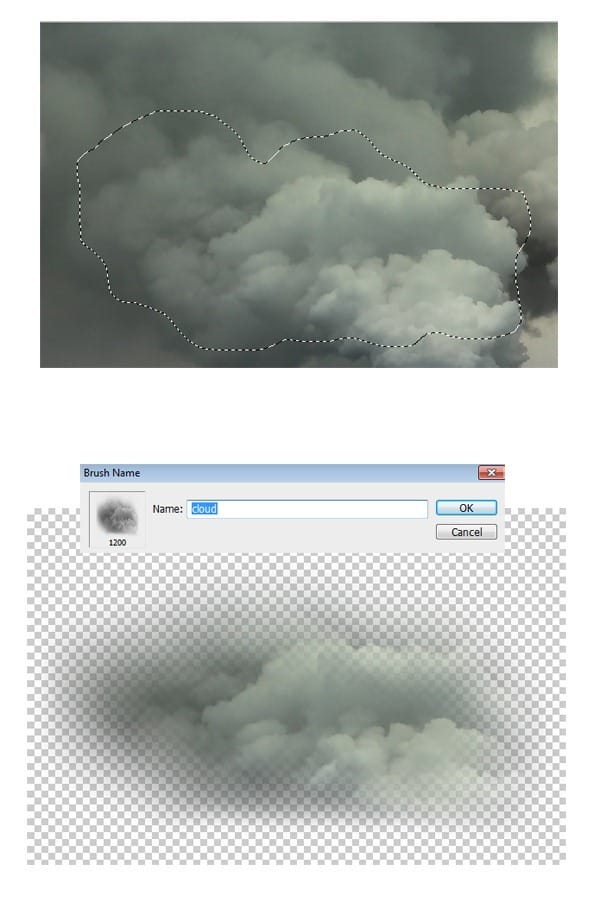
We almost finish the image. I decided to add gentle smoke to the image by consideration that the idea is about a nasty war with much explosion and fire so there should be much smoke around as well. We will manipulate the smoke from the picture previously used in creating the background (step 11). Firstly, I created a custom brush from the picture. Take Lasso Tool to make selection on the picture then set the feather of the selection to 60. Hit Ctrl+J to duplicate the selection into a single layer. Hide the original picture by click the eye icon in the layer panel. go to Edit > Define Brush Preset. I named the brush cloud.
Step 42
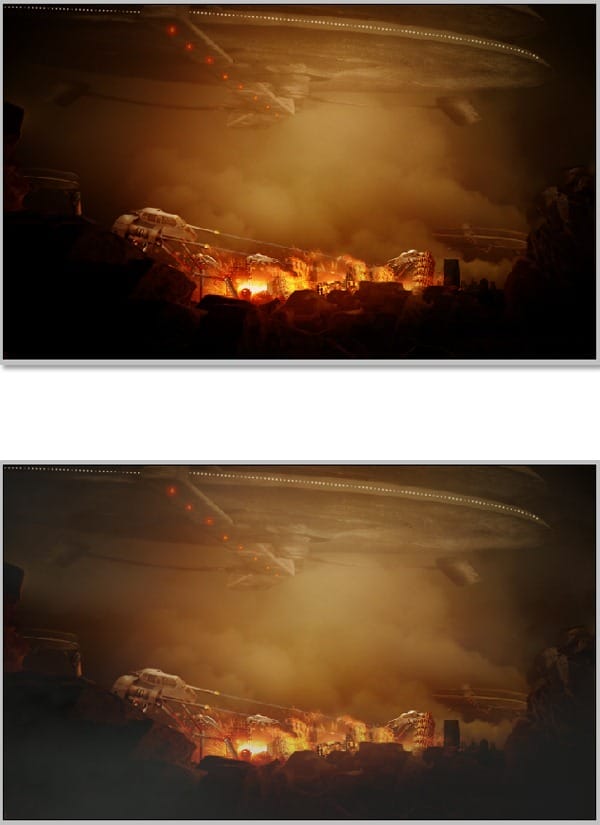
Create a new layer again. Set the foreground color to #ebede9 and #a8a1a1 for the background color. Take the Brush Tool and pick the cloud brush previously made. Set the opacity of the brush to 15%. Now just stroke the brush on the new layer to the entire image. Please see the illustration picture to see the before-after result of this step. I named this layer mist.
Step 43
Next step is to duplicate the mist layer. Set the blending of the original layer to normal at 40% opacity. Give this layer a layer mask and mask some area in the image. Now go back to the duplication layer. Set this layer to normal blending at 44% opacity. Finally give this duplication layer a layer mask as well. Mask some area on the image. Please see the illustration picture.
4 responses to “Create a City Destruction Photo Manipulation in Photoshop”
-
I would definitely be interested in getting that set!
-
Very Nice. Thanks for tuts.
-
thanks this is beautiful work my frend….
-
Nice one pal…


Leave a Reply