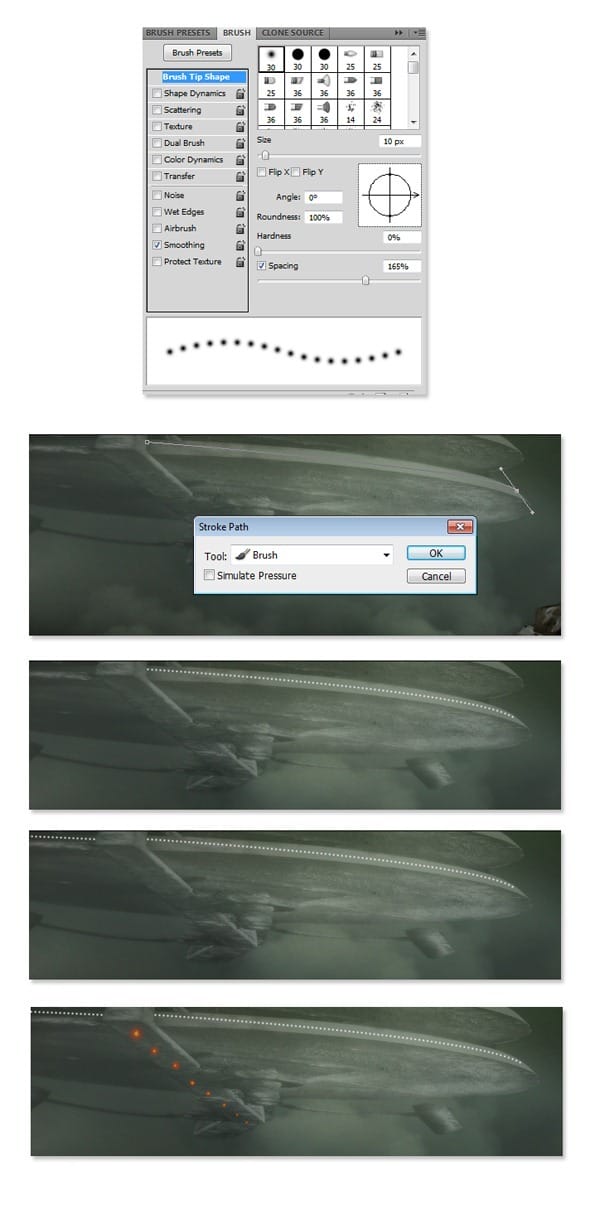
Step 30
Duplicate the space craft group two times and place the duplication groups where needed.
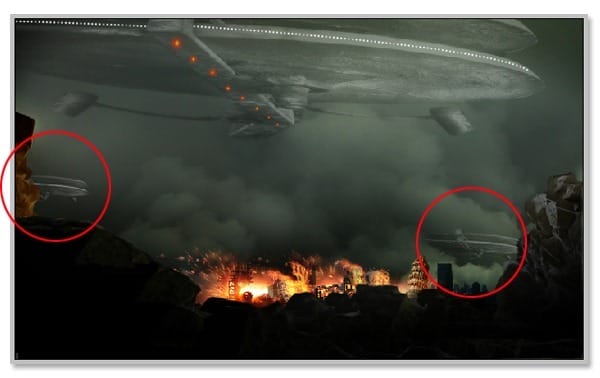
Step 31
Proceed to manipulate the other craft. Open the provided stock picture to be manipulated. Extract it from the background. When we already have the extracted picture, paint manually a shape for the lower part of the craft. I did it with Pen tool. On a new layer, first I created a path filled with dark grey color. Then, I created another path filled with lighter grey. I proceeded to create the other paths filled with certain color. Finally, with Burn and Dodge tool, I defined more details to the shape by giving it shadow and highlight.
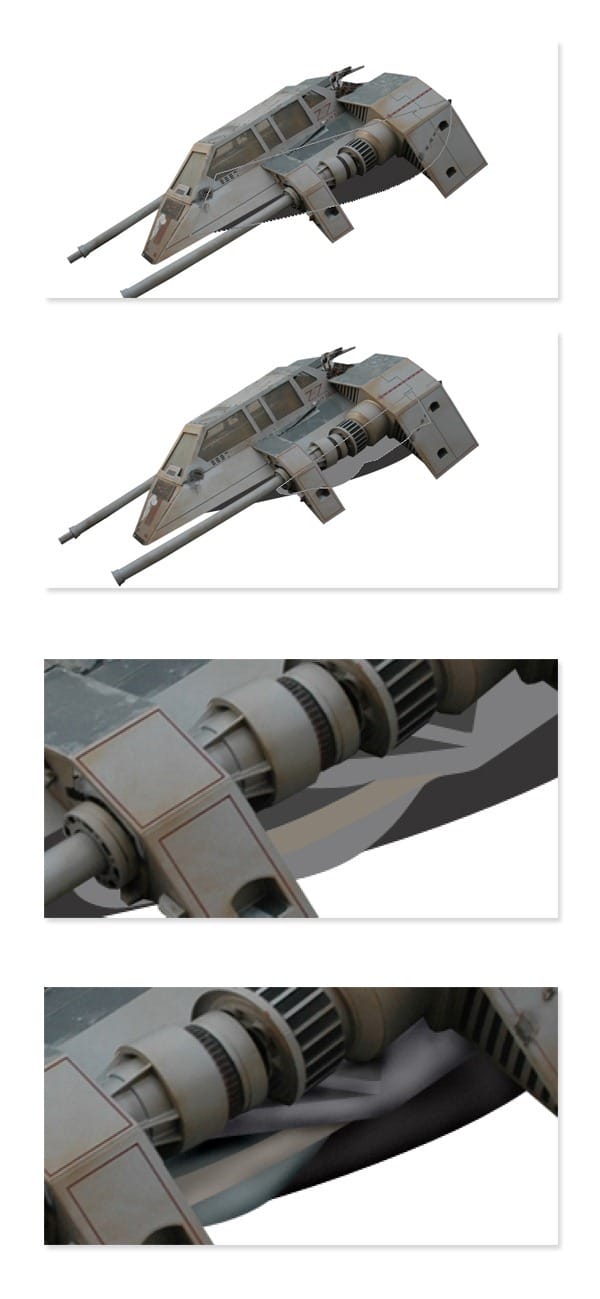
Step 32
To complete the craft, I added legs which were manipulated from the part of the other provided stock picture.

Step 33
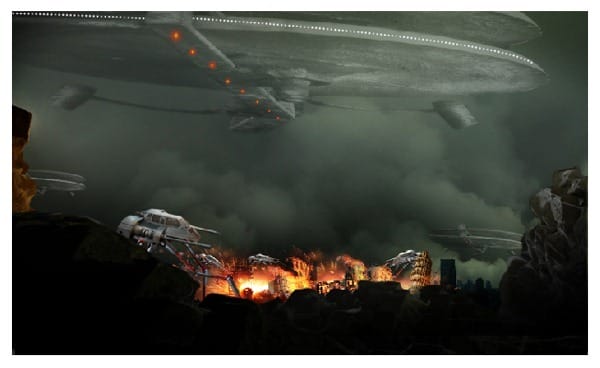
Drag the craft to the canvas. Duplicate it three times and place each of them where needed.
Step 34
Next I added a man to canvas. Crop the man of the stock picture provided. Scale and place the cropped in the canvas. Create a new layer above the man layer. Fill this layer with black and set its blending to Color Dodge. Choose #fdae03 as foreground color. With a very soft round brush set at low opacity of 4-7%, stroke lower front part of the man’s coat. Finally, on another new layer set to normal blending, stroke the left part of the man with black. Use a very soft brush at low opacity to do this.

Step 35
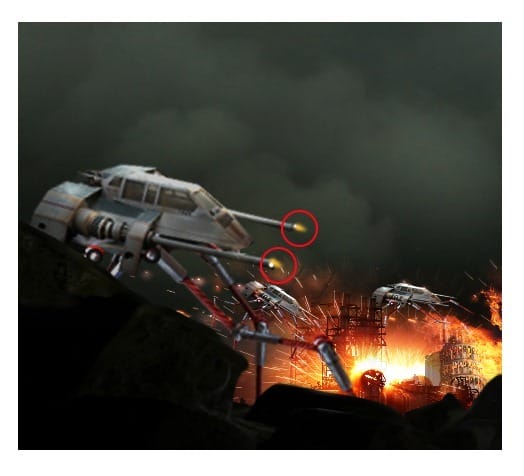
The next step was I decided to add fire to the gun of the craft. Create a new layer. On this new layer, paint the fire with yellow color and then give white spots. This will indicate that the craft is firing.
Step 36
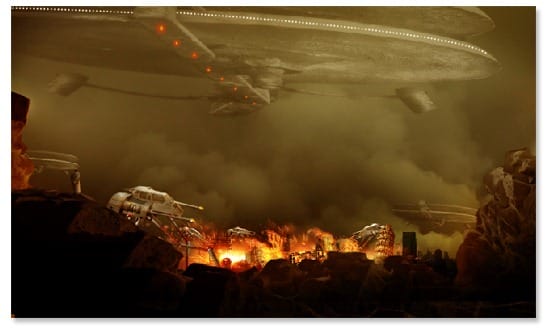
Now we will set the tone of the entire image. I decided to simply give a new adjustment layer: color balance. I just set the midtones of it with the same amount as the ones I created in the previous step 23.
Step 37
Create another new layer. Fill this layer with black. Set the color of the foreground to #fe5401. With a very soft large round brush, stoke the center of the canvas. Finally set the blending of this layer to soft light at 40% opacity. I named this layer fe5401
4 responses to “Create a City Destruction Photo Manipulation in Photoshop”
-
I would definitely be interested in getting that set!
-
Very Nice. Thanks for tuts.
-
thanks this is beautiful work my frend….
-
Nice one pal…


Leave a Reply