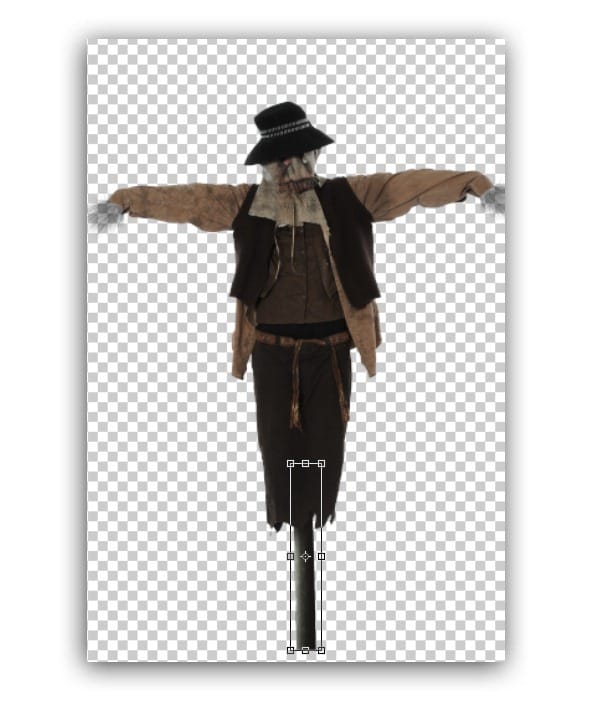
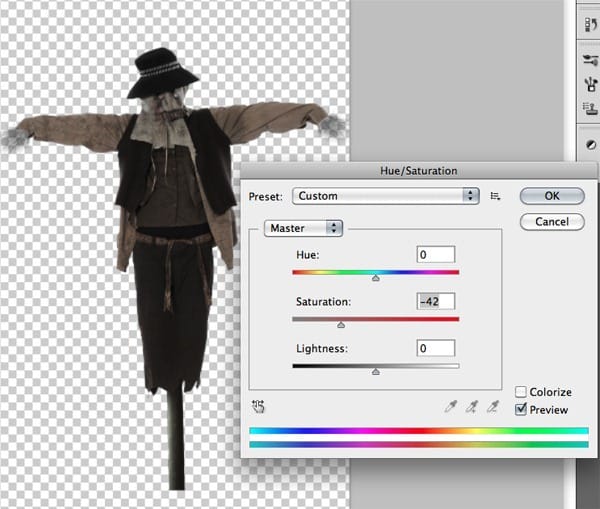
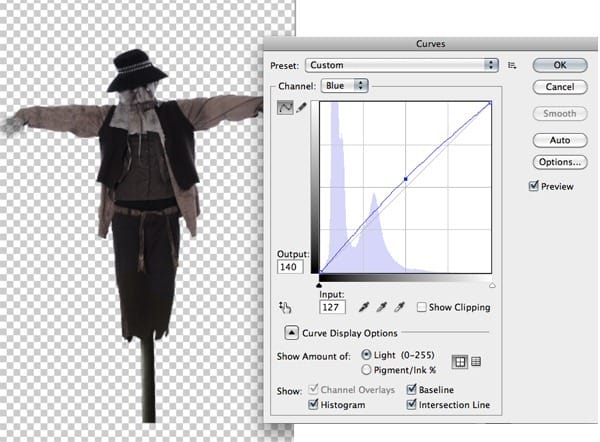
4) Similarly Desaturate the Scarecrow to -42 using the Hue/Saturation. Then to blend it with night scene increase the Blue leave using the Curves.
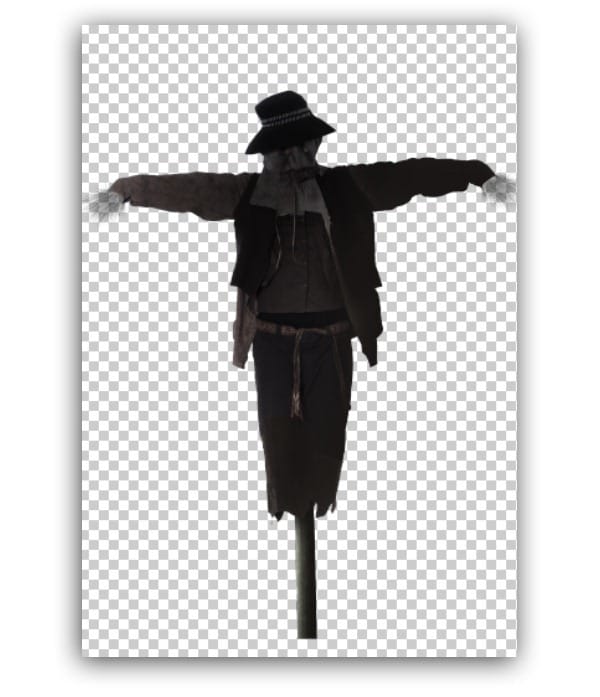
5) Since we are creating a night scene the scarecrow appears dark in the night, hence create a dark shadow on the scare crow as shown and merge all the layers together and name it as “Scarecrow 2”.
Step 32
1) Now import the scarecrow2 onto the working canvas and place it as shown.
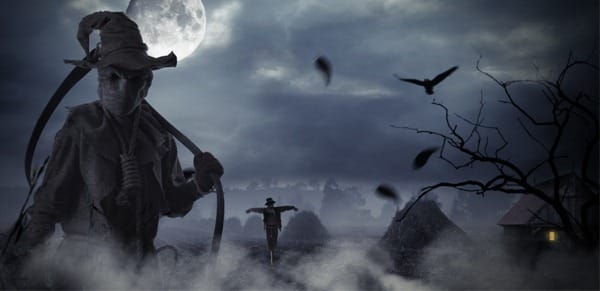
2) Since the scarecrow2 is located by some distance from the main character add a Gaussian Blur of Radius 0.7px.

3) If we observe closely we can notice the color of the wheat piles in the farm are getting faded, hence we are going to create the same effect here. With the scarecrow2 layer selected go to Image>Adjustments>Exposure and set the Exposure=-0.03, Offset=+0.0061 and Gamma Correction=1.00.

Step 33
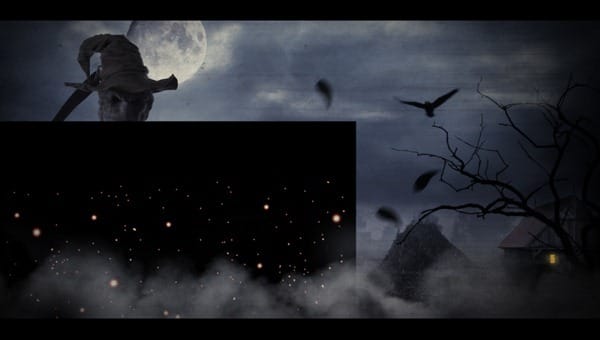
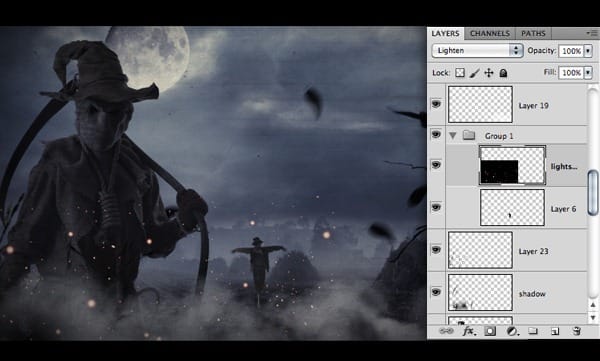
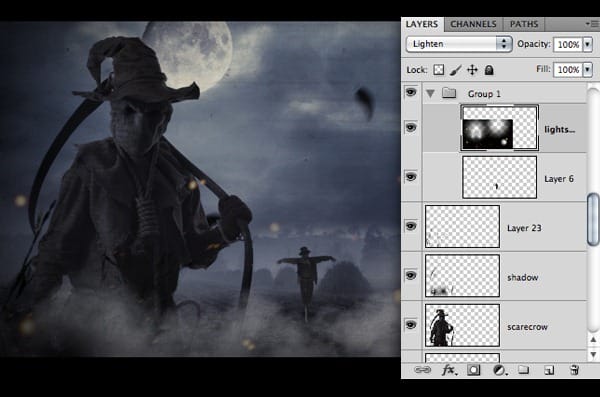
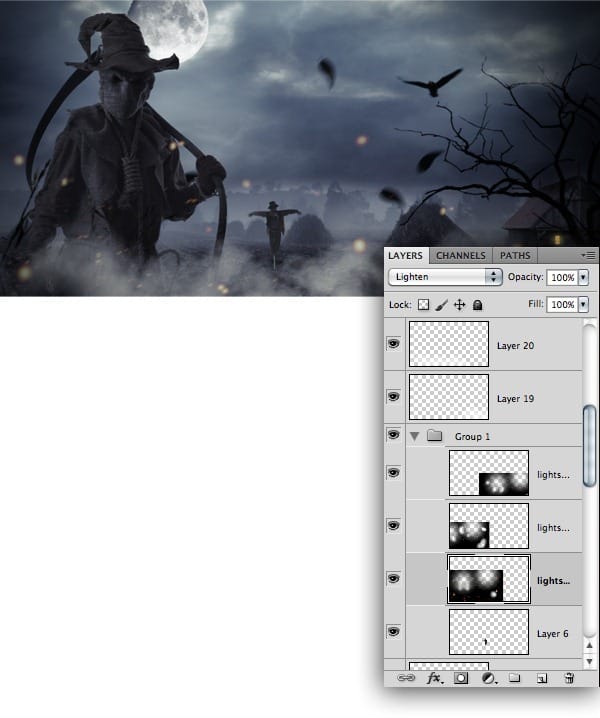
In this step we are going to create fire specs flying around in the scene. This adds as an additional dramatic feel to the scene.
-Import the texture of the Light Specs onto the working canvas and change the Blending Mode of the layer to Lighten. Then by using the Eraser Tool erase the excess fire specs from the scene.
Similarly repeat the step until the scene is filled with adequate amount of light specs.
Step 34
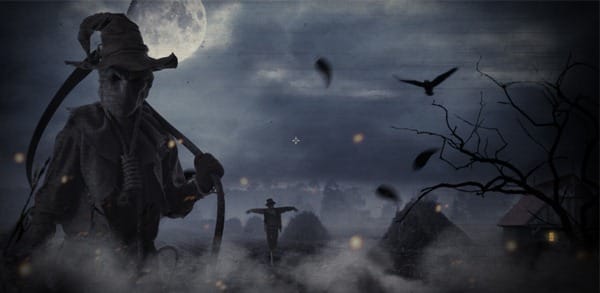
In this step we are going to use textures which is always a perfect garnish for scary and dramatic scenes.
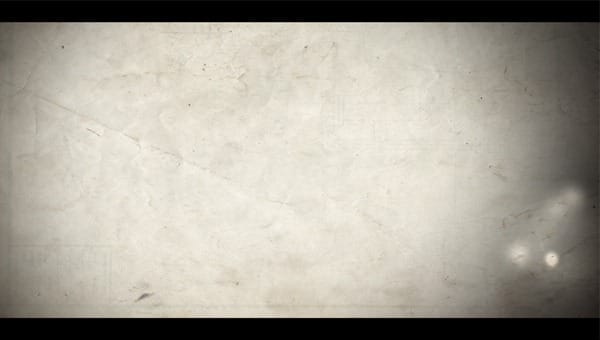
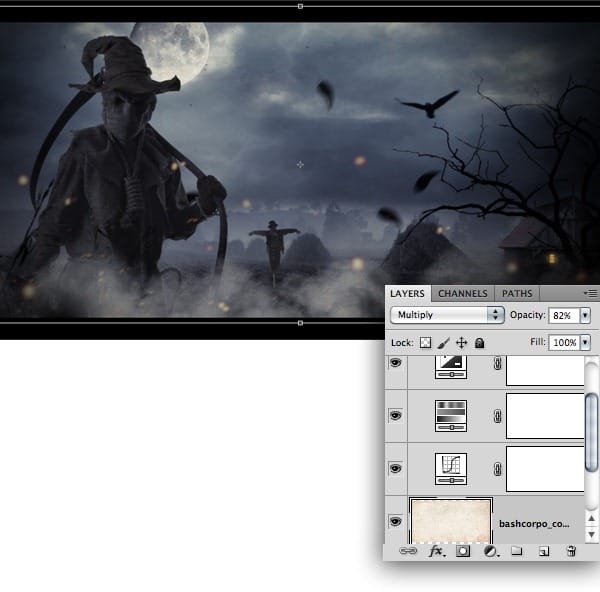
1) Now import the Old Paper Texture onto the working canvas and change the Blending Mode of the layer to Multiply and lower the Opacity to 82%.
2) Similarly follow the previous step and add a Grunge Texture to the scene.
Step 35
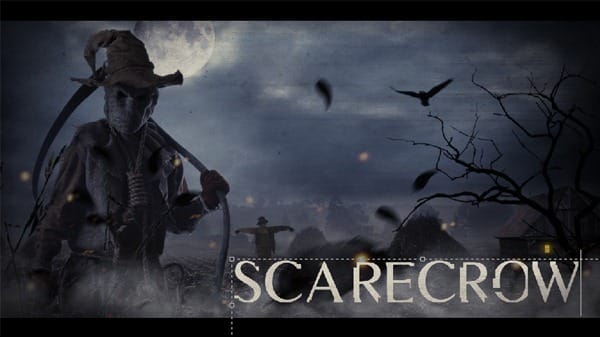
In this step we are going to create a 3D title for the scene using a texture and the Blending Options.
1) Type the title on the working canvas using the Scarecrow Font.
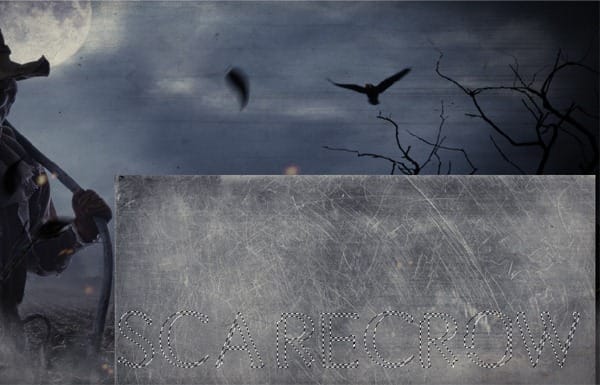
2) Now import the Metal Texture onto the canvas and place it on the title text and select the mask in the shape of the font and separate the selection into a new layer and name it as ‘main title’.
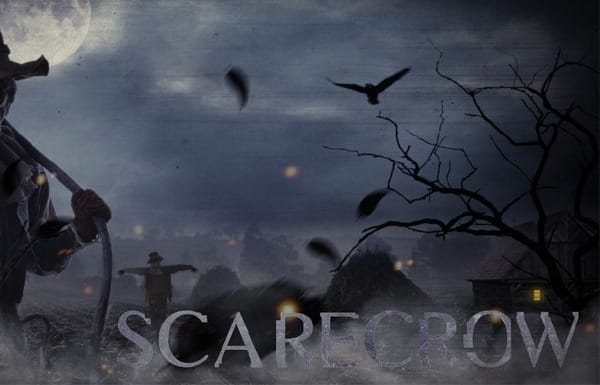
3) Now open the Blending Options of the ‘main title’ layer and select the Bevel and Emboss option and set the values of the option as follows, Style=Inner Bevel, Technique=Chisel Hard, Depth 368%, Direction=Up, Size=16% and leave the values in Shading as default.
One response to “Create a Spooky Scarecrow Wallpaper Using Photoshop”
-
It is a very usefull an nice tutorial
thank you


Leave a Reply