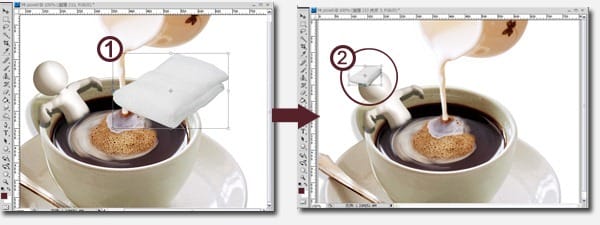
Create a new layer for the selected image. Make sure this layer is on top of Mr. Pose. Review and adjust any small tweaks. Done! Now you have Mr. Pose sitting back in the coffee cup.
Step 8 – Add the Final Touch to your AD
Open picture03 (folded towel). Use the Lasso Tool to select the towel. Press Ctrl+C to copy and then paste the selected image onto the Ad image. Adjust the towel’s position to Mr. Pose’s forehead. Press Ctrl+T to activate the free transform in order to rotate the towel to a suitable position. Then adjust the size of the towel.

In order to make Mr. Pose look natural inside the coffee cup, we need to emphasize the cream layer. First, we use the Lasso Tool to select the outline of the cream layer. Then we go to Select/Feather and set to 2 pixels. Copy the selected image to three new layers. Select first layer and move it to a higher position. Set the opacity to 50%. Select the second layer and move it to an even higher position. Set the opacity to 66%. Finally, we select the third layer and go to Transform/Flip Horizontal and flip the image. We then move the image to the right in order to create a more balanced and realistic look.

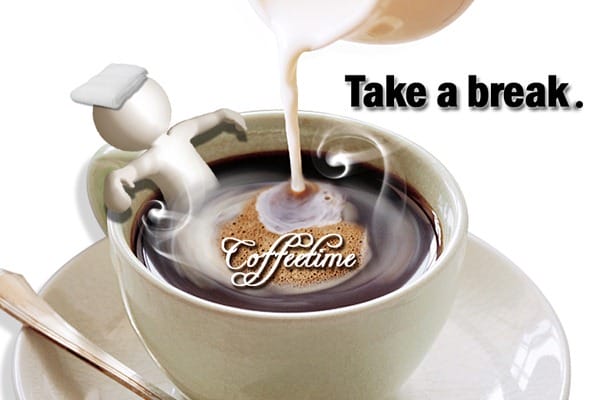
Now the Ad is almost finished. Just add the logotype “Coffeetime” and the slogan “Take a Break” with the font style you choose. Voila! Pretty good considering that we knew nothing about animation or 3D modeling.

Final Results

One response to “Create Advertisements with Posable Figurines using Photoshop and iClone4”
-
Does anyone still use iClone in 2023?


Leave a Reply