
Step 22
Now create a shadow on the log as shown in a new layer to match the lighting of the scene.

Step 23
In this step we will be creating shadow of the log casting on the model and the wall.
1) Duplicate the image of the sacred log and convert it into a silhouette using the Levels.

2) Now place the log shadow layer under the original log layer and move it slightly downward as shown to match the angle of the light rays.
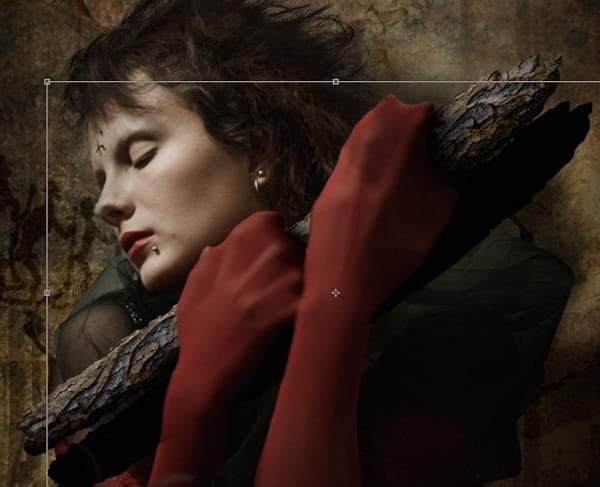
3) With the log shadow layer selected add a Gaussian Blur of Radius 25.1px.

Step 24
In this step we will be creating logo for our scene.
- Using the font “Dark Crystal” type in ‘S’ and ‘C’ in two different layers.

2) Now by using the Move Tool (V) move the letter ‘C’ and mount it on ‘S’ as shown. By doing so we will get a logo which represents all the letters in the word ‘SACRED’.
-It might be difficult to find the letters at a glance, so take your time in identifying the letters.

Step 25
In this step we are going to create typography of our logo using the branches of a dead tree.
- Follow the Step13 in cutting the background of the tree. Then by using the Lasso Tool cut few branches of the dead tress into a new layer.
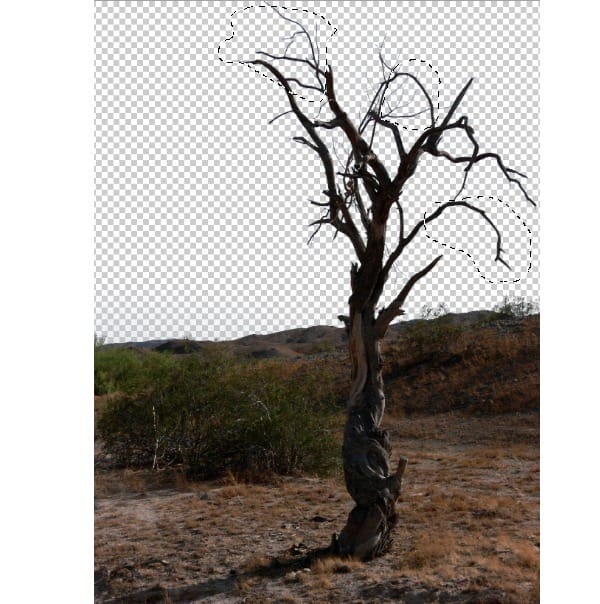

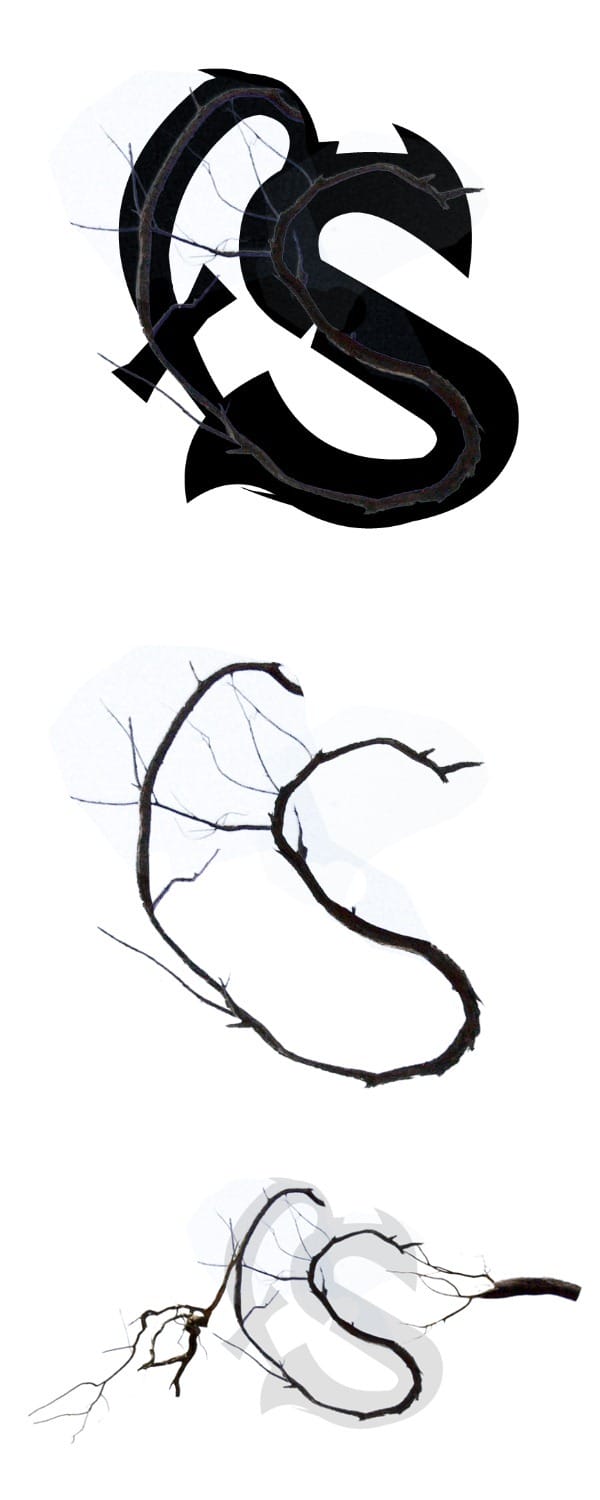
2) Now import the branches onto the logo and place them according to the design of the logo.

3) Follow the procedure until we get the shape of the logo.

4) After creating the logo with the dead tree branches add support to the logo by adding two branches on either sides, to show that the logo is hung from a dead tree in the scene.
Step 26
Now import the image of the logo we created in the previous step on to the working canvas and place it as shown.

Step 27
In this step we are going to add a dead tree branch in the scene on the top right corner, which will act as support to the snake that we are going to create in the next step.
- Using the Magic Wand Tool (W) select a mask around the dead branch and separated into a new layer.
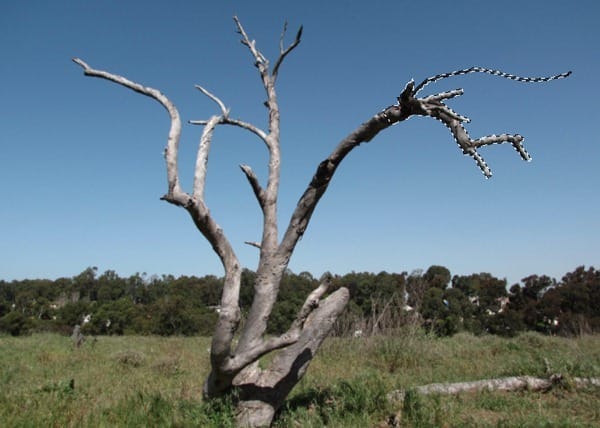
2) Now import branch on to the working canvas and place it as shown in the top right corner.
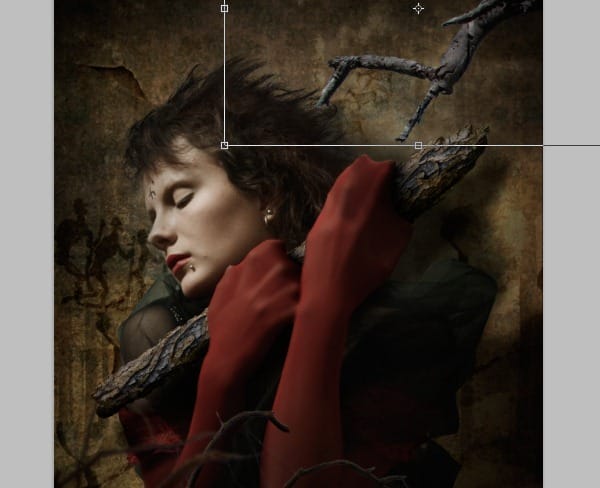
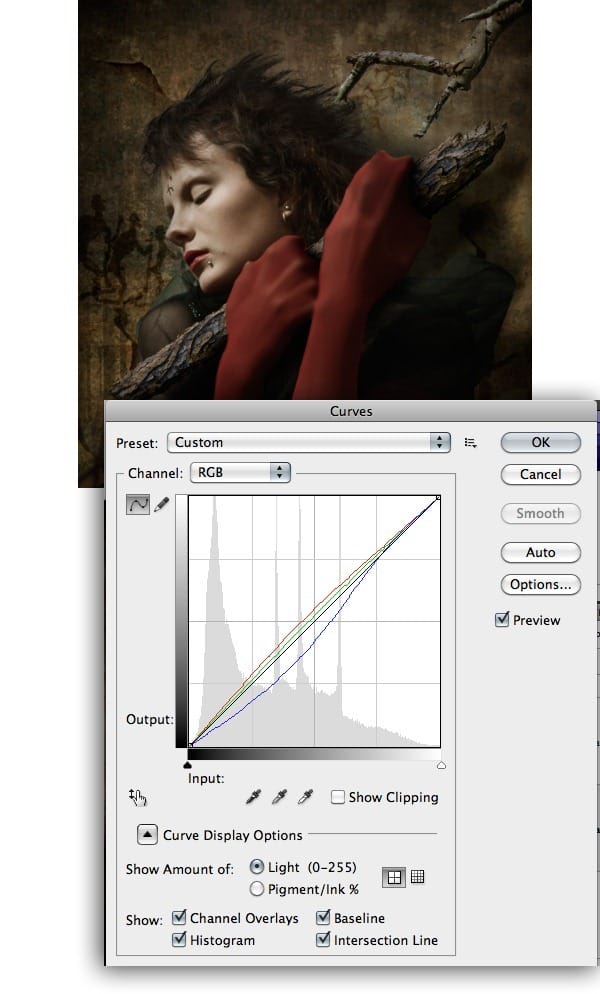
3) Now by using the curves color correct the branch layer to blend with the scene.
Step 28
1) Now import the image of the snake on to the working canvas and place it as shown.

2)Now by using the Eraser Tool (E) erase the part of the snake near the branch as shown to illustrate that the snake is winded to the branch.

3) Now by using the Brush Tool (B) paint shadows on the snake and the branch as shown.

Step 29
In this step we are going to add texture to the facial skin.
One response to “Create an Eerie Portrait Photo Manipulation with Photoshop”
-
This is a fabulous tutorial; thank a lot for the upload mate!! Definitely subscribing!!


Leave a Reply