Before you start I’d like to recommend you one think – change the clone source quite often. If you won’t do it you get repetitive pattern which doesn’t look realistic. As I said before first of all you will fix the vertical lines. They are badly visible and unclean in the upper parts of the wall. Create a new layer and name it VERTICAL LINES. Grab the Stamp Tool (S), pick some soft round brush and set the Opacity and Flow on 100%. below you can see what you should retouch.
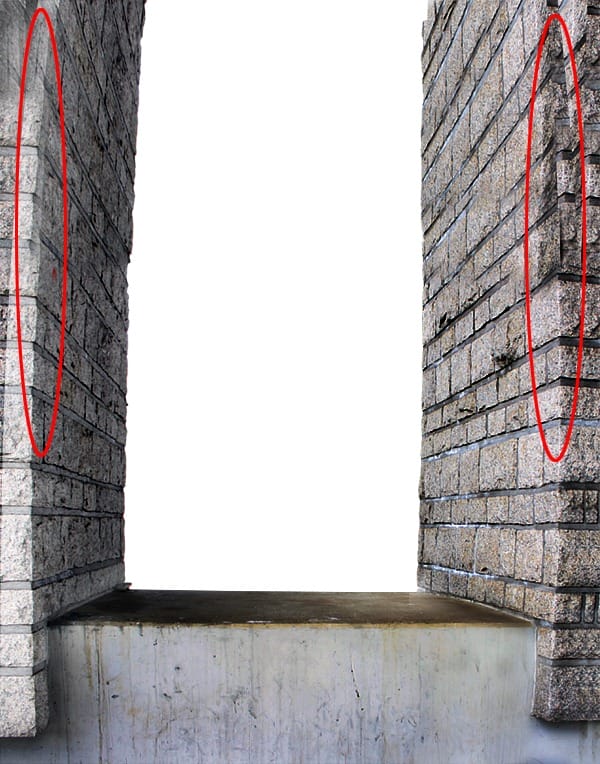
I recorded the sample of the retouching. Let’s take a look at it and then do the same on both parts of the wall.
Step 7 – Retouching the Horizontal Lines
Now it’s time to add and clean the horizontal lines. On the picture below there are highlighted parts of the picture where you should add the lines.
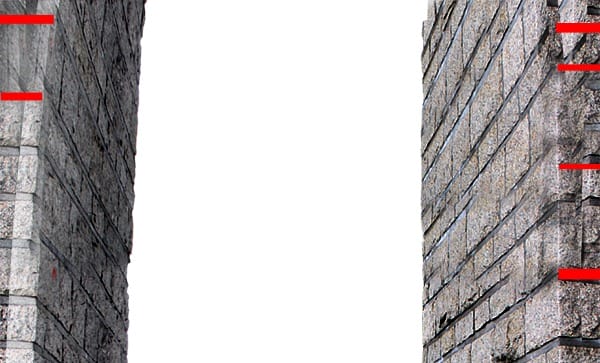
Let’s take a look at quick video showing the process of retouching. Create a new layer HORIZONTAL LINES and do the same with your manipulation on all highlighted places.
IoS: Horizontal Lines from Jarka Hrncarkova on Vimeo.
Step 8 – Retouching the Stone
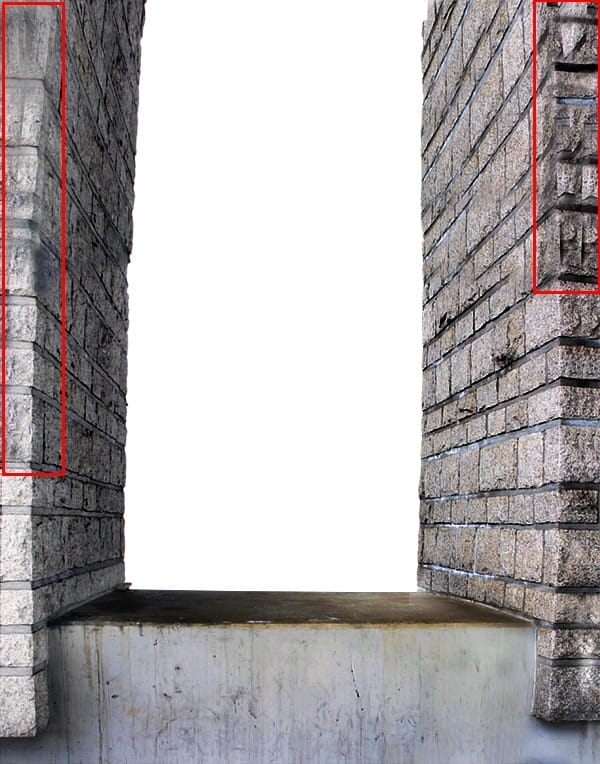
There are still visible transition between each layers. You’ll fix it in this step. below there are circled areas which should be retouched. Look at the quick video again to get the idea how to retouch these parts. Create a new layer RETOUCH STONE and do it.
Step 9 – Cleaning the Lines
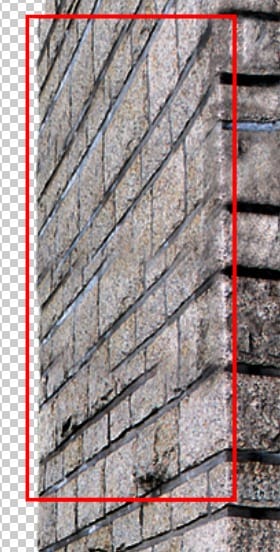
There are still some lines which need to be fixed. You can see them on the picture below. To clean them up use the same process like during the Step 7 – Cleaning the Horizontal Lines.
Step 10 – Sharpening the Retouch
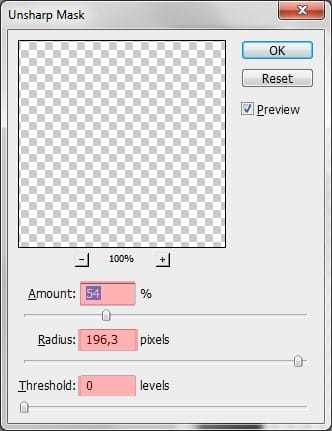
Sometimes when you retouch big parts of the image the final result can become bit blury and dull. You can easily fix it by gently sharpening. If you think it’s necessary to sharpen your retouche click on the layer you want sharpen. Then go to Filter > Sharpen > Unsharp Mask … and set it as it’s shown below.
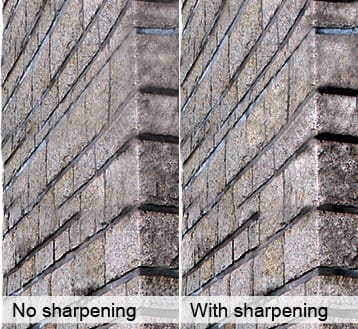
And here you can compare how the retouch looks with and without the sharpening.
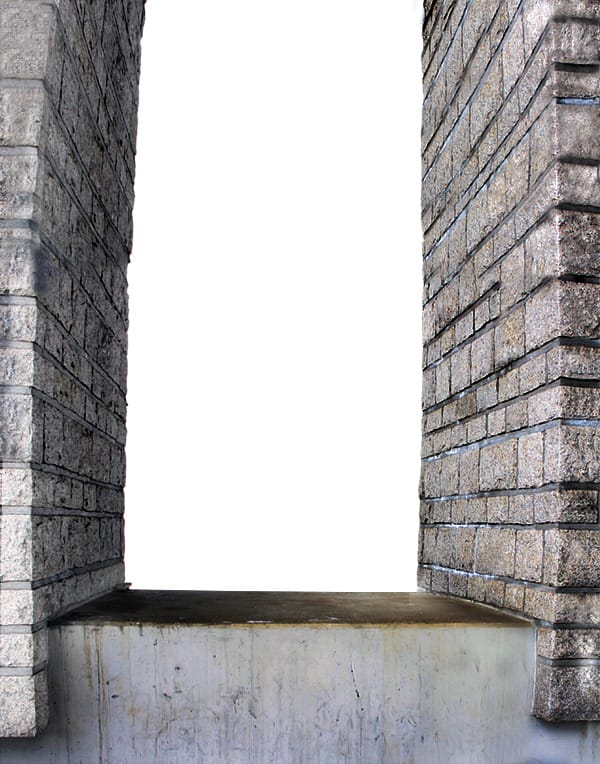
After all the steps you’ve done so far your image should be similar to the one shown below.
Step 11 – Adding Texture to the Floor
Download the Grunge Textures pack and drag the texture number 4 into the manipulation. I chose this texture because it has lines which help to highlight the focal point of the manipulation – the man. Name the layer FLOOR TEXTURE and place it on the top of the layers. Rotate and resize the texture as you can see below.
4 responses to “Create an Intense Apocalyptic Photo Manipulation”
-
Great !
this is my version
https://dl-web.dropbox.com/get/My%20Desing/dddddd.png?w=AABKFKWU0NYg1Q9Mqkyr-PaV4kPe3ya5LofvpCm2oBVYbAtahnks alot
-
this is all f up…missing instructions
-
very good but some resources not available … thanx any way for your excellent tutorial
-
GREAT!


Leave a Reply