Step 15
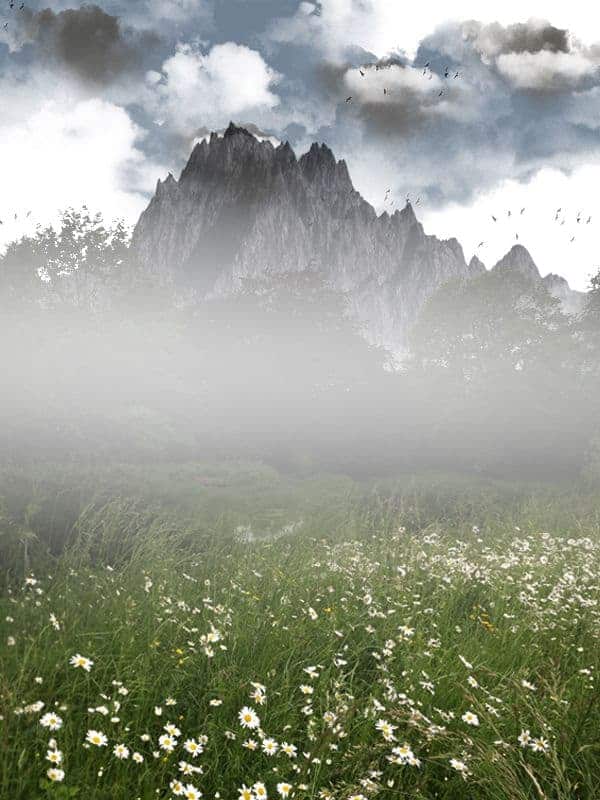
Just add a Clipping mask the the ‘Landscape 1’ image and… Voilà! The sky has gone away!

Step 16
Reactivate all layers and put the ‘Mountain’ at the bottom, below everything.

Step 17
To have a better blending we will add a Hue/Saturation Adjustment Layer only for the ‘Landscape 1’ Image.
We will set the Lightness to -44.

Step 18
We don’t want that this adjustment affects the whole image, but just the top.
Add a clipping mask and with the black color we will paint on it to cover the bottom part of the image.


Step 19
We need to illuminate a bit the centre of the image.
Create a new layer above everything and with a soft brush and color white paint something like that:

Step 20
Apply Gaussian Blur: 100px

Step 21
Set the Layer to Overlay with Fill 35%.

Step 22
Time to add some adjustments!
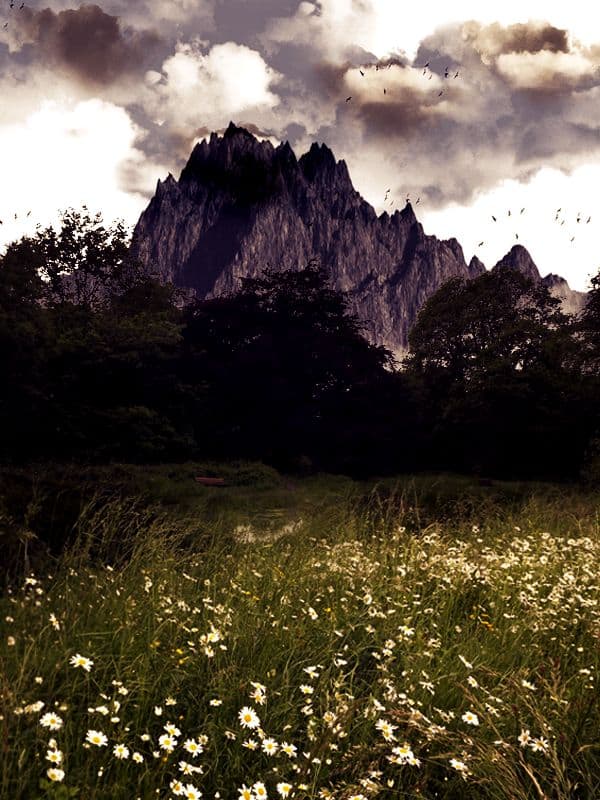
Gradient Map: Violet to Orange.
Set it to Soft Light with Opacity and Fill at 90%


Step 23
Levels Adjustments to give a bit of contrast.


Step 24
Curves Adjustment:

Final Results
![final-results[1] final-results[1]](https://cdn.photoshoptutorials.ws/wp-content/uploads/2013/05/finalresults1-1.jpg?strip=all&lossy=1&webp=82&avif=82&w=1920&ssl=1)
Tutorial by Fabrizio Panattoni
16 responses to “Create Your Own Custom Landscapes in Photoshop”
-
ahmazing
-
Awesome! :D
-
very impressive ! love this post! keep up!
-
wow.. Fantastic steps.. I really like it. keep up :-)
-
its fake
-
good!
-
good!
-
thanks for the good tutorial.
and i have a question for several step.‘…and with a soft brush and color white paint’
-> in this step, How much value for ‘Opacity’ to brush?
because, i can’t make it like ‘Step.20’. -
thank you so much !!!!!!
-
A simple to follow and interesting tutorial, I knew a lot of it already, but it was insightful to use adjustment layers to change layer properties, normally I’d of just adjusted the layer itself. Thanks for helping me to think about design in a different way.
-
this is nice post. and for learning.
-
Super Gracias por compartirlo
-
This is a wonderful tutorial, thank you so much. There are a couple things that could be improved:
1) Step 18 is a little confusing: why do we need to add a mask to the Hue/Saturation 1 adjustment layer if we are clipping it to Landscape 1? I feel that we are masking the effects of the adjustment layer and allowing to be seen the effects on just the top part, which in that layer is blank.
Also, you forgot to mention the Curves adjustment layer for the Mountains layer (though that is easy to figure out).
2) The tutorial goes from step 20 to step 31.
3) The “About” section at the bottom could be changed too ;)
Thank you again for this tutorial! First one I actually enjoyed doing :)
-
Good catch! Thanks for the tip Gabriela :)
-
-
Holy HDR Batman!
-
Way too contrasty results but still educational


 Thank you for reading my tutorial. I hope it helped you to create your own art. If you want to see more artworks made by me, check my art page
Leave a Reply