Download Lightroom presets and LUTs, absolutely free. Use the presets to add creativity and style to your photos.

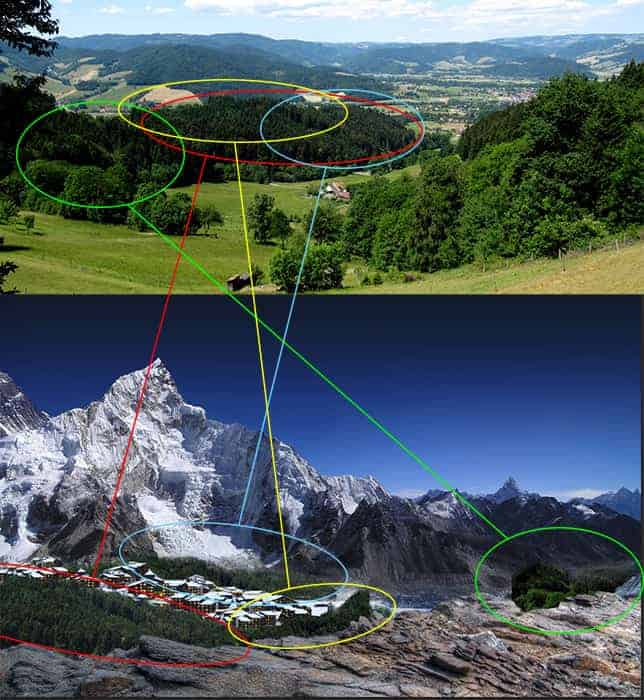
Group all forest layers and use Quick Selection Tool (W) to select foreground rocks, inverse selection (Shift + Cmd/Ctrl + I) and add a layer mask to forest group. That remove unnecessary details and and return to realism. You may notice that I have left place unfilled a forest. This is for polar bears. They will close all the background and use the forest there does not make sense.

Similarly to the villages steps, continue to cover the empty space by using forest image. Use a layer mask to hide unnecessary and leave the good parts. For each piece of the forest I used duplicate (Cmd/Ctrl + J or Layer > Duplicate layer) original forest layer and chose interesting pieces and operated by the above mentioned scheme. Resize and rotate pieces of forest so it did not look monotonous.
Step 8
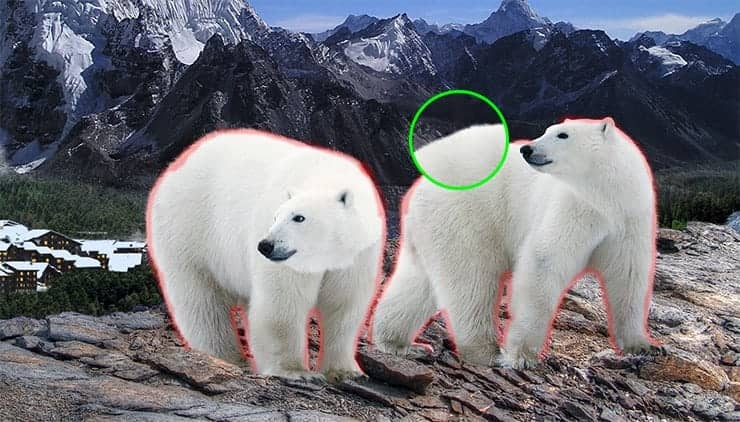
Now that you've finished with the forest, you can add the bears in this work. To forest we go back a little after. First, large bears. Place image "Polar bears", Resize it as you want (Cmd/Ctrl + T), Flip Horizontal and use Pen Tool (P) to create path and then selection. Create contour is not on the edge, and on the bears to hair be a little beyond of the outlines. Be sure to select all paths by using Path Selection Tool (A).


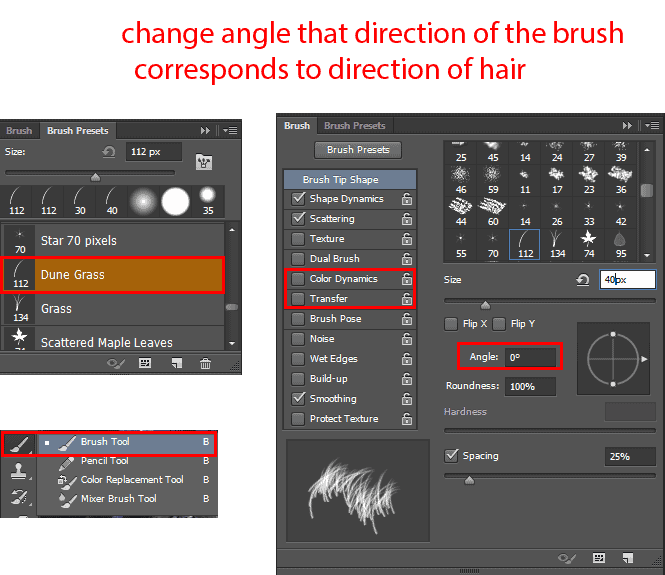
Add a layer mask to this layer. Take a Brush Tool (B) chose brush form "Dune Grass" from Photoshop brushes, Size: 30px, Opacity: 100% and go to brush settings (F5). Remove the checkboxes from "Color Dynamics" and "Transfer". Set default Foreground and Background colors (D) and draw on layer mask a brush, in the direction of wool. It's a bit tedious procedure, but as a result you will get the perfect wool on a bears.
Step 9
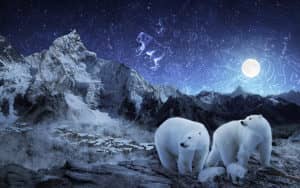
Place image with baby bears and position them as shown in image below. Place the bears so that they cover the big bears paws. It is important to observe the proportion that the picture was harmonious. I will integrate layers with bears in the one group "Bears". Then, too, the whole landscape will integrate into group "Landscape".

Step 10
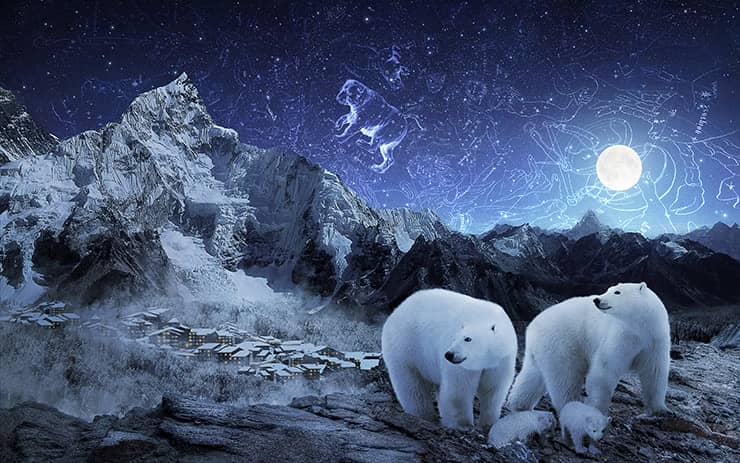
Now let's create color effects. I planned that my picture will happen at night. Let's start with the adjustment layer "Color Lookup". Set checkbox on "3DLUT file" and in list, select "NightFromDay.CUBE". On "Color Lookup" layer mask with soft round brush (Opacity: 5%) remove effect on mountains and bears, as shown in image below. This layer must be over the group "Landscape".

3 comments on “Create a Magical Starry Night of Polar Bears in Photoshop”
Just a pity the PSD is not there it would have been nice to see your flow
The best as usual.
Very beautiful and difficalt lesson. Thanks.