


Step 28
In this step we are going to color correct the scene using the Gradient.
1) Select the ‘Foreground to Transparent’ gradient and select sky blue color as foreground color and add the gradient to the scene as shown.

2) Then set the Blending Mode of the layer to Overlay and reduce the Opacity of the layer to 38%.

Step 29
Now import the image of the Grunge Texture onto the working canvas and set the Blending mode of the texture to Multiply and reduce the Opacity of the layer to 42%.


Step 30
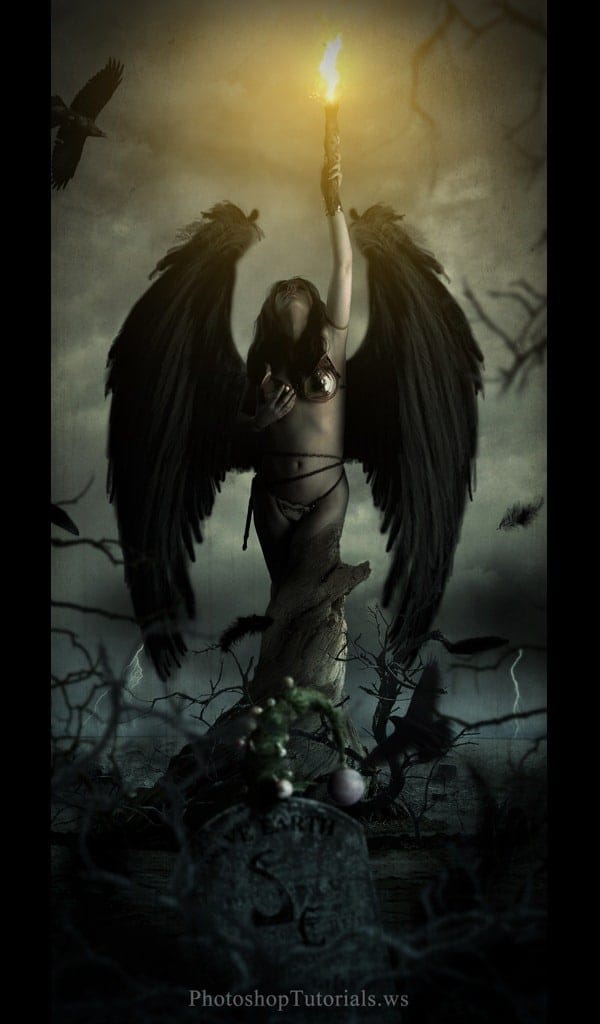
In this step we are going to create dark clouds and couple of thunders in the background.
1) Using the Soft Round Brush paint the dark clouds in the background as shown.

2) Now select the Lighting Brush from the brushes pallet and paint the thunders as shown in the scene with the white color.

Final Results

Tutorial by Santhosh Koneru
 Thank you for following this tutorial! I’m a freelance graphics designer and the founder of zillionarts and zillionarts Workshop the places where you find Workshops Hosted by industry Professionals and also all forms of art are showcased together to provide inspiration to the young minds. You can know more about me from my portfolio blog and also can follow me on Twitter
– Santhosh Koneru
End of tutorial


