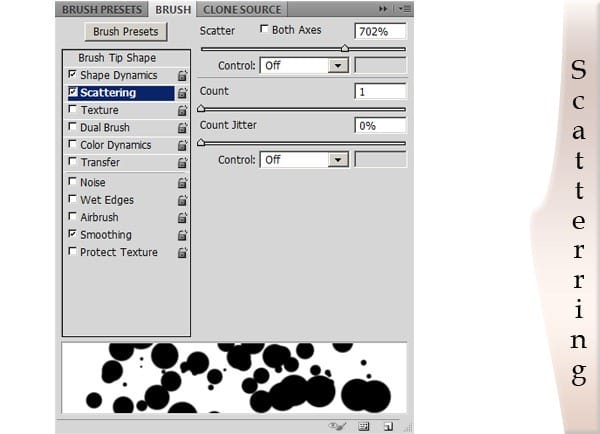
Adjust the scatter percentage anf you’ll see what happens. Use the settings in the diagram below for complete accuracy whilst following the tutorial.
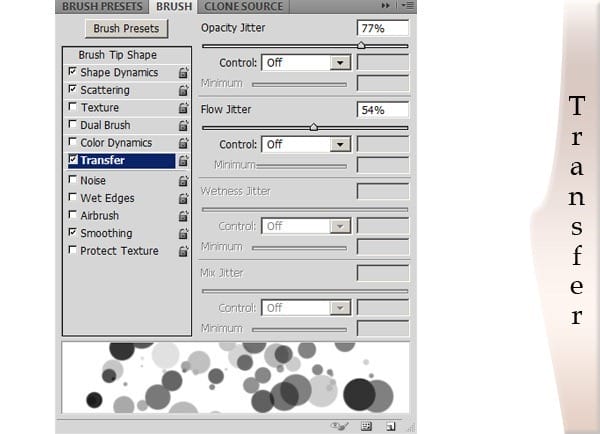
Transfer is basically used to adjust the opaque values of the brush. TRANSPARENT>>LEAST TRANSPARENT>>SOLID ( Or the diagram below would give a better explanation)
Step 6 – Stroke the pen path
Yes! Stroke the pen path and stroke it good! Anyways……Select the pen tool again and using the path that you have created in the steps above, Right click on the path and click STROKE………..Make sure Simulate pressure is selected.
![pen-tool-dialog[1] pen-tool-dialog[1]](https://cdn.photoshoptutorials.ws/images/stories/b4a1762eb25b_11473/pen-tool-dialog1.jpg?strip=all&lossy=1&webp=82&avif=82&w=1920&ssl=1)
Your result should now look like this.
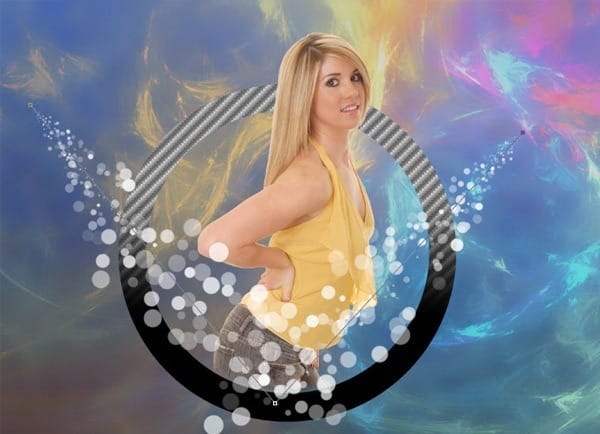
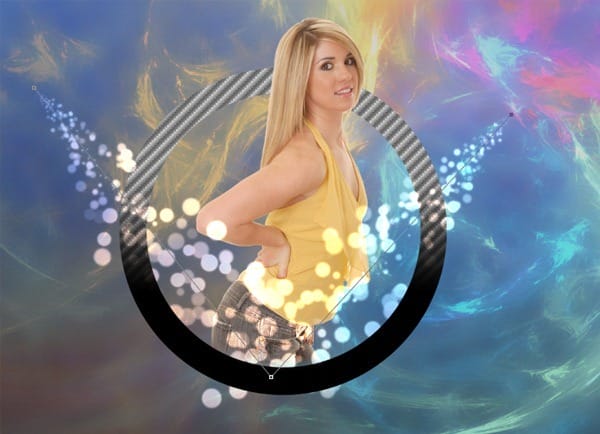
Change the blending mode of the circular layer to overlay- This would make the circles invisible in the black areas.
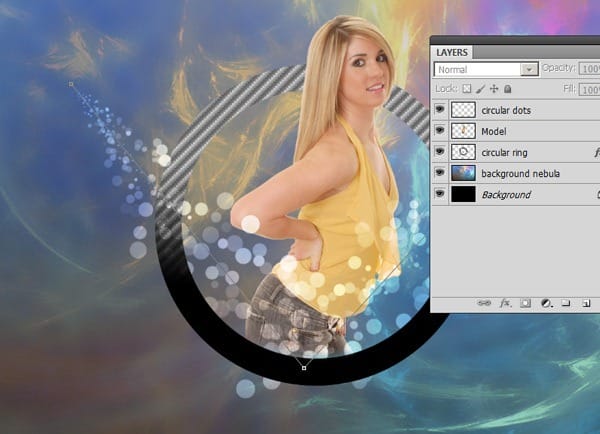
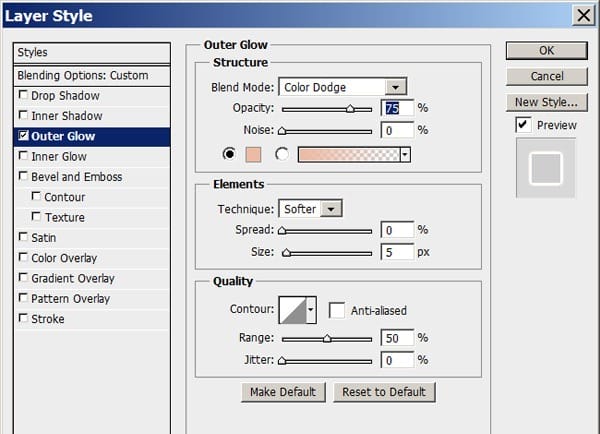
We are going to give the circle a nice glowing effect by double clicking the layer. In the layer style dialog box, select outer glow and change the blend mode of the outer glow to color dodge. The color dodge blending mode would give the dots a beautiful glow.
Use the color picker to sample her skin color and use it for the outerglow. This would ensure that the image is blended a little better.
Step 6 – Retro Spheres
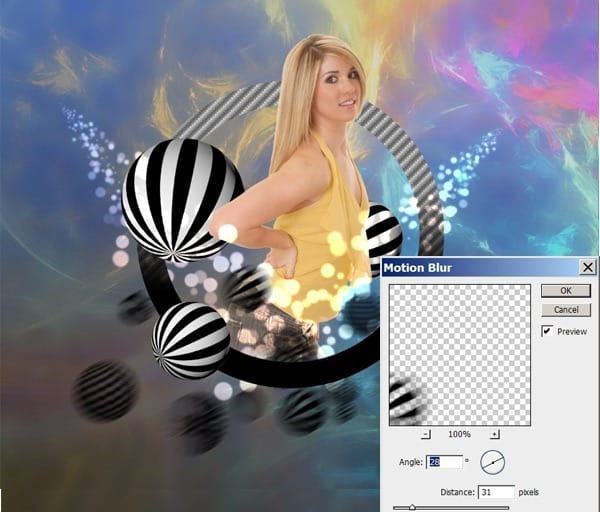
We are now going to add some spheres from the gfxcave sphere collection. This would also give the image a nice retro-ish feel. For the spheres you can either use the brushes provided or the images. I decided to use the images on separate layers using the striped texture sphere. I named the layer striped texture and duplicated and rotated the layers based on the rotation I wanted. View the image below
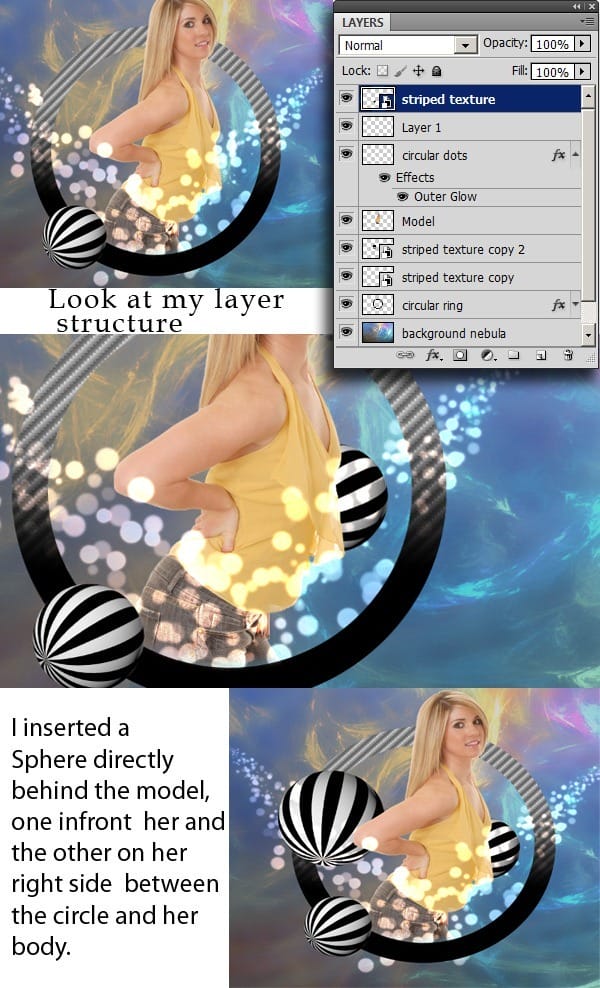
We are now going to create a new layer and using the brush pack or the stand-alone images, lets create a random set of spheres beneath the model. Name the layer sphere particles 1. Using the brushes, Select random spheres and add them to the image until you achieve a similar effect.
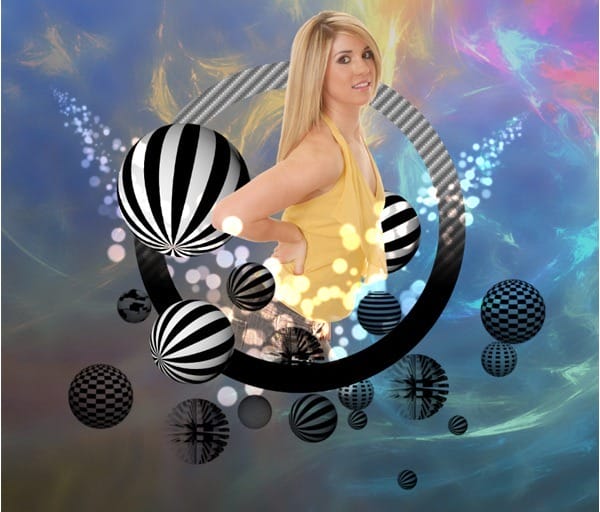
Now select the sphere particles 1layer and go to filter<Blur
Step 7 – Clouds
We are going to use cloud number 485 in the cloud brushes provided. Create a new layer and name it cloud 1. The size I’m using is 960. Reset the default colors and click about 3 times in the same spot to get a beautiful cloud as the one depicted below. The reason why we clicked three times is because the cloud is very transparent, so the multiple clicks, would make it fuller and deeper.


Leave a Reply