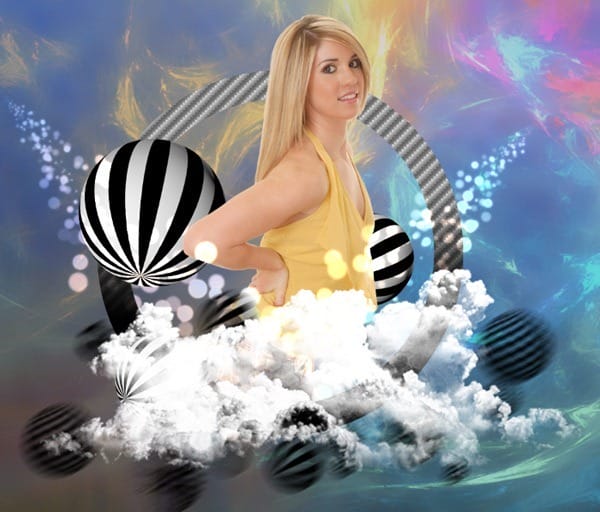
Now use cloud number 886 and click once directly underneath the previous cloud. You can leave the clouds on the same layer. This added cloud enhances the previous cloud by making it look unique and adding the perception of movement.

Step 8 – Enhancing the Scenery
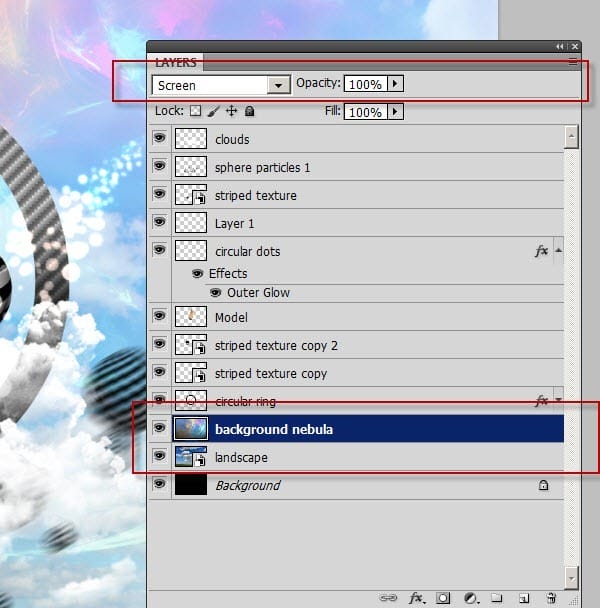
Lets start to beautify the image. Drag and drop the landscape photograph into your Photoshop document and place it just below the nebula background. Resize the photo accordingly. Change the blending mode of the background nebula to screen. (this would brighten the background and also allow the nebula to gracefully show through. View the results below.

Step 9 – Repousse 3d
For those of you new to repousse, it is basically responsible for creating easy 3d graphics in Photoshop CS5. Lets dive in. We are now going to create a 3d arrow using repousse and strategically place it in the design. Arrows are well noted for creating that “retro-ish” feel in designs.
Start by selecting the custom shape tool and drawing an arrow as demonstrated below. (just drag and draw)
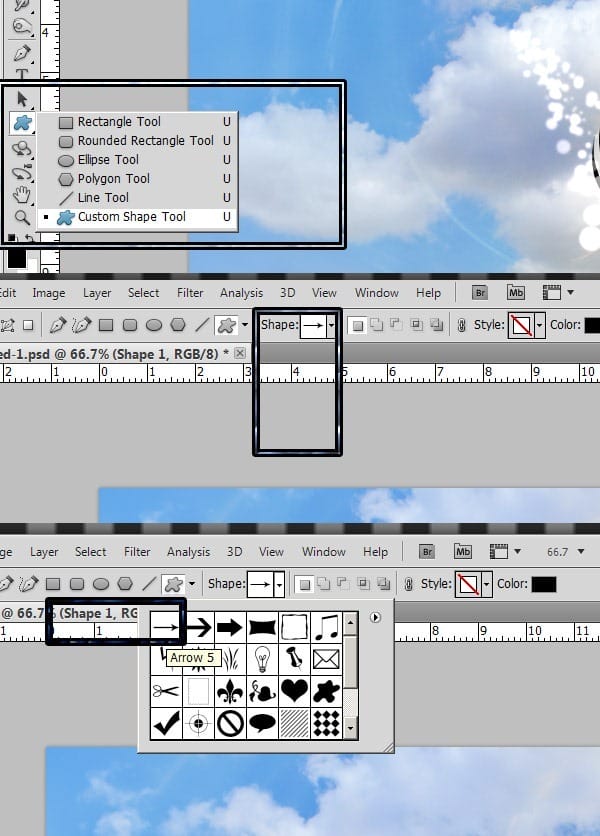
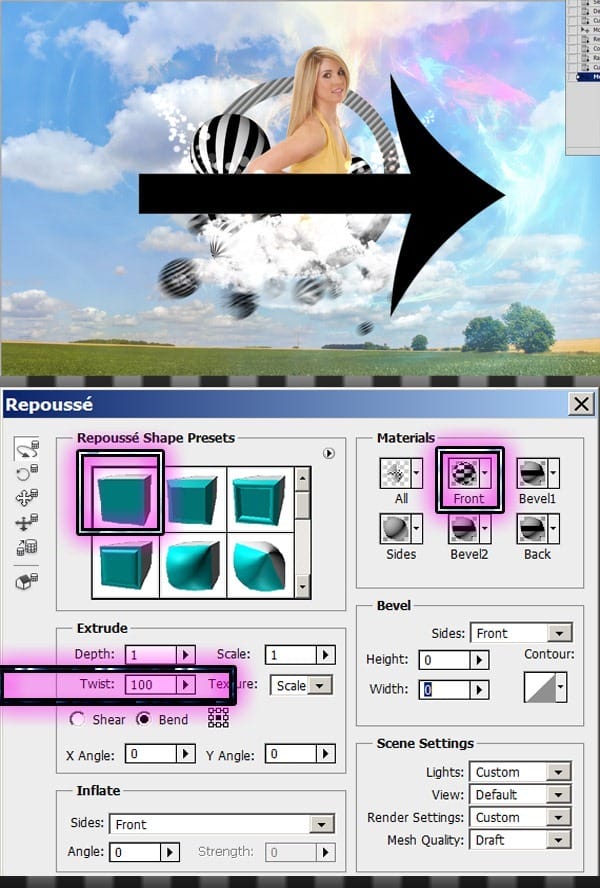
Current Progress…………………….After repousse
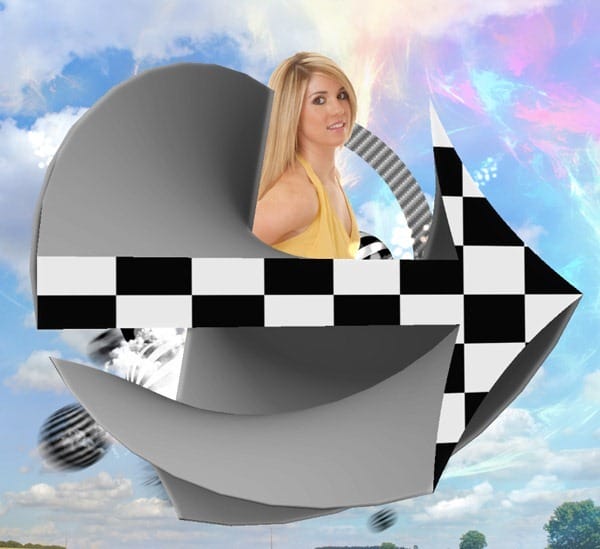
Now, lets start to incorporate the arrow into the design. firstly, press ctrl + t to transform the 3d arrow and resize it. Resize as shown in the image below and rotate accordingly. The image was also placed directly below the model’s image and the blending mode was changed to hard light. View results below:
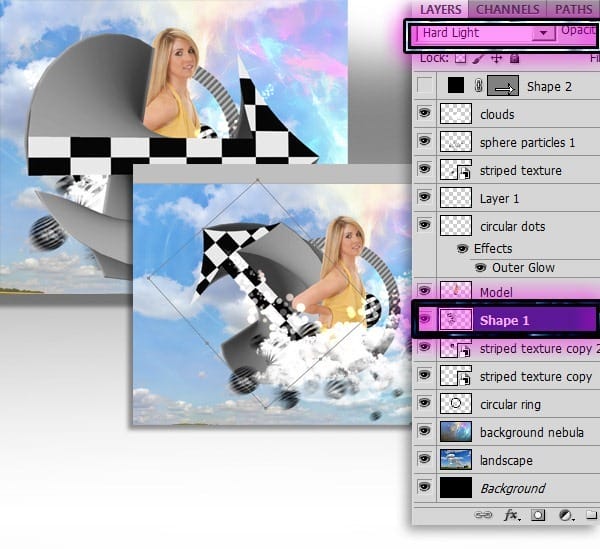
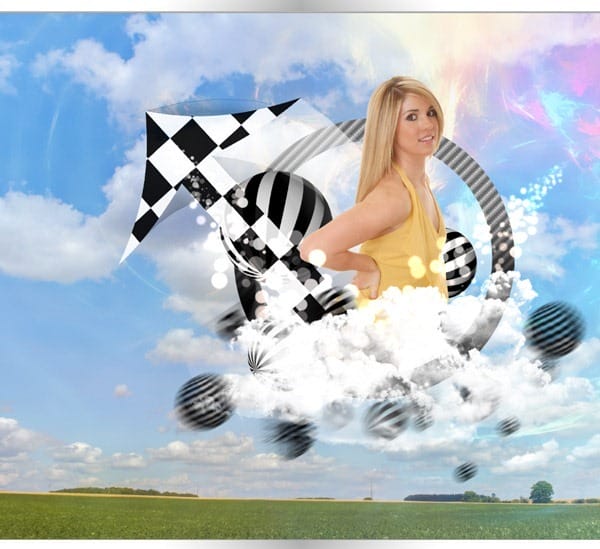
Step 10 – Abstract and Retro
The design is starting to look Abstract,Beautiful,Surreal and a “lil” retro. Now, we are going to duplicate the 3d arrow layer a couple times and resize as needed. Follow the pictoral steps below.
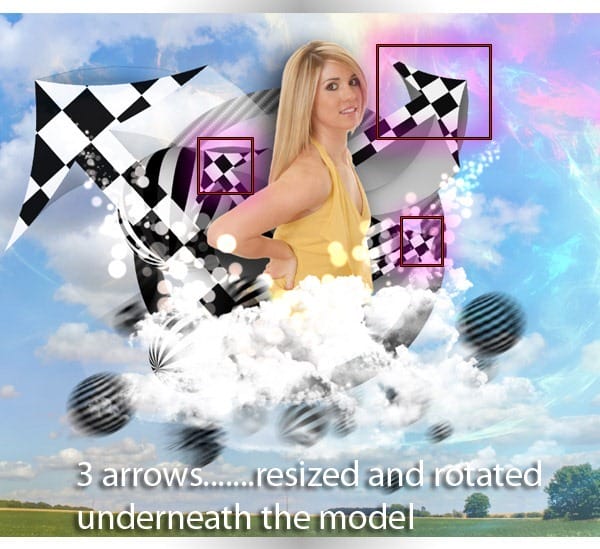
Light Effects
Create a new layer and select the Rectangular Marquee Tool. Now, on the freshly created layer make a selection as shown:
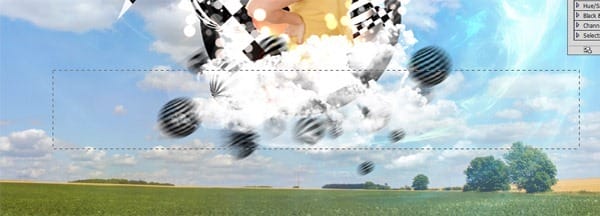
Then, Select a large soft brush around 300 pixels. Double click on the foreground color and then select the color on her jersey as the foreground color. Now just paint with the soft brush on the outskirts of the selection as shown below: (Also, change the blending mode of the layer to color dodge)
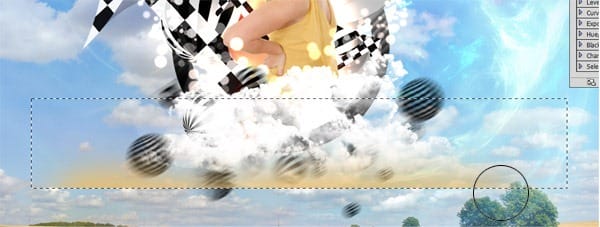
Press CTRL + T to free transform and use the “love handles” to rotate the the light stripe as shown.


Leave a Reply