Step 11 – Be Creative
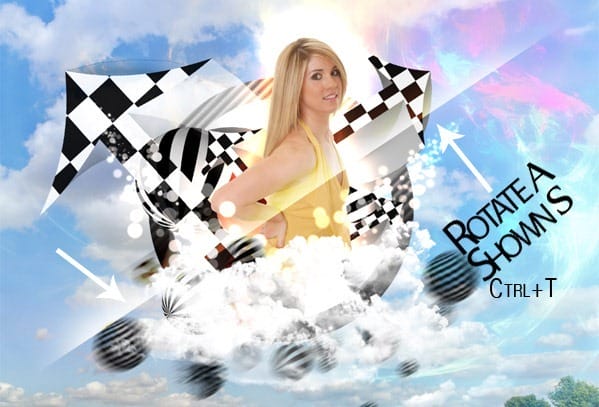
We are now going to freestyle on this design. Press Ctrl + J on the keyboard to duplicate the light stripe a couple times as shown. DRAG the light stripe layers UP/DOWN/SIDE ways………………Make as many and as few as you would like! Check out my current progress:
Step 12 – Final Details
To finish this design, add a couple more spheres. The largest sphere I used is in the lower right hand corner of the design. To simulate movement I added a motion blur by going to filter>blur>Motion blur. You can use my settings as shown below…………..Or………..be dramatic and experiment!

Add two more spheres and rotate accordingly. Don’t be afraid to add depth of field or motion simulation by blurring the spheres.
Photo filter
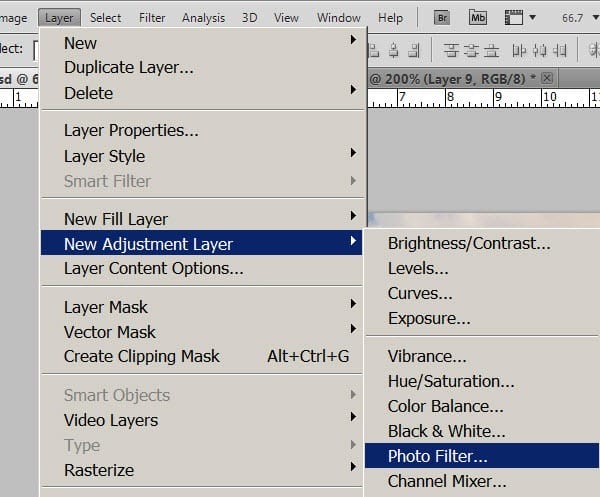
We are going to add a photo filter above the entire image to basically standardize the color tones and make the image look a little more regulated. Go to LAYER>NEW ADJUSTMENT LAYER>PHOTO FILTER

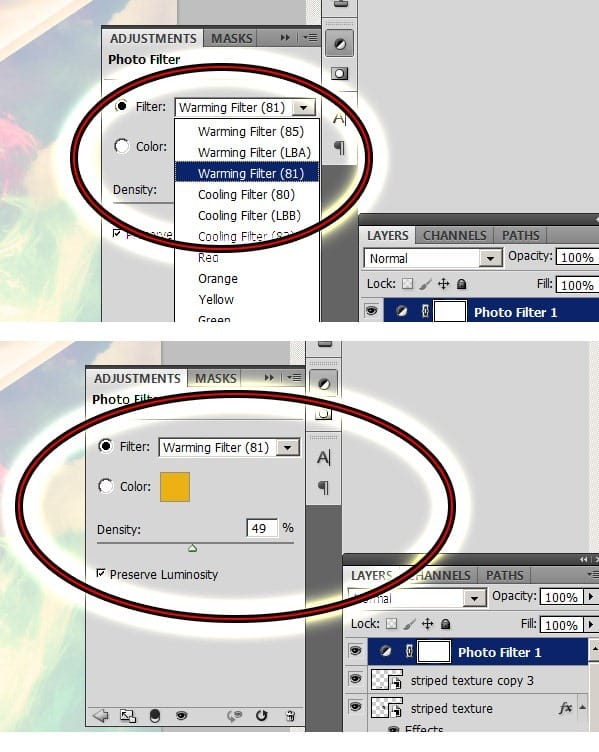
Select warming filter (81) and use the settings below. This is going to generalize the color tones in the image and make it a little more standardized.

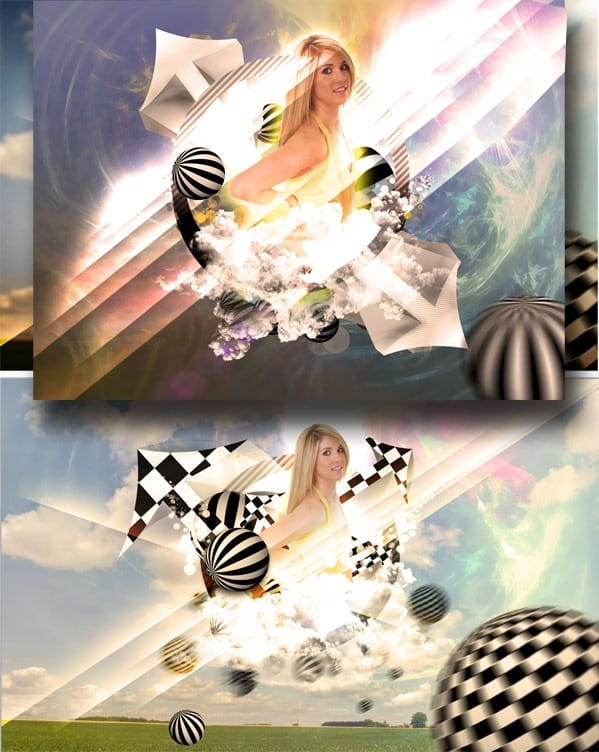
THE END!!!!!!!!!!!! I just added a vignette to the upper image and blurred the background a little bit………don’t be afraid to experiment! I also added a lens flare from the free lens flare pack along one of the light stripes.
![final[1] final[1]](https://cdn.photoshoptutorials.ws/images/stories/b4a1762eb25b_11473/final1.jpg?strip=all&lossy=1&webp=82&avif=82&w=1920&ssl=1)
VARIATIONs for your Inspiration!


Leave a Reply